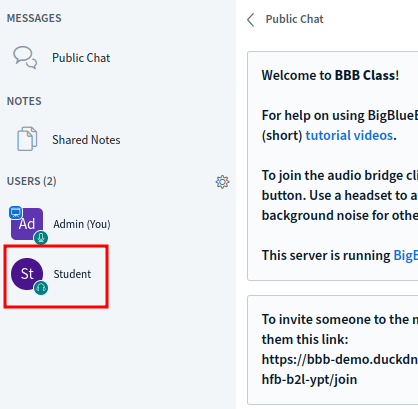
BigBlueButton (aka BBB) is an open-source [Link] software with features designed for teachers, professors, instructors, and tutors to deliver real-time audio, video, screen sharing, slide presentations, whiteboard collaboration, and more. All resources can be downloaded afterwards, including notes, chat logs, whiteboard annotations, polling results, and analytics.
SYSTEM PREPARATION
The minimum requirements depend on how many clients will be connected at the same time. The official documentation recommends the following, though half these resources are sufficient for a quick local test:
- Virtual Machine / VPS
- 8 vCPU (x86_64 only)
- 16 GB of RAM
- 500 GB of Storage
- 1/4 Gbps Bandwidth
- Ubuntu 22.04
Apply the following basic configuration and customize as needed.
sudo apt update && sudo apt upgrade -y
sudo hostnamectl set-hostname bbb.domain.com
echo '127.0.0.1    bbb.domain.com' | sudo tee -a /etc/hosts
echo 'LANG="en_US.UTF-8"' | sudo tee /etc/default/locale
sudo ufw allow 80
sudo ufw allow 443
sudo ufw allow 16384:32768/udp
sudo ufw limit 22
sudo ufw enable
sudo reboot
Note: Do not expose SSH to the public internet. Ideally, it should only be accessible from a local network or VPN and restricted to a limited set of sources. Be cautious!
For production, the server should have a public IPv4 and IPv6 address (mapped or directly assigned) with a subdomain pointing to it for SSL/TLS. For local testing, a self-signed certificate will do the job.
BBB INSTALLATION SCRIPT
For installation in production with a real FQDN resolving to the server:
- BBB 3.0.x on Ubuntu 22.04
wget -qO- https://raw.githubusercontent.com/bigbluebutton/bbb-install/v3.0.x-release/bbb-install.sh | sudo bash -s -- -w -v jammy-300 -s bbb.domain.com -e [email protected] -g
- BBB 2.7.x on Ubuntu 20.04
wget -qO- https://raw.githubusercontent.com/bigbluebutton/bbb-install/v2.7.x-release/bbb-install.sh | sudo bash -s -- -w -v focal-270 -s bbb.domain.com -e [email protected] -g
Note: The subdomain and email in the command above are used to set up Let’s Encrypt automatically for a quick, easy, and free SSL/TLS certificate. Optionally, the argument -x instructs Let’s Encrypt to challenge the domain via DNS using a generated TXT record at installation time. The argument -g installs the GreenLight frontend (recommended).
TROUBLESHOOTING
At the end of the installation, a series of checks runs to identify potential problems. The output may look like this:
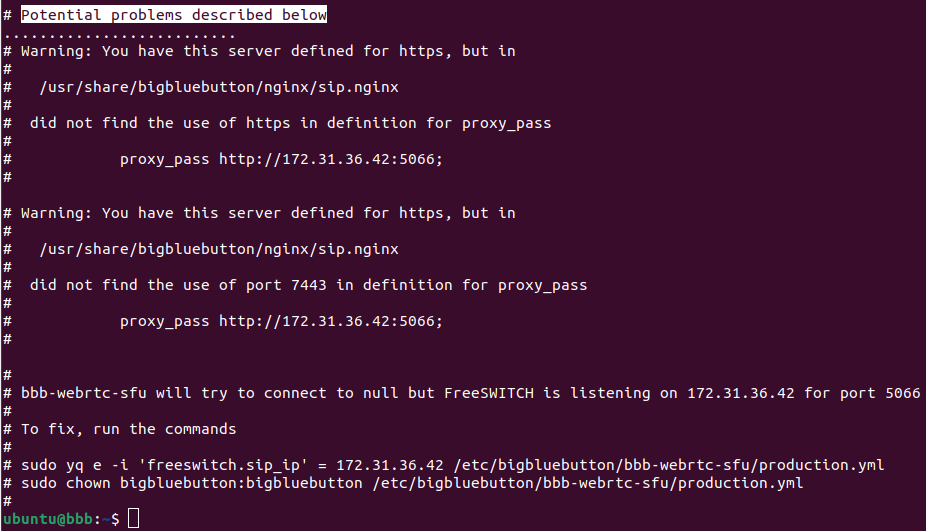
Read through and address any issues found. Use the following commands to check the status of running services and gather more information.
sudo bbb-conf --check
sudo bbb-conf --status
sudo bbb-conf --secret
sudo dpkg -l | grep bbb-
[ "$(dig +short bbb.domain.com)" = "$(curl -s ip.me)" ] && echo "DNS resolution confirmed." || echo "DNS resolution FAILED!"
CREATING ACCOUNTS
Create accounts with the following commands:
sudo docker exec -it greenlight-v3 bundle exec rake admin:create['Admin','[email protected]','secret_password']
sudo docker exec -it greenlight-v3 bundle exec rake user:set_admin_role['[email protected]']
sudo docker exec -it greenlight-v3 bundle exec rake user:student["Student","[email protected]","password","user"]
Example output:

BASIC TESTS
Navigate to your server’s address. If this page loads, it is working!
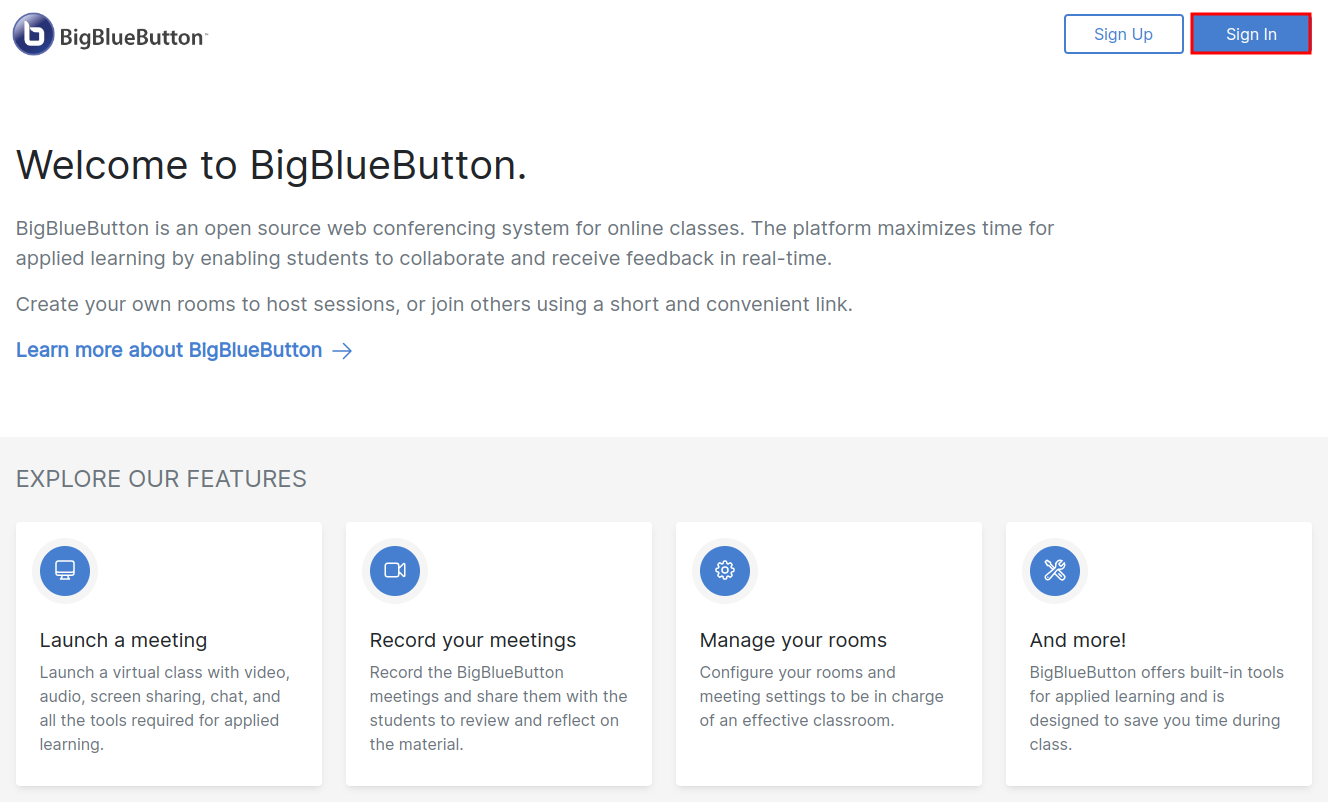
Sign in as the administrator.
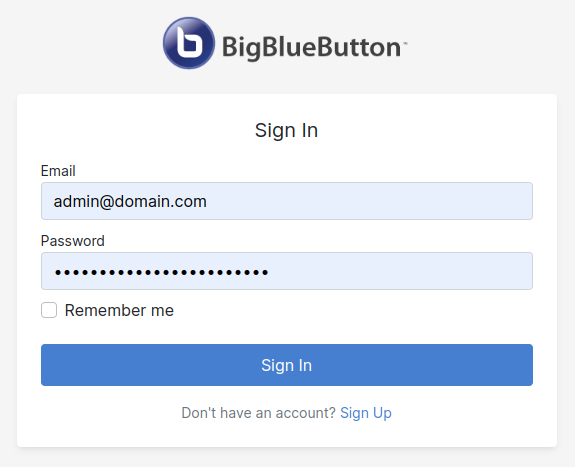
Create a classroom.
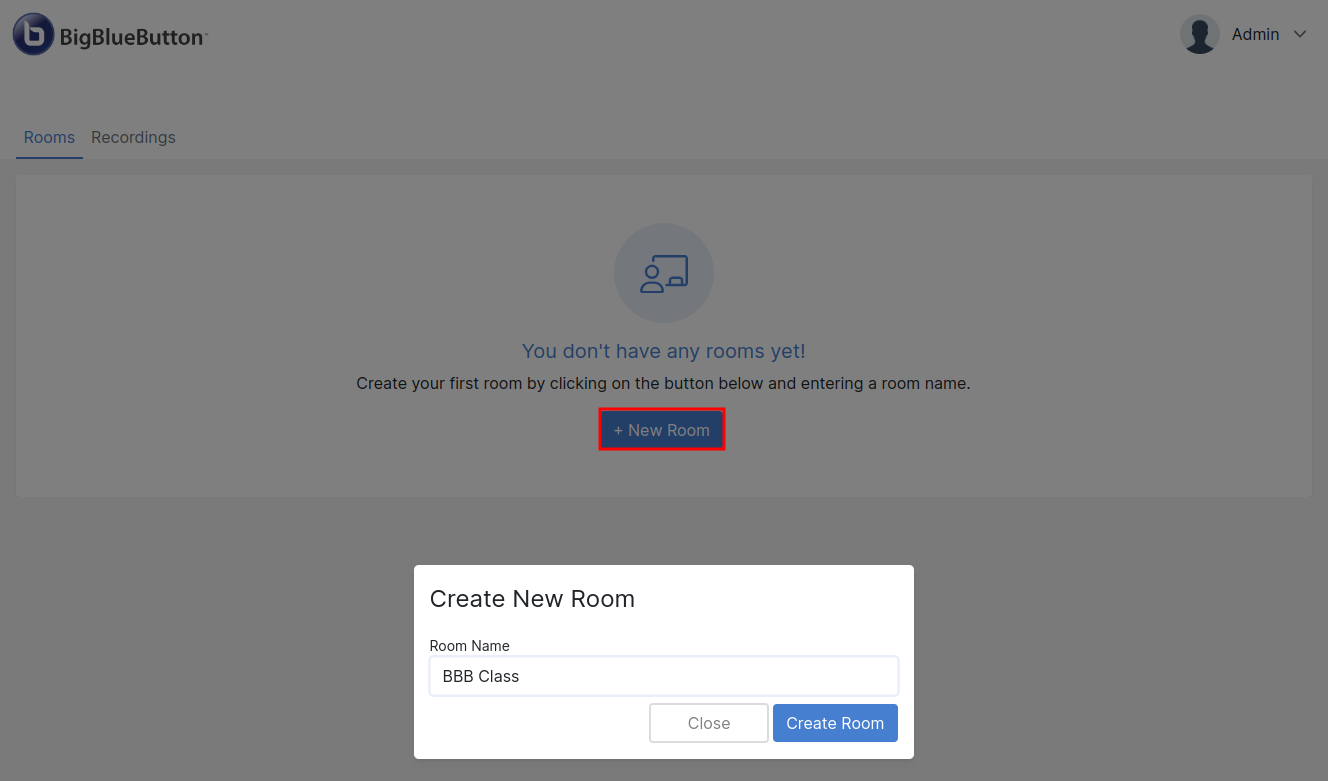
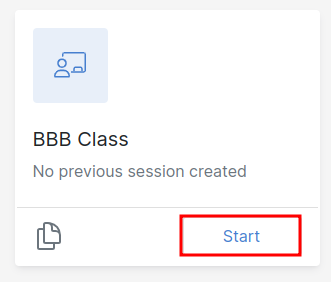
Start the class.
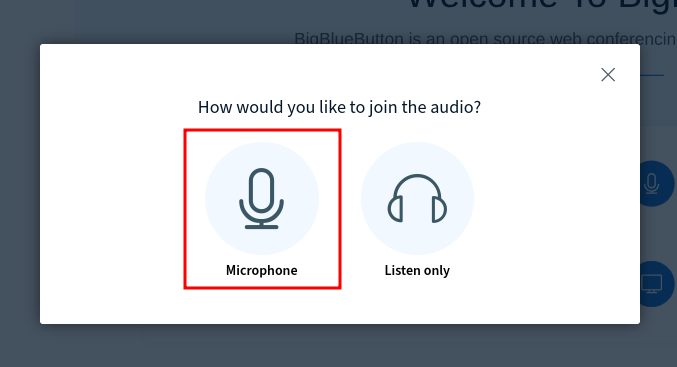
As the presenter, allow microphone access.
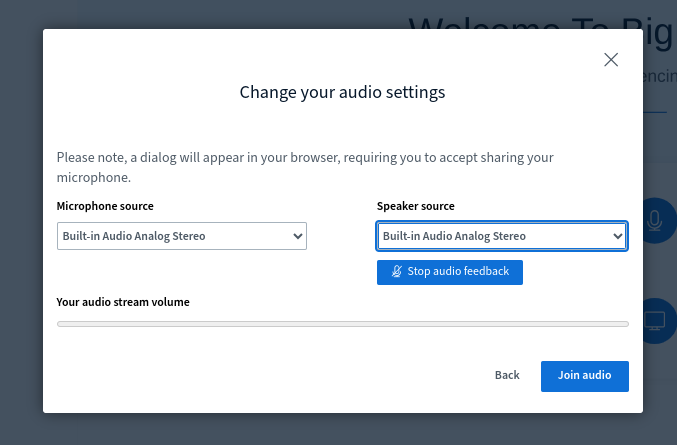
Select the audio input and output devices.
The class is now set up.
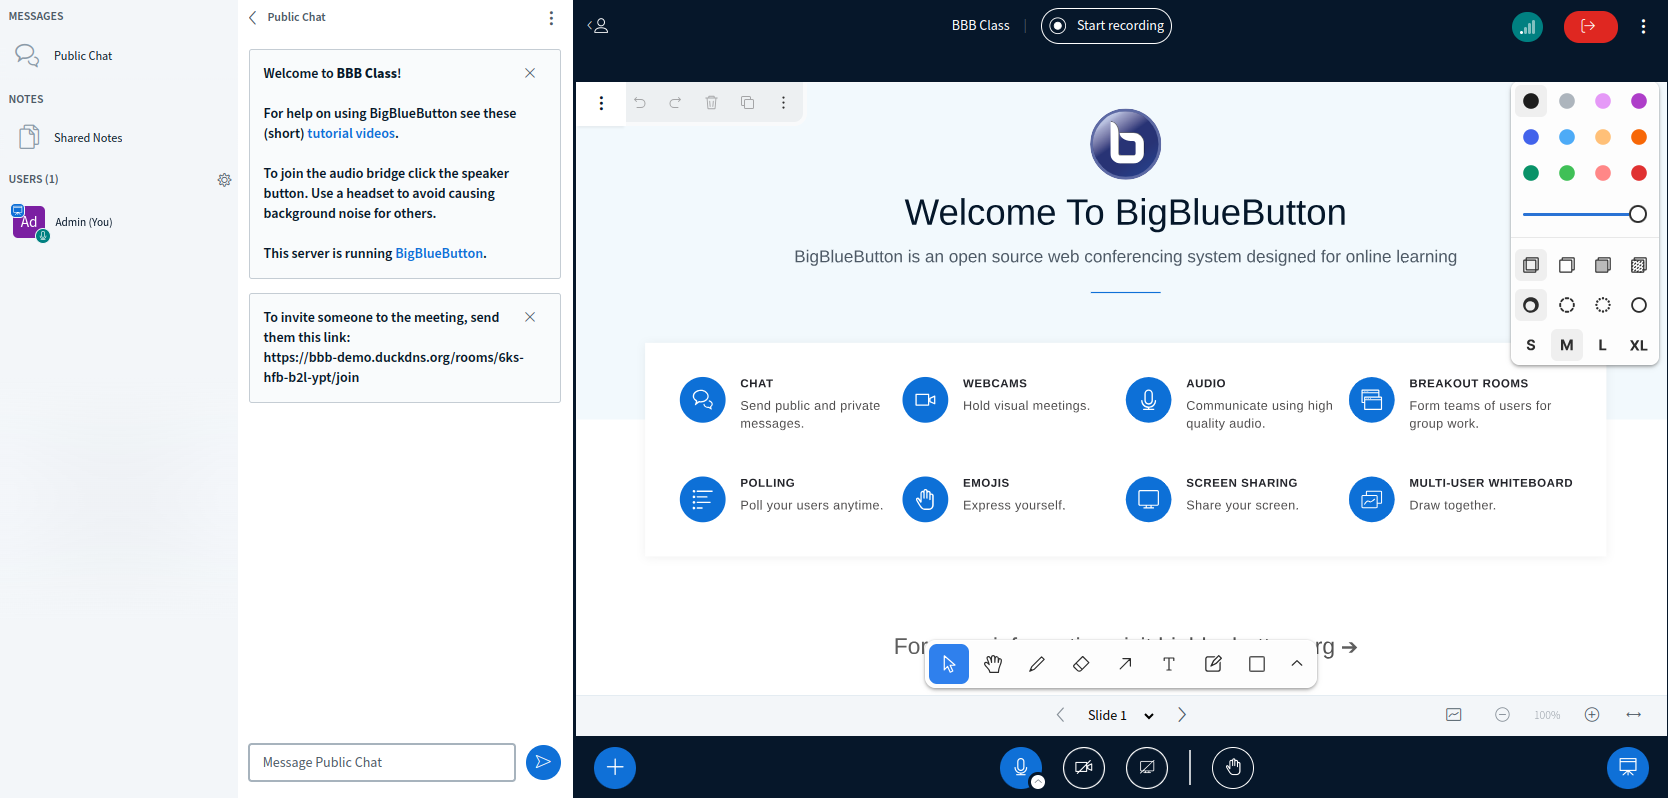
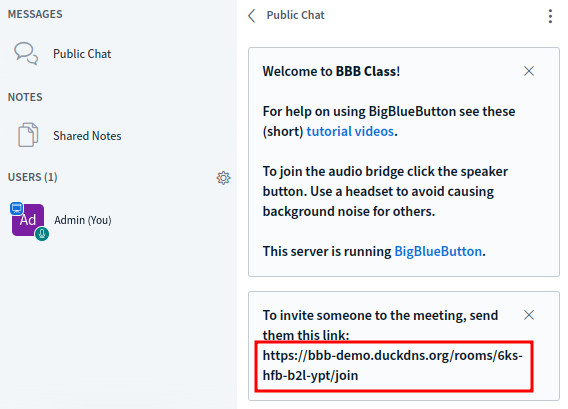
Share the class link with students via the chat box.
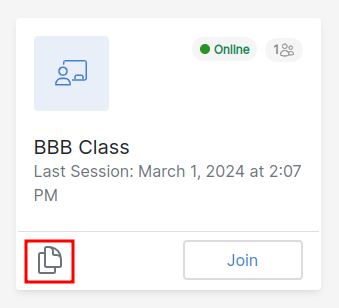
Or share it from the main dashboard.
Students do not need an account. The URL alone grants access in a default installation (additional security measures can be configured to restrict access).
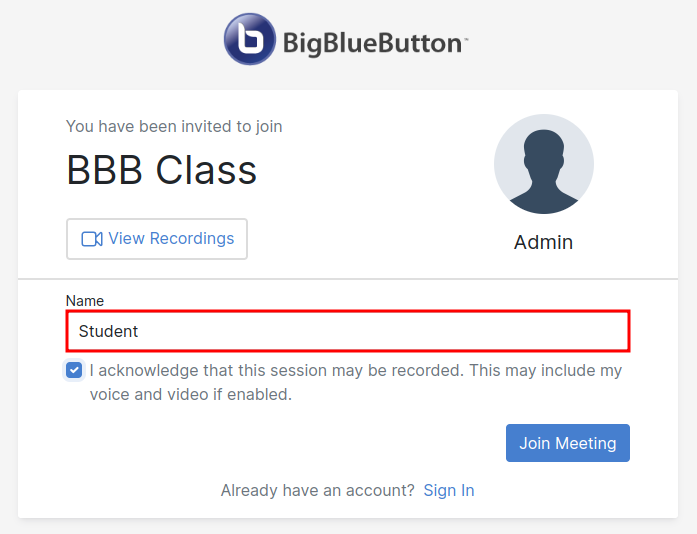
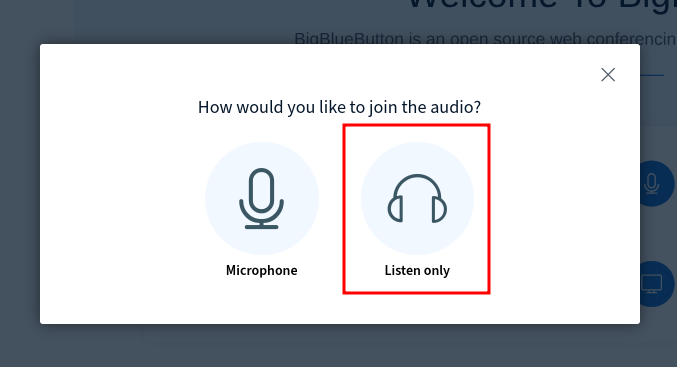
In most cases, students will only watch and listen.
The class is ready to begin.