A CDN is a group of servers distributed around the world. It improves your website’s speed by caching content in multiple locations, reducing the load on the origin server and handling traffic peaks.
Many CDNs include a WAF (Web Application Firewall) and protection against DDoS (Distributed Denial of Service) attacks. The IP address of the origin server is never exposed.
Cloudflare offers a free plan with DNS hosting, CDN, WAF, and API access. It also includes Tunnel (for securely exposing services) and SSO (Single Sign-On).
A open-source alternative similar to Cloudflare Tunnel and SSO (but without CDN or WAF) is Pangolin [Link]. It uses WireGuard for tunneling and Traefik for reverse proxy and certificate management.
Back to Cloudflare…
SETTING UP FREE DNS SERVICE
Create an account and add your first site (domain):
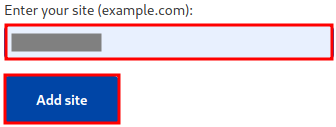
Select the free option:

Cloudflare will automatically detect your existing DNS records:
![]()
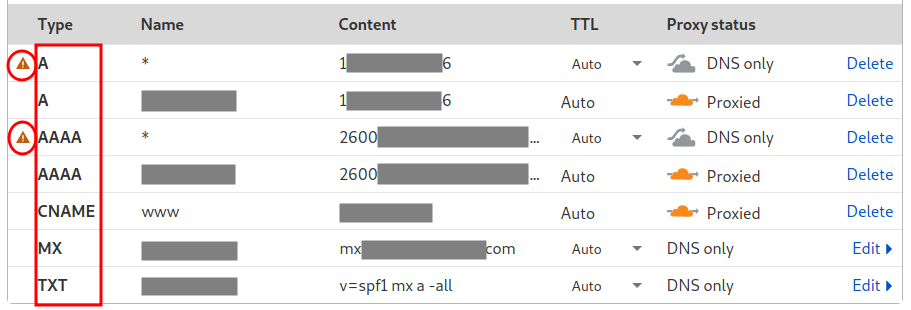
Note: Two records have warnings on the left. These records expose your server’s IP address and should be removed. Delete these two lines to hide your web server!
Cloudflare will then show you the new nameservers to set at your domain registrar:
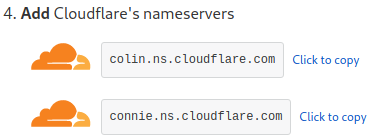
Point your domain to the Cloudflare nameservers:

Answer a few questions about basic features:
Setup completes after a few hours once the new nameservers propagate across the Internet:
ENABLING SSL/TLS WILDCARD

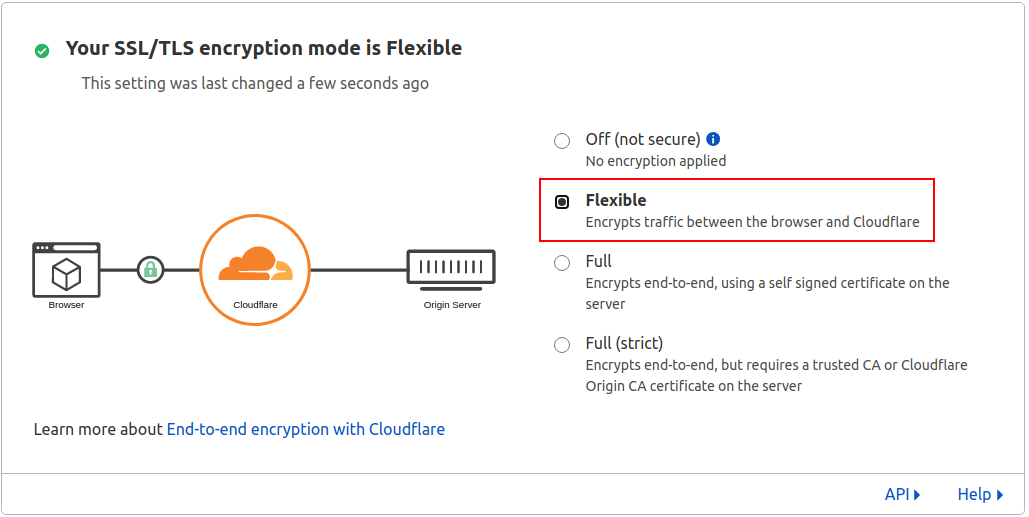
On the SSL/TLS tab, select Flexible for now:
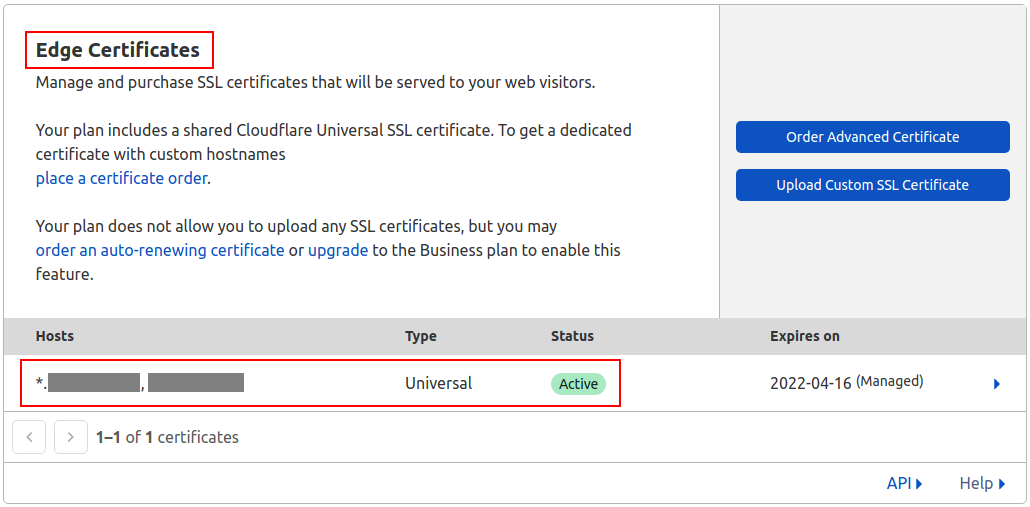
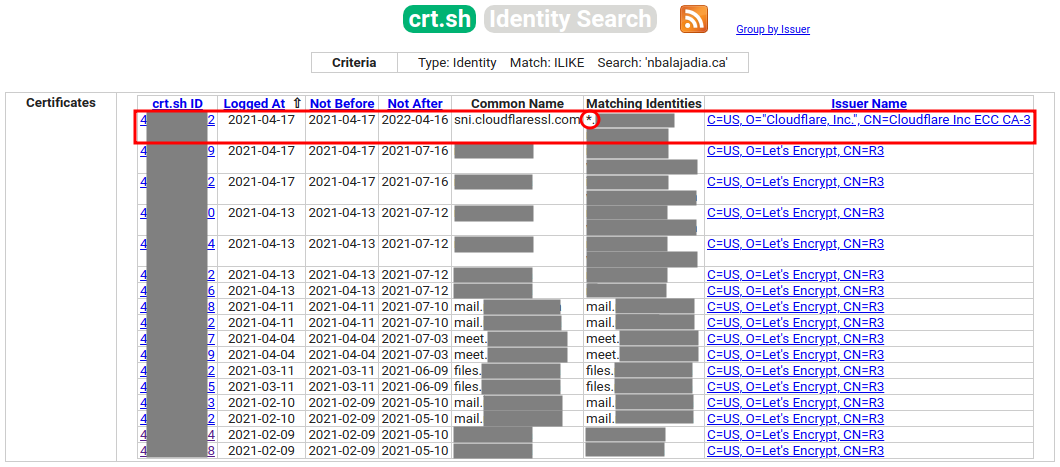
A wildcard certificate hides your subdomains (any old certificates will eventually expire):
Copy the private and public keys to a safe location.
Change the mode to Full or Full (strict):
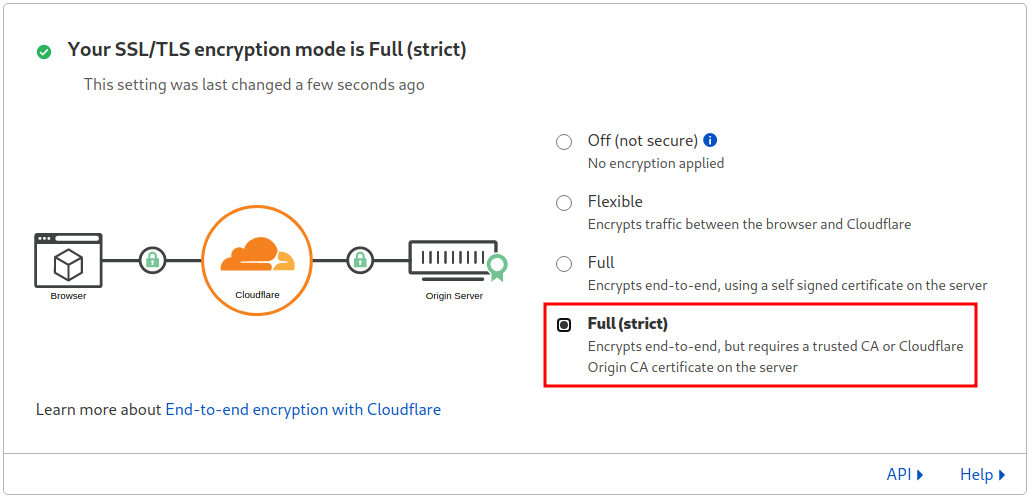
Your site may go offline until you install the certificates on your origin server.
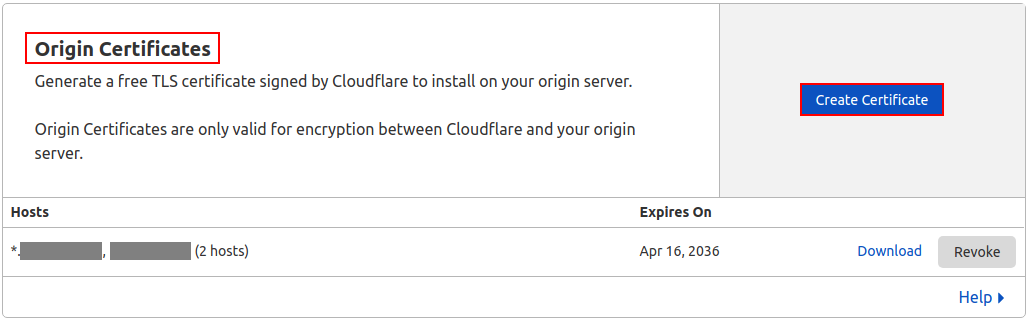
INSTALL ORIGIN CERTIFICATE ON THE SERVER
Create the directory /etc/cloudflare/ and save the following files using the keys you copied earlier:
/etc/cloudflare/example.com.pem
-----BEGIN CERTIFICATE-----
...
-----END CERTIFICATE-----
/etc/cloudflare/example.com.key
-----BEGIN PRIVATE KEY-----
...
-----END PRIVATE KEY-----
For NGINX, edit /etc/nginx/sites-available/default and add:
server {
   listen                443;
   ssl                   on;
   ssl_certificate       /etc/cloudflare/example.com.pem;
   ssl_certificate_key   /etc/cloudflare/example.com.key;

   server_name           example.ca;
   access_log            /var/log/nginx/nginx.vhost.access.log;
   error_log             /var/log/nginx/nginx.vhost.error.log;

   root                  /var/www/html/;
   index                 index.php index.html;

   location ~ \.php$ {
      include            snippets/fastcgi-php.conf;
      fastcgi_pass       unix:/var/run/php/php7.4-fpm.sock;
   }
}
For Apache2, edit /etc/apache2/sites-available/000-default.conf and add:
<VirtualHost *:443>
   SSLEngine                on
   SSLCertificateFile       /etc/cloudflare/example.com.pem
   SSLCertificateKeyFile    /etc/cloudflare/example.com.key
   SSLCertificateChainFile  /etc/cloudflare/ca.pem

   ServerAdmin              [email protected]
   DocumentRoot             /var/www/html
   ServerName               example.com
   ServerAlias              www.example.com
   ErrorLog                 ${APACHE_LOG_DIR}/error.log
   CustomLog                ${APACHE_LOG_DIR}/access.log combined
</VirtualHost>
After editing the web server config, restart the service.
For Apache2, make sure the SSL module is enabled before restarting:
sudo a2enmod ssl
The red line in the Apache configuration is optional and only needed in some setups. The CA file can be found in the Cloudflare help center.
Set permissions to 600 on all certificate files:
sudo chmod 600 /etc/cloudflare/*
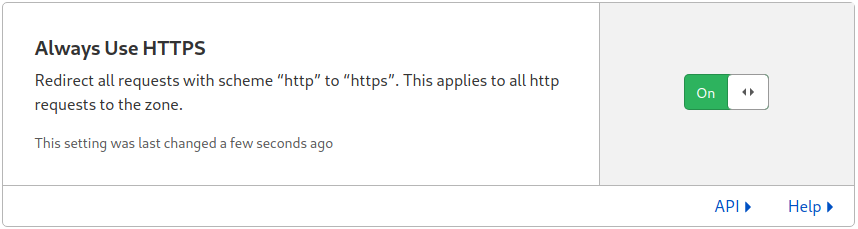
You can now block port 80 on your server, since Cloudflare will automatically redirect all HTTP traffic to HTTPS.
Did you know you can use Cloudflare as Dynamic DNS for a website hosted on a Raspberry Pi?
Yes! Using the API, you can automate updates whenever your IP address changes:
git clone https://github.com/K0p1-Git/cloudflare-ddns-updater.git
cd cloudflare-ddns-updater
cp cloudflare-template.sh cloudflare.sh
nano cloudflare.sh
Customize the following variables at the top of the script:
auth_email="[email protected]"
auth_key="c7d36f12f8c9189f053ca39e90e859eaa77b1"
zone_identifier="542818cd0a64a3b2b96ef8859c6ddac0"
record_name="myhome.mydomain.com"
Replace the values in bold with your own, make the file executable, and run it:
chmod +x cloudflare.sh
./cloudflare.sh
If your domain or subdomain updates successfully, add the following line to crontab (crontab -e):
* * * * * /path/cloudflare.sh > /dev/null 2>&1
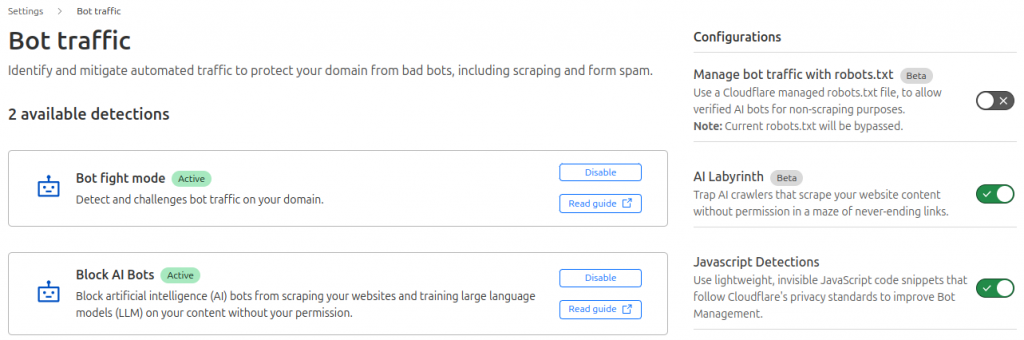
BONUS
Take a look at AI Labyrinth, a new tool designed to combat web-crawling bots that harvest content for AI training without consent. This free, opt-in solution detects suspicious bot activity and leads them through a maze of AI-generated decoy pages, wasting their time and resources.