ShadowSocks is an open-source server-client solution created to circumvent state censorship by mimicking a normal HTTPS connection.
It is not a full VPN but provides the encryption needed to bypass national censorship such as that enforced in China, Kazakhstan, Iran, and Russia.
It comes in many flavors written in different languages and is also available as containers or through the official repositories of major Linux distributions.
This tutorial covers the lightweight C implementation, which offers the best performance.
With a simple VPS, single core, and 1 GB of RAM you can easily achieve 1 Gbps for download and upload if your internet connection supports it.
Ubuntu / Raspbian / Kali / Debian
sudo apt update && sudo apt install shadowsocks-libev -y
Find more information on the official website [Link] or repository [Link].
The same application can be configured to work as either a Server or a Client.
Server configuration:
After installing shadowsocks-libev, edit its configuration file.
sudo nano /etc/shadowsocks-libev/config.json
{
"server":"0.0.0.0",
"mode":"tcp_and_udp",
"server_port":8080,
"local_port":1080,
"password":"ENTER-PASSWORD-HERE",
"timeout":60,
"method":"chacha20-ietf-poly1305"
}
Note: Setting the server to 0.0.0.0 makes it listen on all interfaces. Port 8080 is where it will accept connections from clients. ENTER-PASSWORD-HERE can be any password you choose.
sudo ufw allow 8080
sudo systemctl enable shadowsocks-libev.service
sudo systemctl restart shadowsocks-libev.service
sudo systemctl status shadowsocks-libev.service
Client configuration (Linux):
After installing shadowsocks-libev, stop the server service, disable it from starting on boot, and create a client configuration file.
sudo systemctl stop shadowsocks-libev
sudo systemctl disable shadowsocks-libev
sudo cp /etc/shadowsocks-libev/config.json /etc/shadowsocks-libev/client.json
sudo nano /etc/shadowsocks-libev/client.json
{
"server":"SERVER-IP-ADDRESS",
"mode":"tcp_and_udp",
"server_port":8080,
"local_address":"127.0.0.1",
"local_port":1080,
"password":"ENTER-PASSWORD-HERE",
"timeout":60,
"method":"chacha20-ietf-poly1305"
}
Note: Set SERVER-IP-ADDRESS to your server’s IP or a hostname that resolves to it. Use port 8080 to match what the server is listening on, and the same ENTER-PASSWORD-HERE set on the server. The client will run as a local SOCKS5 proxy on port 1080 (127.0.0.1). Adjust as needed.
sudo systemctl enable shadowsocks-libev-local@client.service
sudo systemctl start shadowsocks-libev-local@client.service
sudo systemctl status shadowsocks-libev-local@client.service
Browser configuration:
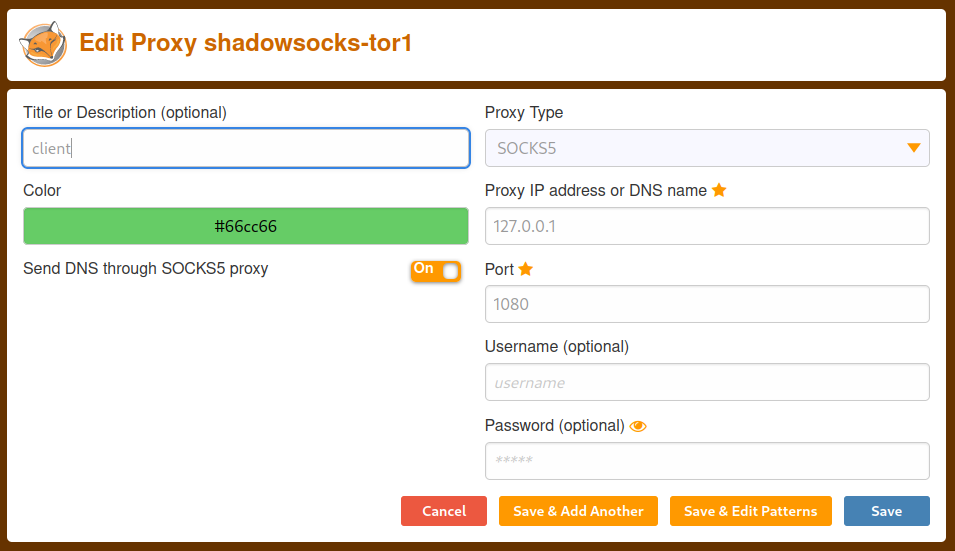
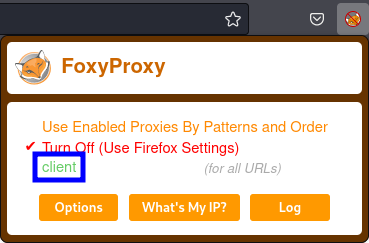
On Firefox, it is recommended to use the FoxyProxy extension [Link].
ShadowSocks also supports other operating systems including MacOS, iOS, Android, and more [Link].
- Windows
pip install shadowsocks
- OpenWRT
opkg install shadowsocks-libev
opkg install shadowsocks-libev-polarssl