GUACAMOLE
Apache Guacamole [Link] is a self-hosted remote access gateway with Web GUI.
Most evident benefits of using Guacamole:
- Compatible with: VNC, RDP, and SSH;
- The web interface does not require any client or plugin;
- Centralize all the credentials in a single place;
- All the accessed machines can be set to only allow access from the gateway’s IP;
- It can be set to Two Factor Authentication, which none of the compatible protocols are capable of;
- Can be run on a container.
x86_64 Architecture
sudo docker run -p 8080:8080 -d --name guaca -v ~/config:/config oznu/guacamole
ARM Architecture
sudo docker run -p 8080:8080 -d --name guaca -v ~/config:/config oznu/guacamole:armhf
If desired add the arguments -e “EXTENSIONS=auth-duo,auth-ldap” for any of the authentication types:
- auth-ldap – LDAP Authentication
- auth-duo – Duo two-factor authentication
- auth-header – HTTP header authentication
- auth-cas – CAS Authentication
- auth-openid – OpenID Connect authentication
- auth-totp – TOTP two-factor authentication
- auth-quickconnect – Ad-hoc connections extension
Use your browser to get access to the gateway HTTP://ip_or_hostname:8080/
Note that it is not encrypted (HTTPS) and is highly recommended to do not to expose it directly to the internet. If it will be running on the cloud set up a VPN to reach it.
The default username and password are guacadmin.

At the top right go to settings and create a new user and password, then delete the current default user.
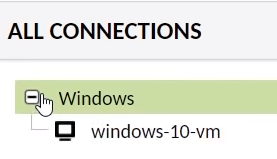
Create groups and connections to each device you want to have remote access to.
The connections will be available on the Home page.
TELEPORT
While Guacamole is a great tool for a home lab or for managing desktops, for managing Linux systems in an enterprise with full audibility (compliance) I would recommend Teleport [link].
Teleport solves solved the problem of managing user accounts and their SSH-keys plus it does not need to expose any port to the internet or usage of VPN.
At the time of the connection, Teleport creates a short living certificate that only last for the durantion of the session and record every thing that happened during that session in a recoding format that can be watched later.
Installation and configuration.
curl https://cdn.teleport.dev/install-v17.2.9.sh | sudo bash -s 17.2.9
sudo teleport configure -o file --acme --acme-email=devops@domain.com --cluster-name=teleport.domain.com
sudo systemctl enable teleport --now
sudo ufw allow 80,443,30,224,3024,3080
Create the admin user and grant it the appropriate permissions.
sudo tctl users add admin --roles=editor,access --logins=root,ubuntu
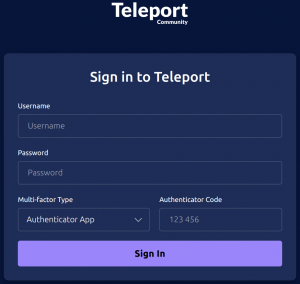
It will output an invitation link for the user to complete the setup (password and MFA). E.g., https://teleport.domain.com/web/invite/****************************
Then, click on:

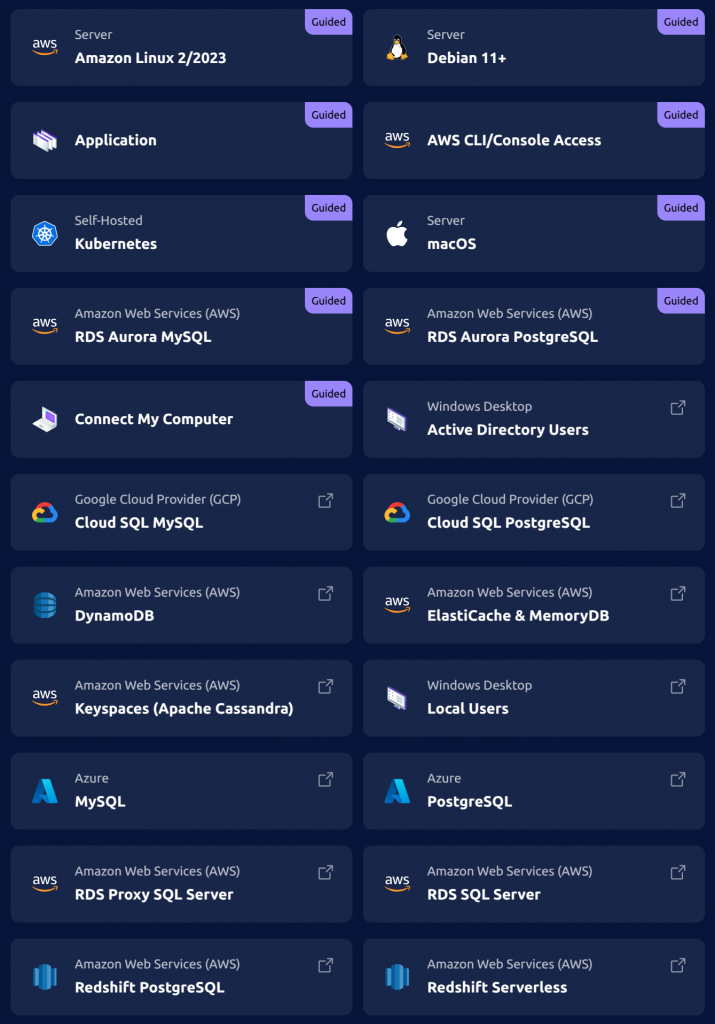
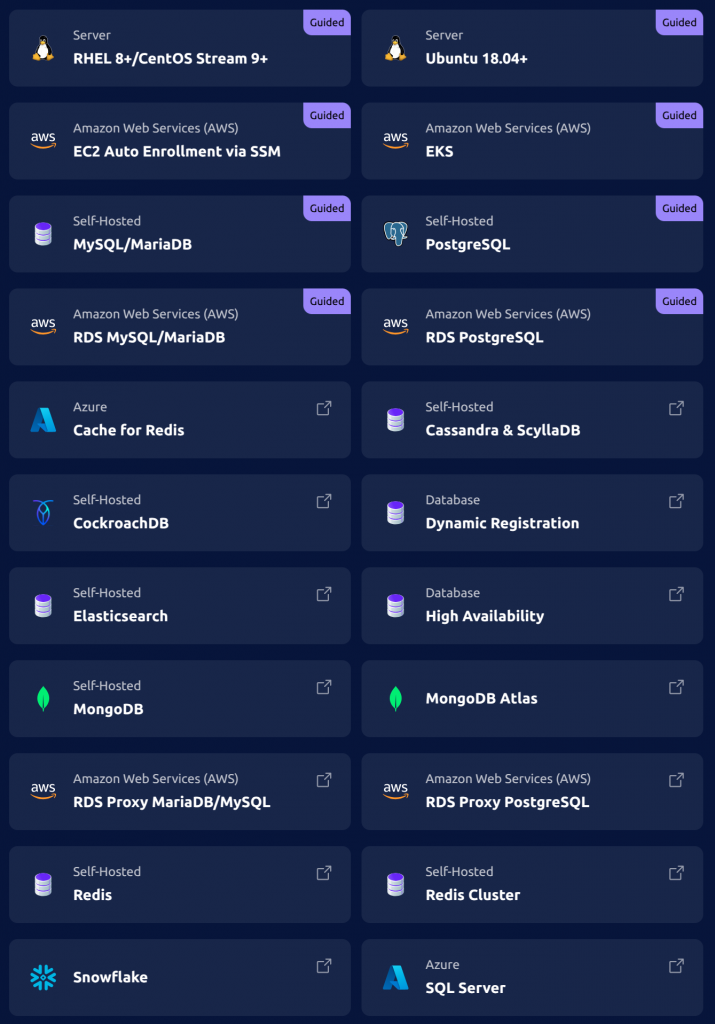
A huge list of integrations will lead the way to enroll the resources: