Jitsi [Link] is an open-source video conferencing solution for web and mobile.
- HD audio and video
- Unlimited meetings
- Up to 50 participants at a time
- End-to-end encryption
- Simultaneous screen sharing
- Remote control
- Integration with Google, Microsoft, and Slack
- And more
Initial Configuration
sudo hostnamectl set-hostname example.com
sudo nano /etc/hosts
Add the same domain as follows:
127.0.0.1 localhost example.com
Firewall
sudo ufw limit 22
sudo ufw allow 80
sudo ufw allow 443
sudo ufw allow 4443
sudo ufw allow 10000
sudo ufw enable
sudo ufw status numbered
Installing
wget https://download.jitsi.org/jitsi-key.gpg.key
sudo apt-key add jitsi-key.gpg.key
sudo echo "deb https://download.jitsi.org stable/" > /etc/apt/sources.list.d/jitsi-stable.list
sudo apt update
sudo apt install jitsi-meet -y
When prompted, enter your domain: example.com
Then select: Generate a new self-signed certificate.
The certificate will be located at: /etc/jitsi/meet/
At this point the server is already secure and ready to use, but let’s go ahead and create a public certificate.
Install Let’s Encrypt and Certbot
sudo apt install certbot -y
sudo sed -i 's/\.\/certbot-auto/certbot/g' /usr/share/jitsi-meet/scripts/install-letsencrypt-cert.sh
sudo ln -s /usr/bin/certbot /usr/sbin/certbot
sudo /usr/share/jitsi-meet/scripts/install-letsencrypt-cert.sh
Enter your email address to receive reminders when the certificate is about to expire.
Open your browser and navigate to: https://example.com
The server is now up and running. Any visitor can start a meeting by giving it a name:
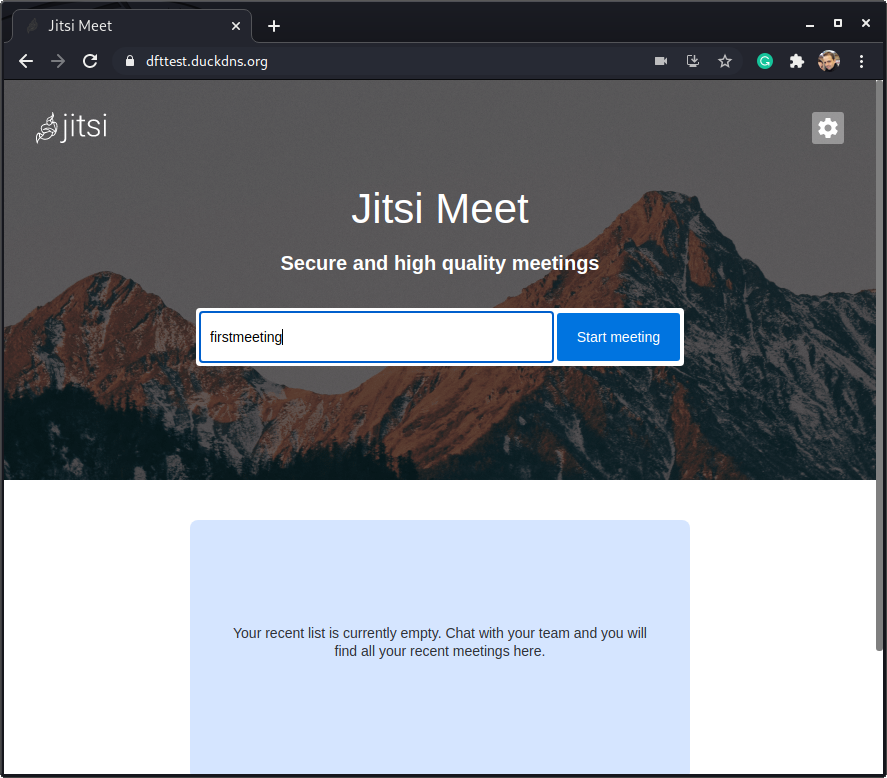
Copy and share the link from the address bar: https://example.com/firstmeeting
The meeting name is appended to the server address.
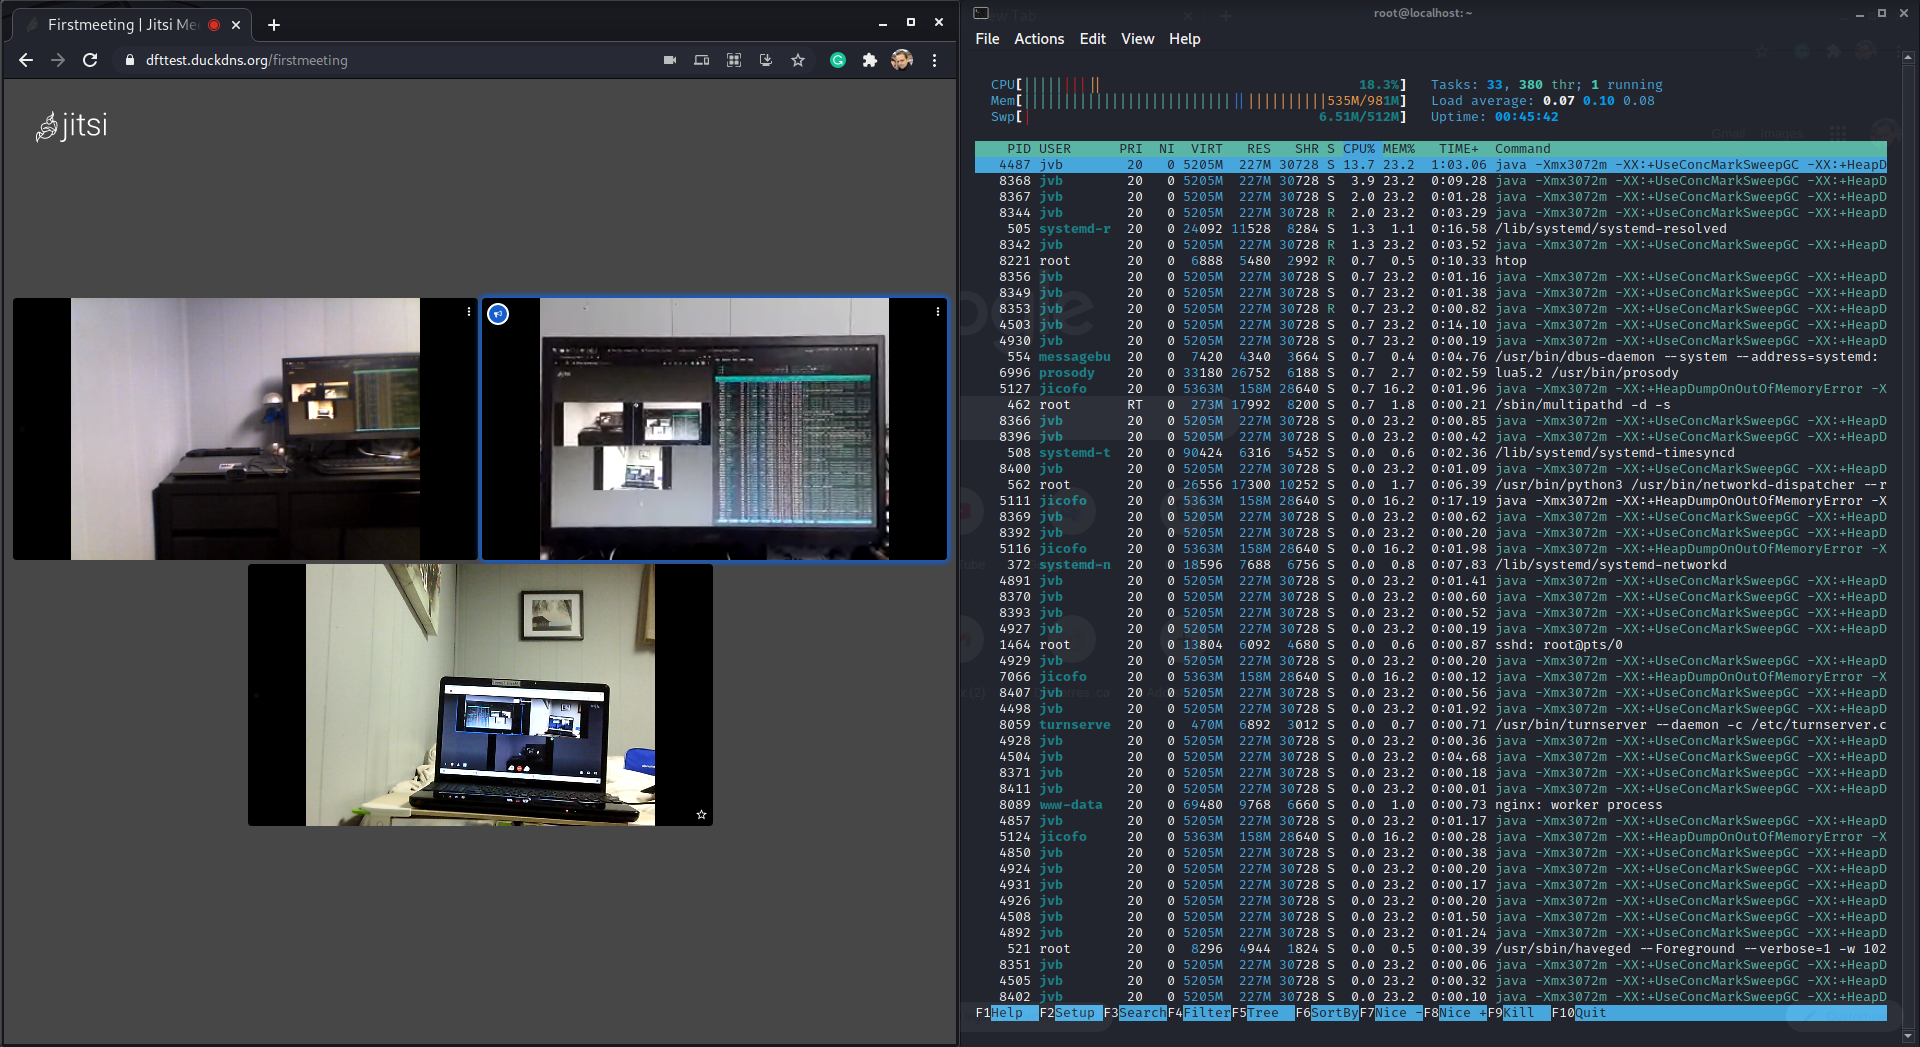
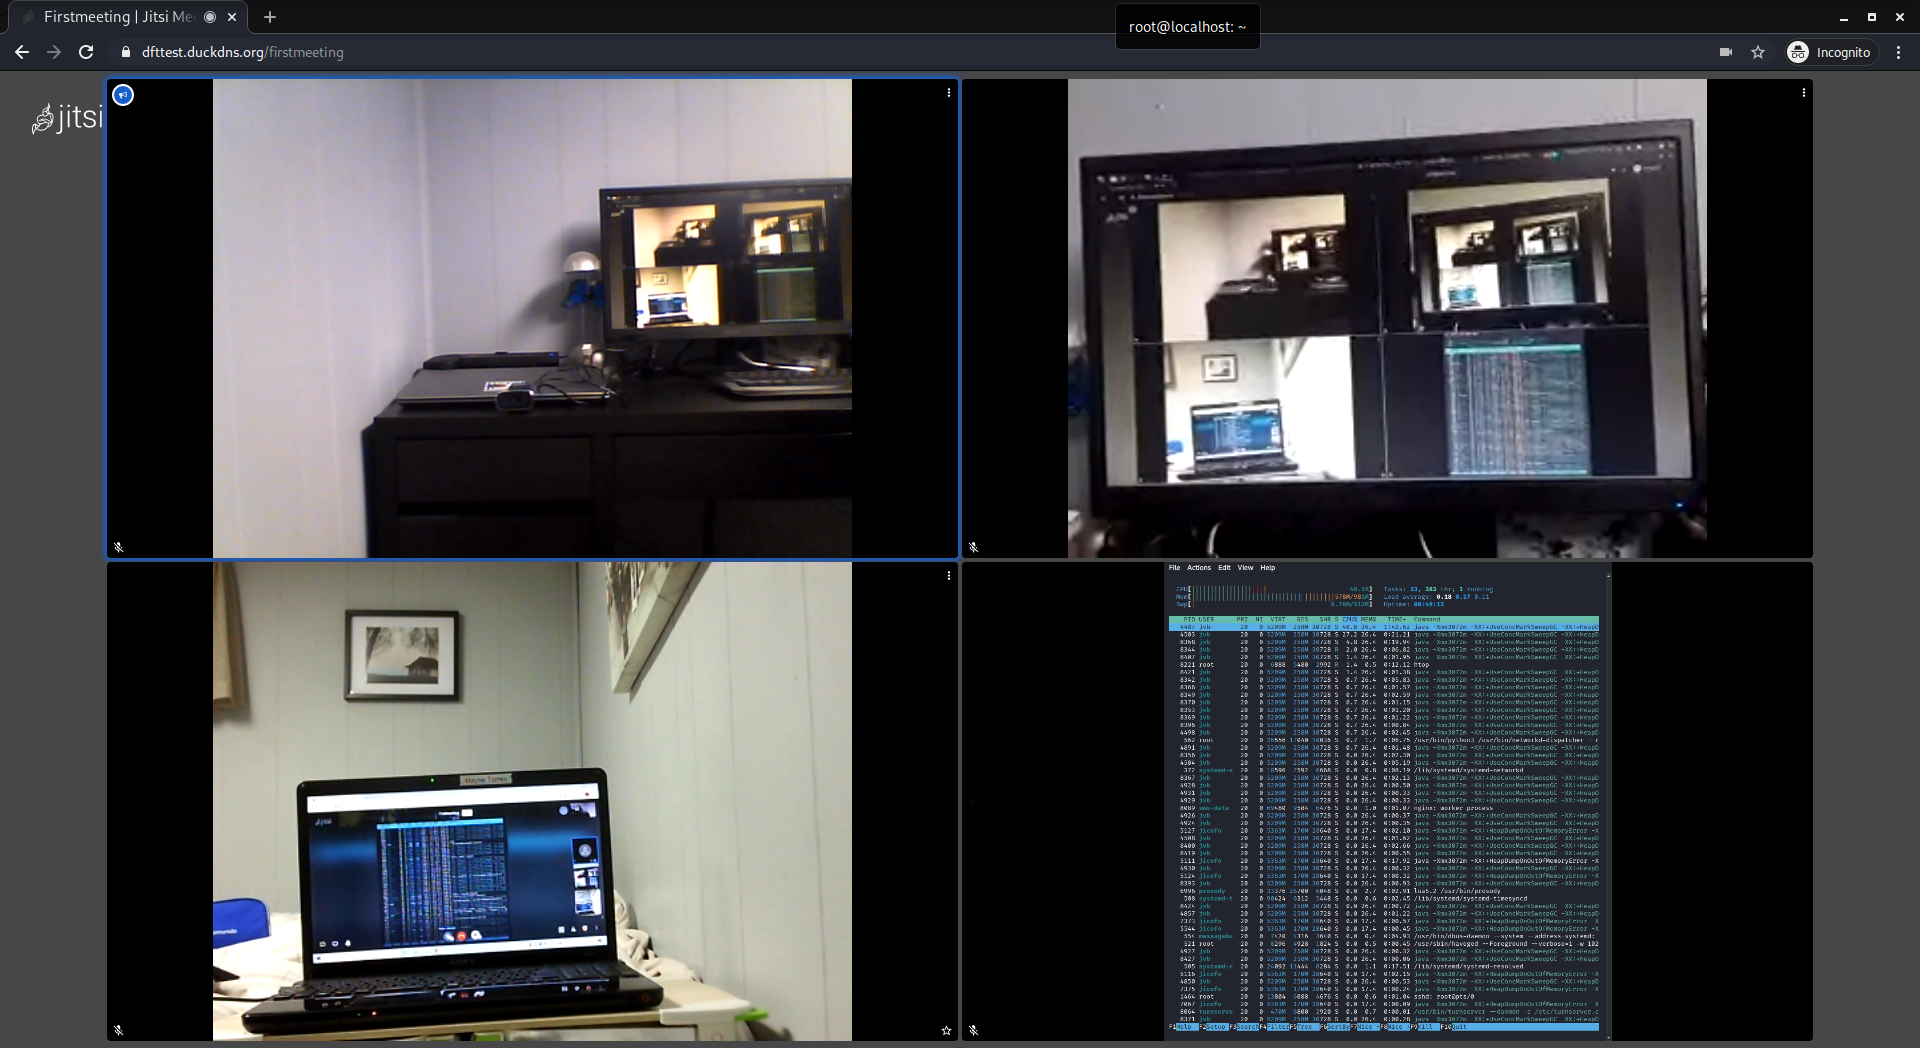
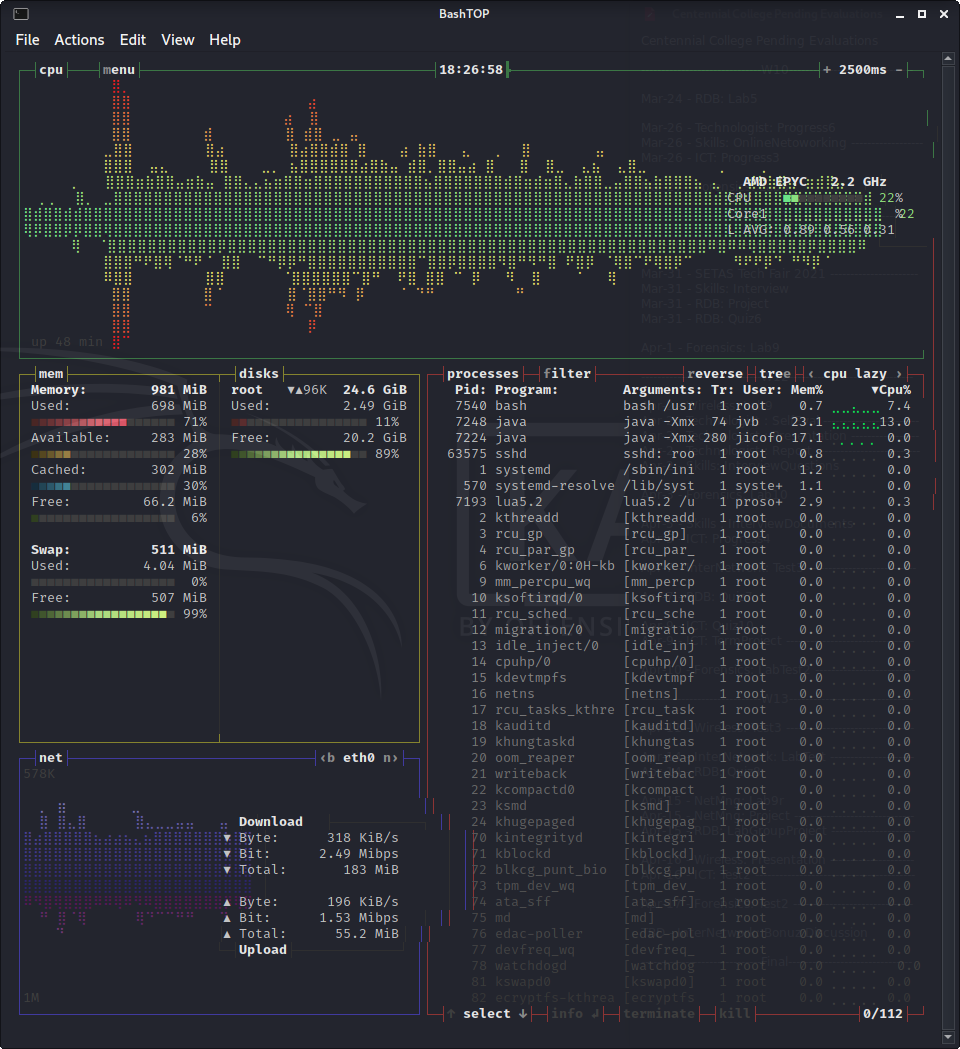
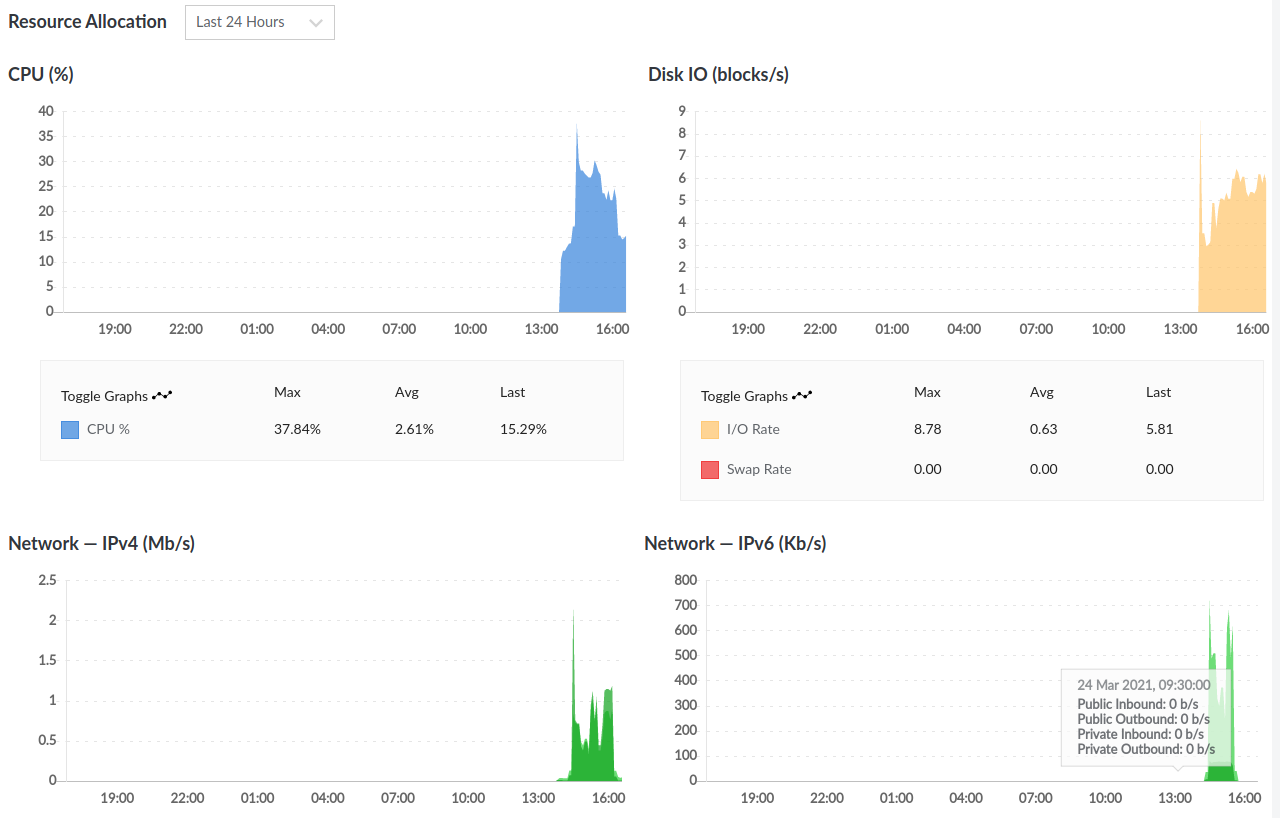
Workload tests on the server:
- Hardware: the most basic Linode virtual machine (1 vCPU, 1 GB RAM).
- 3 participants with audio and video (Linux, Windows 10, and Android): CPU usage around 20%.
- 4 participants with one sharing their screen: CPU usage around 40%.
Access Control
This prevents anyone on the internet from creating meetings and consuming your server’s resources.
sudo nano /etc/prosody/conf.avail/example.com.cfg.lua
Edit the authentication option:
...
VirtualHost "example.com"
    ...
    authentication = "internal_plain"
...
This setting allows only registered users to create and access meetings.
If you want to invite external participants (non-registered users), add the following to the bottom of the file:
VirtualHost "guest.example.com"
    authentication = "anonymous"
    c2s_require_encryption = false
You do not need to create the guest subdomain; it is used internally by Jitsi only.
sudo nano /etc/jitsi/meet/example.com-config.js
Update the anonymousdomain option accordingly:
...
    hosts: {
        ...
        domain: 'example.com',
        ...
        anonymousdomain: 'guest.example.com',
...
Next:
sudo nano /etc/jitsi/jicofo/sip-communicator.properties
Append:
org.jitsi.jicofo.auth.URL=XMPP:example.com
Restart all services:
sudo systemctl restart prosody
sudo systemctl restart jicofo
sudo systemctl restart jitsi-videobridge2
Create users with the following command:
sudo prosodyctl register user1 example.com password1
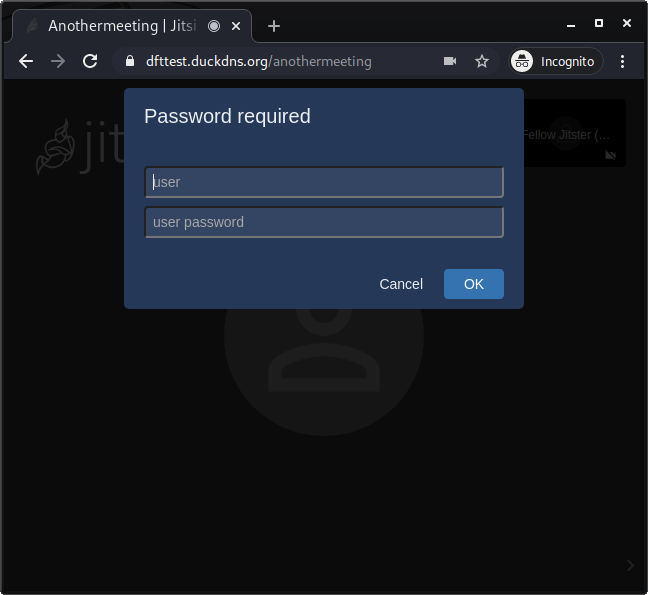
Now, when someone tries to create or join a meeting, they will wait in a lobby until the host connects.
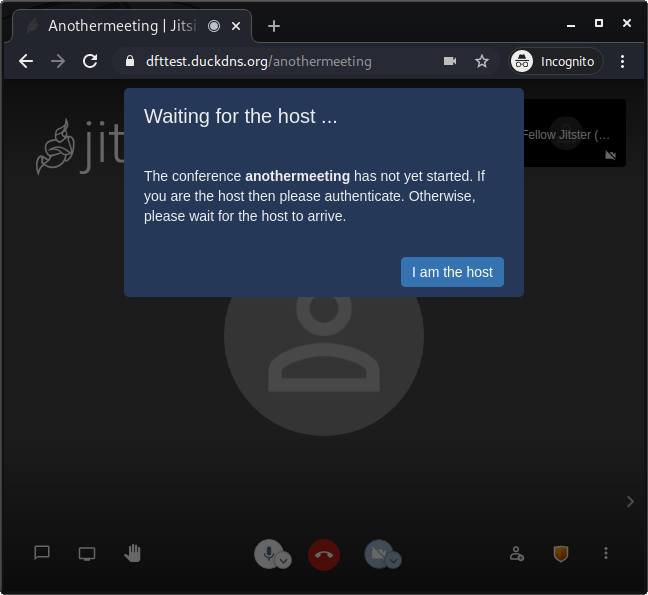
The host can click the button and enter their credentials to start the meeting:
Additional commands for managing your conference service:
sudo prosodyctl --help
sudo prosodyctl adduser [email protected]
sudo prosodyctl deluser [email protected]
sudo prosodyctl passwd [email protected]
sudo prosodyctl reload
Read more about how to monitor your server’s resources via CLI [Link].