Colab [Link] is a Google research project for machine learning. It provides large computing capacity for CPU and GPU-intensive applications.
ColabCat [Link] is a project for running Hashcat in Colab using a powerful GPU: the NVIDIA Tesla K80 [Link].
- Open the following link:
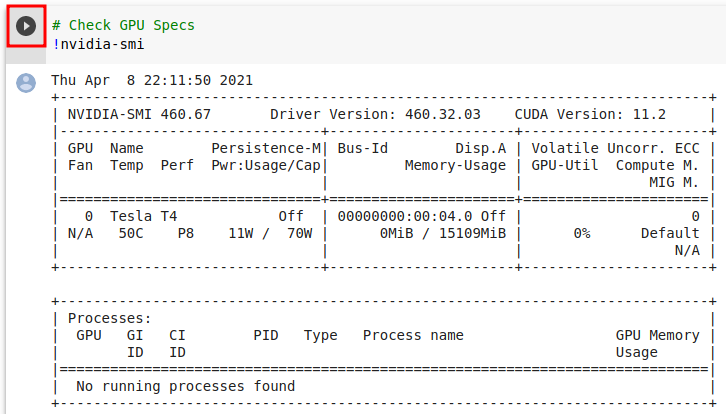
- Run the first cell to confirm it is using the NVIDIA GPU by clicking the play button:
- In your Google Drive, create a directory called dothashcat and inside it another directory called hashes.
- Place the file containing the hashes to be cracked inside the hashes directory. For the WPA2 example below, it must be named test.hccapx.
- Click the link shown below to generate a one-time token that allows ColabCat to access your Google Drive:
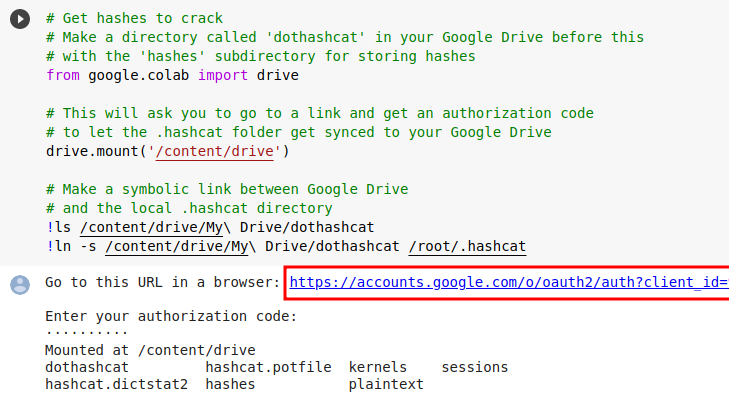
- After copying the token, click the play button and paste it when prompted.
- Output: Drive already mounted at /content/drive …
- Click the play button to begin the Hashcat installation:

- Wait for the installation to finish. This may take one or two minutes:

- Click the next play button to check the installed Hashcat version. It should be v6.1.1 or newer.
- Click the following play button to check the hardware speed. It should be around 363.7 kH/s.
- Click the next play button to download the wordlists from the SecLists repository.
- Click the last play button to verify that the hashes file is accessible for the cracking process.
- Output: /root/.hashcat/hashes
The system is now ready to perform a cracking job.
Below is the command ready to run if you are cracking a WPA/WPA2 handshake:

If you need a different command, click the + Code button:
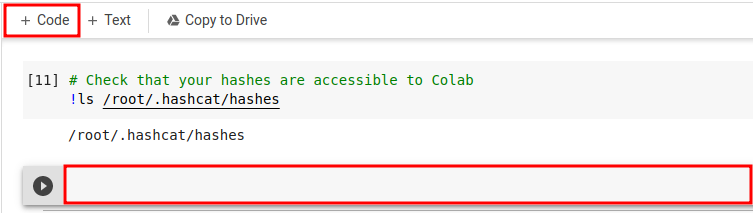
You can then type any command according to your needs.
It is also possible to open a shell by typing !/bin/bash and clicking the play button:
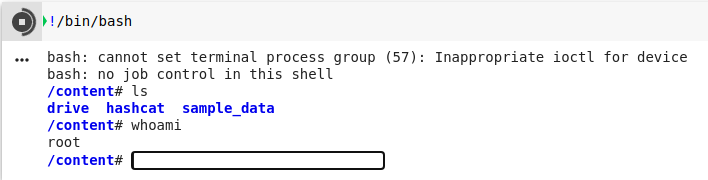
Note that the shell does not echo what you type, so it is best to write your commands in a text editor first and paste them in.
You can also use apt-get to install additional tools such as John the Ripper if needed.