The choice between NFS and Samba depends on who you are sharing with. Linux supports both NFS and Samba, but Windows only supports Samba.
To learn about NFS file sharing, read: NFS Server and Client on Ubuntu 22.04 [Link].
SERVER – SAMBA CONFIG
sudo apt update
sudo apt install samba -y
sudo ufw allow samba
sudo nano /etc/samba/smb.conf
The Samba configuration file is self-explanatory. Parameters prefixed with ‘;‘ are commented out and inactive.
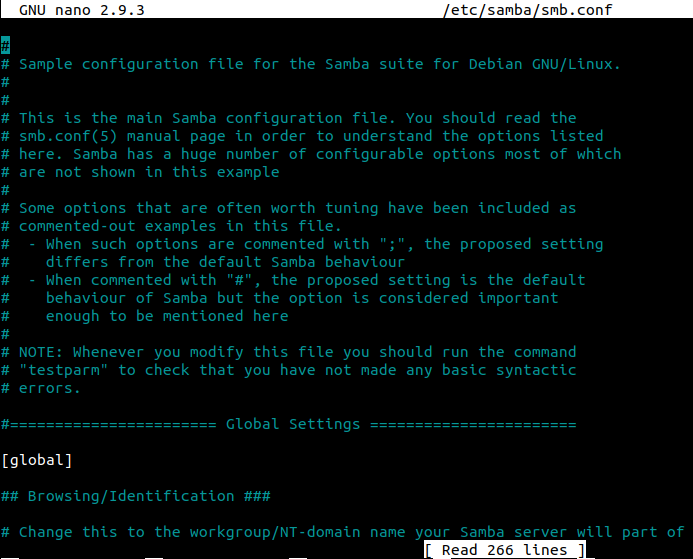
Samba configuration is organized in blocks. Add this block at the end of the file:
[Home_userName]
path = /home/userName/
comment = Personal Files
writeable = yes
create mask = 0777
directory mask = 0777
browseable = yes
public = yes
valid users = userName
Customize this block to match your setup:
| [Home_userName] | The share name. |
| path = /home/userName/ | The directory being shared. |
| comment = Personal Files | A description of the share. |
| writeable = yes | Allow the client to write. |
| create mask = 0777 | Permissions applied when a file is created. |
| directory mask = 0777 | Permissions applied when a directory is created. |
| browseable = yes | Make the share visible when browsing. |
| public = no | Deny guest users. |
| valid users = userName | Allow user ‘userName‘ to access the share. |
Note: parameter syntax may vary depending on the Samba version. Always refer to the examples in the config file or check the manual:
man smb.conf
You must set a Samba password for the user and enable it, even if the user already has a local system password. Samba manages passwords separately.
adduser -s /usr/sbin/nologin userName
sudo smbpasswd -a userName
sudo smbpasswd -e userName
After editing the configuration file, restart the service and verify it is running:
sudo systemctl restart smbd
sudo systemctl status smbd
OR
sudo service smbd restart
sudo service smbd status
CLIENT – SAMBA MOUNT
sudo apt update
sudo apt install cifs-utils -y
Test connectivity and authentication:
smbclient -U userName -L \\\\192.168.2.40
smbclient -U userName \\\\192.168.2.103\\Home_userName
To mount a remote share on the local file system:
sudo mount -t cifs -o username=userName //192.168.2.40/Home_userName /tmp/hu
Customize this command to match your setup:
| -t cifs | Specifies the filesystem type ‘cifs’, the protocol used by Samba. |
| -o username=userName | The user to authenticate as. |
| //192.168.2.40/ | The server address. |
| Home_userName | The share name. |
| /tmp/HU | The local mount point. |
The directory ‘/tmp/HU‘ must exist on the local file system. If it does not, create it:
sudo mkdir /tmp/HU
sudo chmod 755 /tmp/HU
To mount automatically on boot, edit fstab:
sudo nano /etc/fstab
Add this line at the end of the file:
//192.168.2.40/Home_userName /tmp/HU cifs username=userName,password=pass,iocharset=utf8,file_mode=0777,dir_mode=0777
Customize this line to match your setup:
| //192.168.2.40/ | IP address of the server. |
| Home_userName | The share name. |
| /tmp/HU | The local mount point. |
| cifs | The filesystem type, the protocol used by Samba. |
| username=userName | The user to authenticate as. |
| password=pass | The user’s password. |
| iocharset=utf8, sec=ntlm 0 0 |
Keep these arguments as they are. |
This guide was written and tested on Ubuntu 18.04, 20.04, 22.04, and Raspbian Buster 10. The firewall command does not apply to Raspbian, but everything else works the same.
To apply the new fstab entries without rebooting:
sudo mount -a