Unifi offers a free (but not open-source) controller solution based on Linux with an amazing web GUI and integration with their cloud service [Link].
INSTALLING UNIFI ON UBUNTU 20.04
sudo apt update
sudo apt install ca-certificates apt-transport-https -y
echo 'deb https://www.ui.com/downloads/unifi/debian stable ubiquiti' | sudo tee /etc/apt/sources.list.d/100-ubnt-unifi.list
sudo wget -O /etc/apt/trusted.gpg.d/unifi-repo.gpg https://dl.ui.com/unifi/unifi-repo.gpg
Install the controller service:
sudo apt-get update
sudo apt install openjdk-8-jre-headless unifi -y
sudo systemctl status --no-pager --full mongodb.service unifi.service
Using Chrome (recommended), navigate to the web interface at https://10.0.0.1:8443/ (replace the IP accordingly).
Follow the 6 steps to create a local account for your private controller.
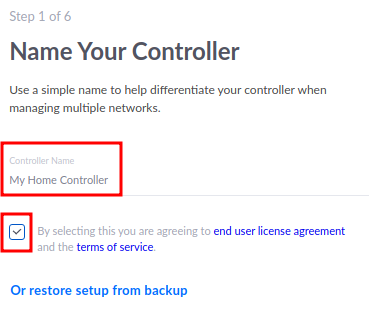
Give your controller a name and click Next.
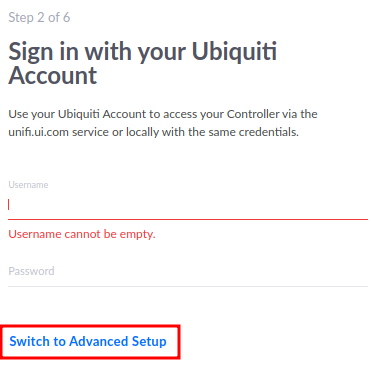
Alternatively, you can use a Unifi account and expose the controller to the internet to manage multiple sites (useful for managing client infrastructure, for example). For now, skip the login and switch to Advanced.
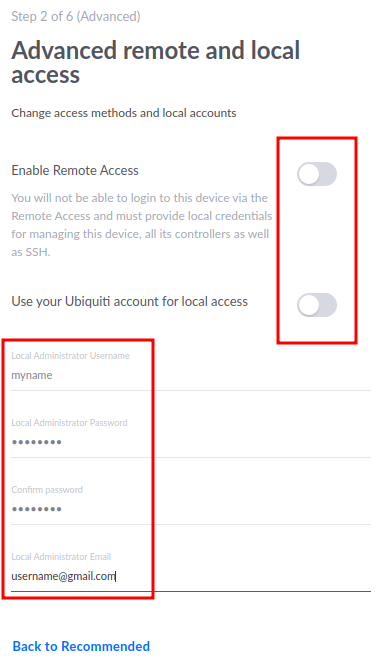
Disable cloud-based features to run the controller in standalone mode, then create credentials for it.
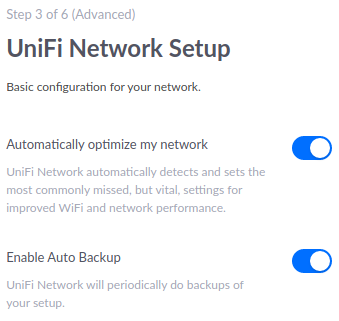
Leave the default options.
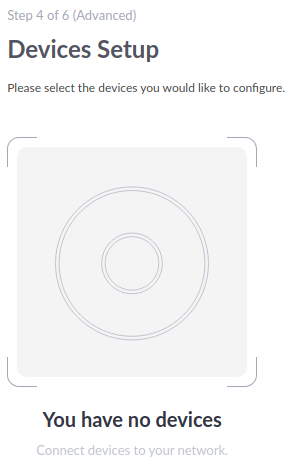
If you have Unifi devices on the same network segment, they may be discovered at this step. Either way, click Next.
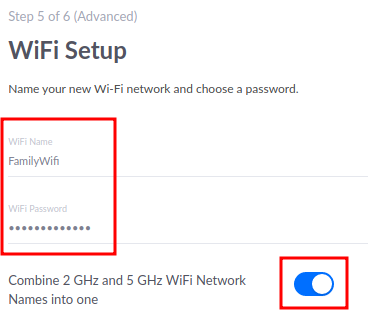
Set your Wi-Fi name and password.
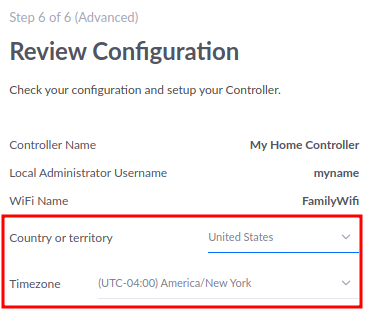
Set your location and timezone. This is important for scheduling firmware upgrades and other time-based features.
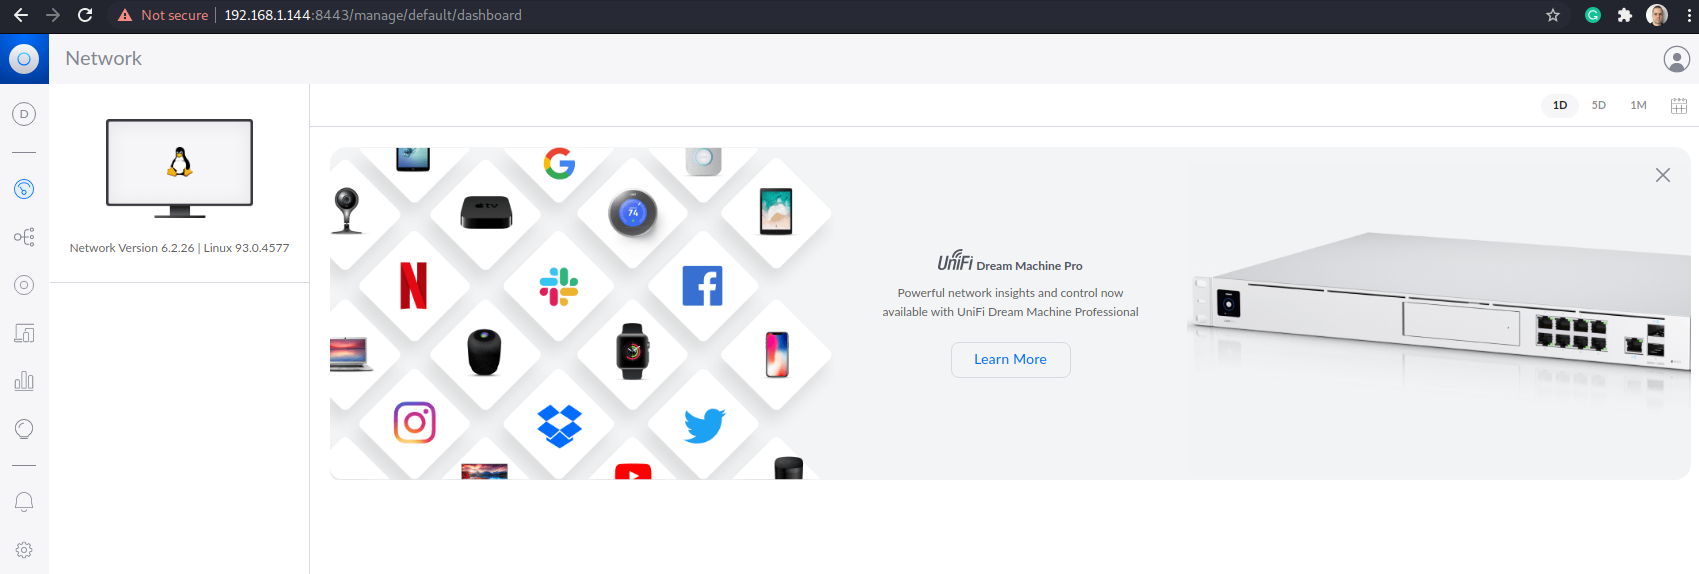
Your dashboard should then look something like this:
Clean up the system:
sudo apt clean -y
sudo apt autoremove -y
Use the following commands to start, restart, or stop the service:
sudo systemctl start unifi
sudo systemctl restart unifi
sudo systemctl stop unifi
If you run into issues connecting your controller to the Unifi cloud, run the following commands and try again:
sudo systemctl stop unifi
sudo rm /etc/ssl/certs/java/cacerts &> /dev/null; sudo update-ca-certificates -f
sudo systemctl start unifi
Allow the required ports through the firewall:
sudo ufw allow 8080,8443,8843,8880,6789/tcp
sudo ufw allow 8080,8443,8843,8880,6789,3478,10001,1900,5514/udp
Requirements for cloud access:
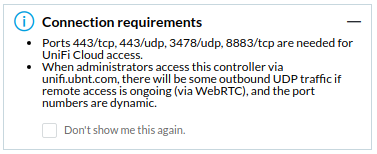
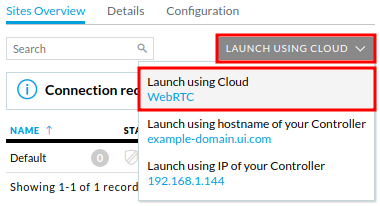
Optionally, I recommend enabling Launch using WebRTC. This approach does not require exposing any ports to the internet.
INSTALLING UNIFI ON DOCKER
The main advantage of running the Unifi Controller in a container is its lightweight footprint. It can run on almost any host in your network, including a Raspberry Pi.
Supported processor architectures:
- x86-64
- Standard Intel/AMD processors.
- ARM64
- Raspberry Pi 3 or newer.
- ARMHF (Hard Float)
- Raspberry Pi 2 (32-bit).
mkdir ~/unifi-config
sudo docker run -d --name=unifi -e PUID=1000 -e PGID=1000 -p 3478:3478/udp -p 10001:10001/udp -p 8080:8080 -p 8443:8443 -p 1900:1900/udp -p 8843:8843 -p 8880:8880 -p 6789:6789 -p 5514:5514/udp -v ~/unifi-config:/config --restart unless-stopped ghcr.io/linuxserver/unifi-controller