Zabbix is a powerful open-source infrastructure monitoring tool capable of monitoring servers, applications, services, network devices, virtual machines, cloud services, and much more.
It is often compared to other monitoring solutions such as Nagios, but with a much easier and more straightforward setup process.
SYSTEM INSTALLATION
wget https://repo.zabbix.com/zabbix/6.0/ubuntu/pool/main/z/zabbix-release/zabbix-release_6.0-1+ubuntu20.04_all.deb
sudo dpkg -i zabbix-release_6.0-1+ubuntu20.04_all.deb
sudo apt update && sudo apt upgrade -y
sudo apt install zabbix-server-mysql zabbix-frontend-php zabbix-apache-conf zabbix-sql-scripts zabbix-agent -y
Connect to the MySQL server:
sudo apt install mysql-server -y
sudo mysql -u root
Create the database:
mysql> create database zabbix_db character set utf8mb4 collate utf8mb4_bin;
mysql> create user zabbix_user@localhost identified by 'STRONGPASSWORD';
mysql> grant all privileges on zabbix_db.* to zabbix_user@localhost;
mysql> flush privileges;
mysql> quit;
Import the database schema:
zcat /usr/share/doc/zabbix-sql-scripts/mysql/server.sql.gz | mysql -uzabbix_user -pSTRONGPASSWORD zabbix_db
Restart the services and enable them on boot:
sudo systemctl restart zabbix-server zabbix-agent apache2
sudo systemctl enable zabbix-server zabbix-agent apache2
Get the IP address of the server:
ip a
ZABBIX INSTALLATION
Using the Zabbix server’s IP address, navigate to http://192.168.1.133/zabbix (replace with your server’s IP).
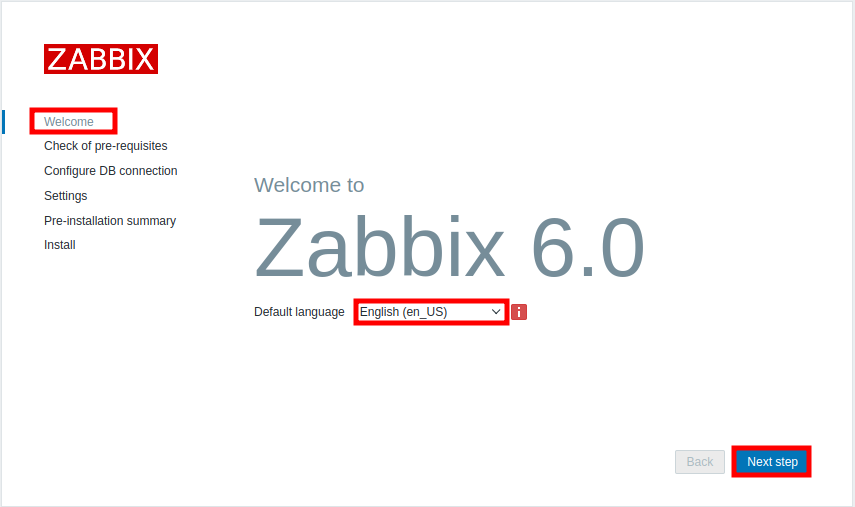
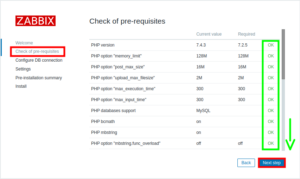
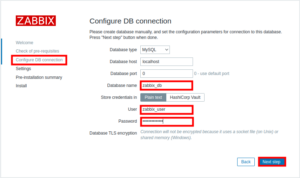

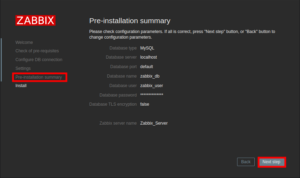
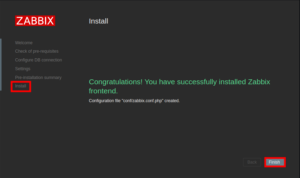
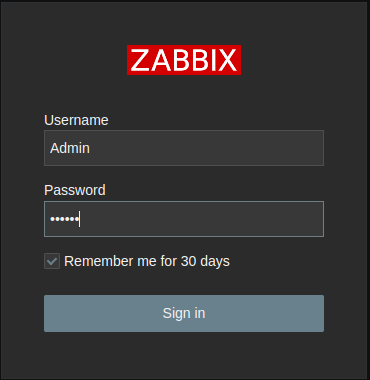
Log in with the default credentials: username Admin and password zabbix.
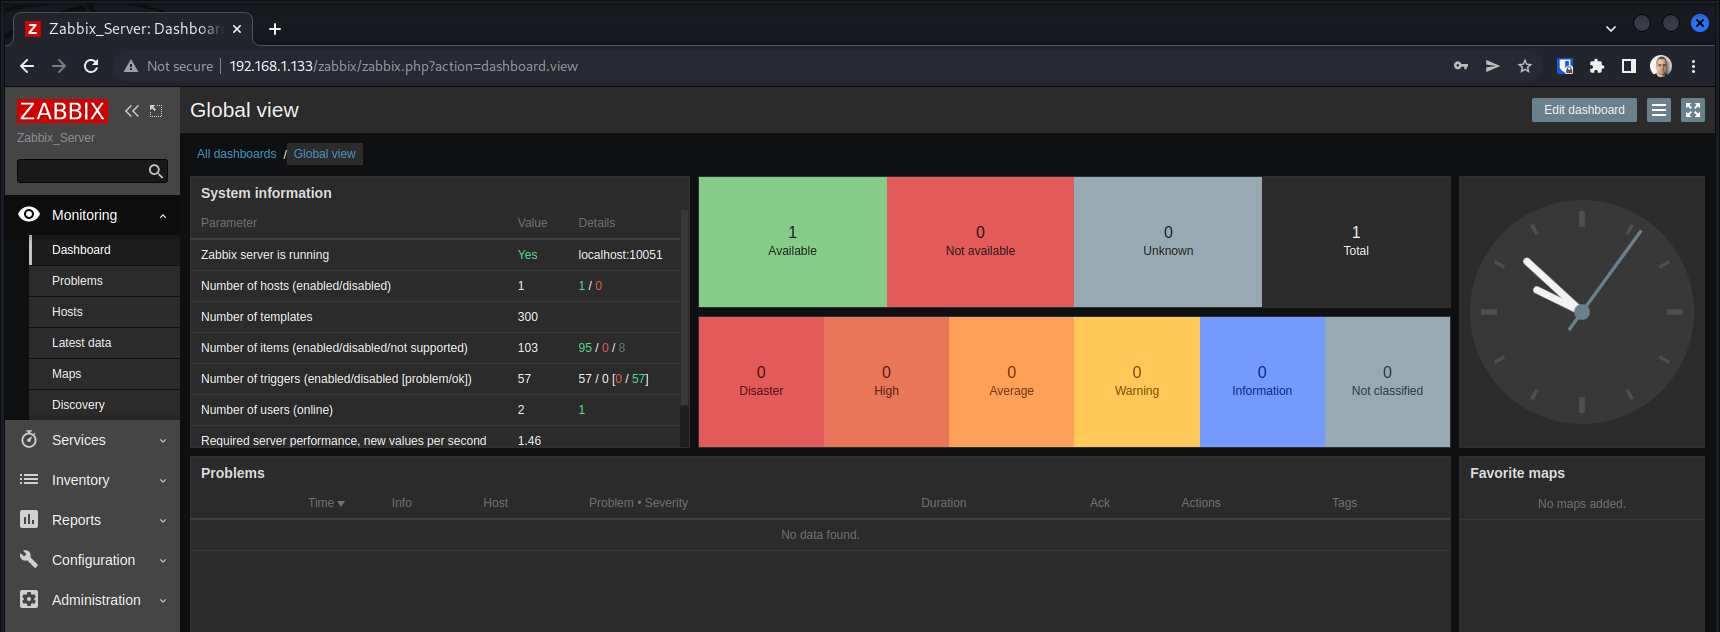
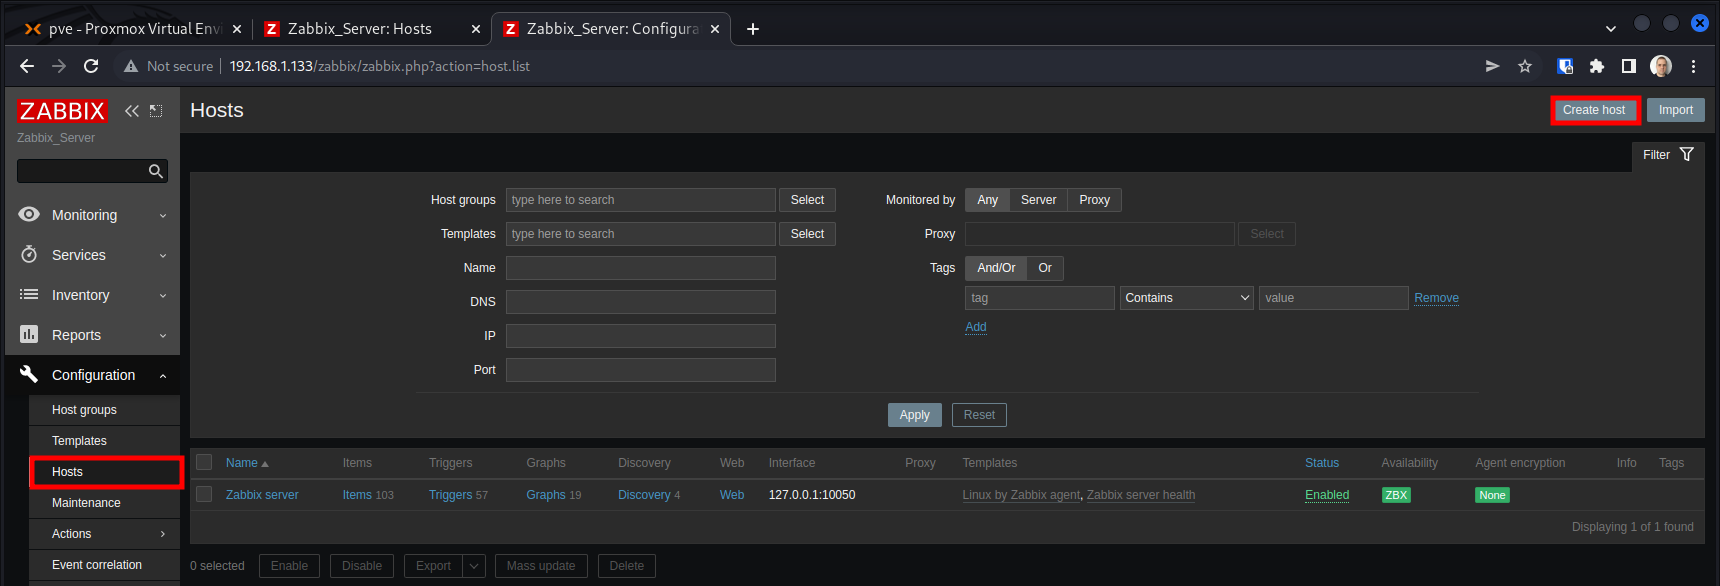
ADDING HOSTS TO THE SERVER
By default, communication works as follows:
- Agent (port 10050) <–> Server (port 10051)
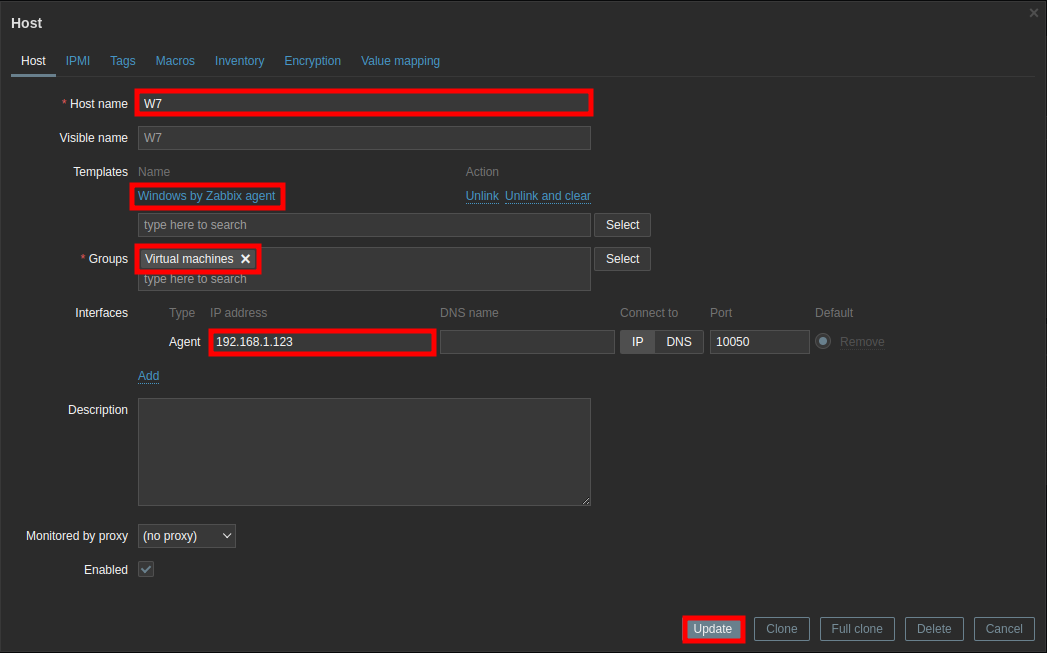
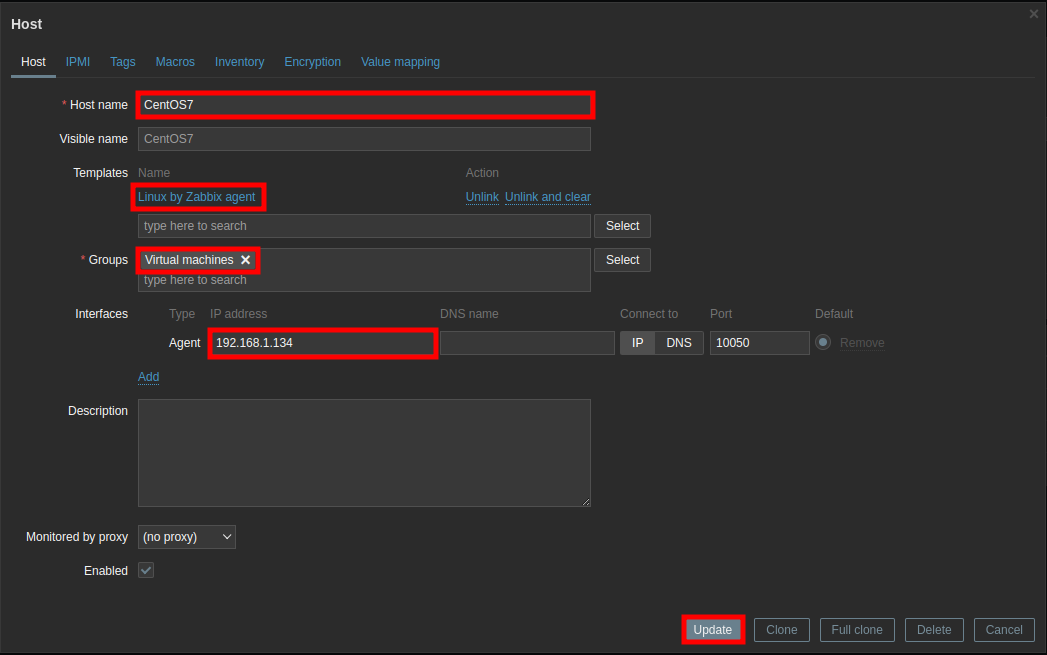
- The hostname identifies the host agent to the server.
Adding a Windows host to the inventory:
Adding a Linux host to the inventory:
INSTALLING THE AGENT ON THE HOSTS
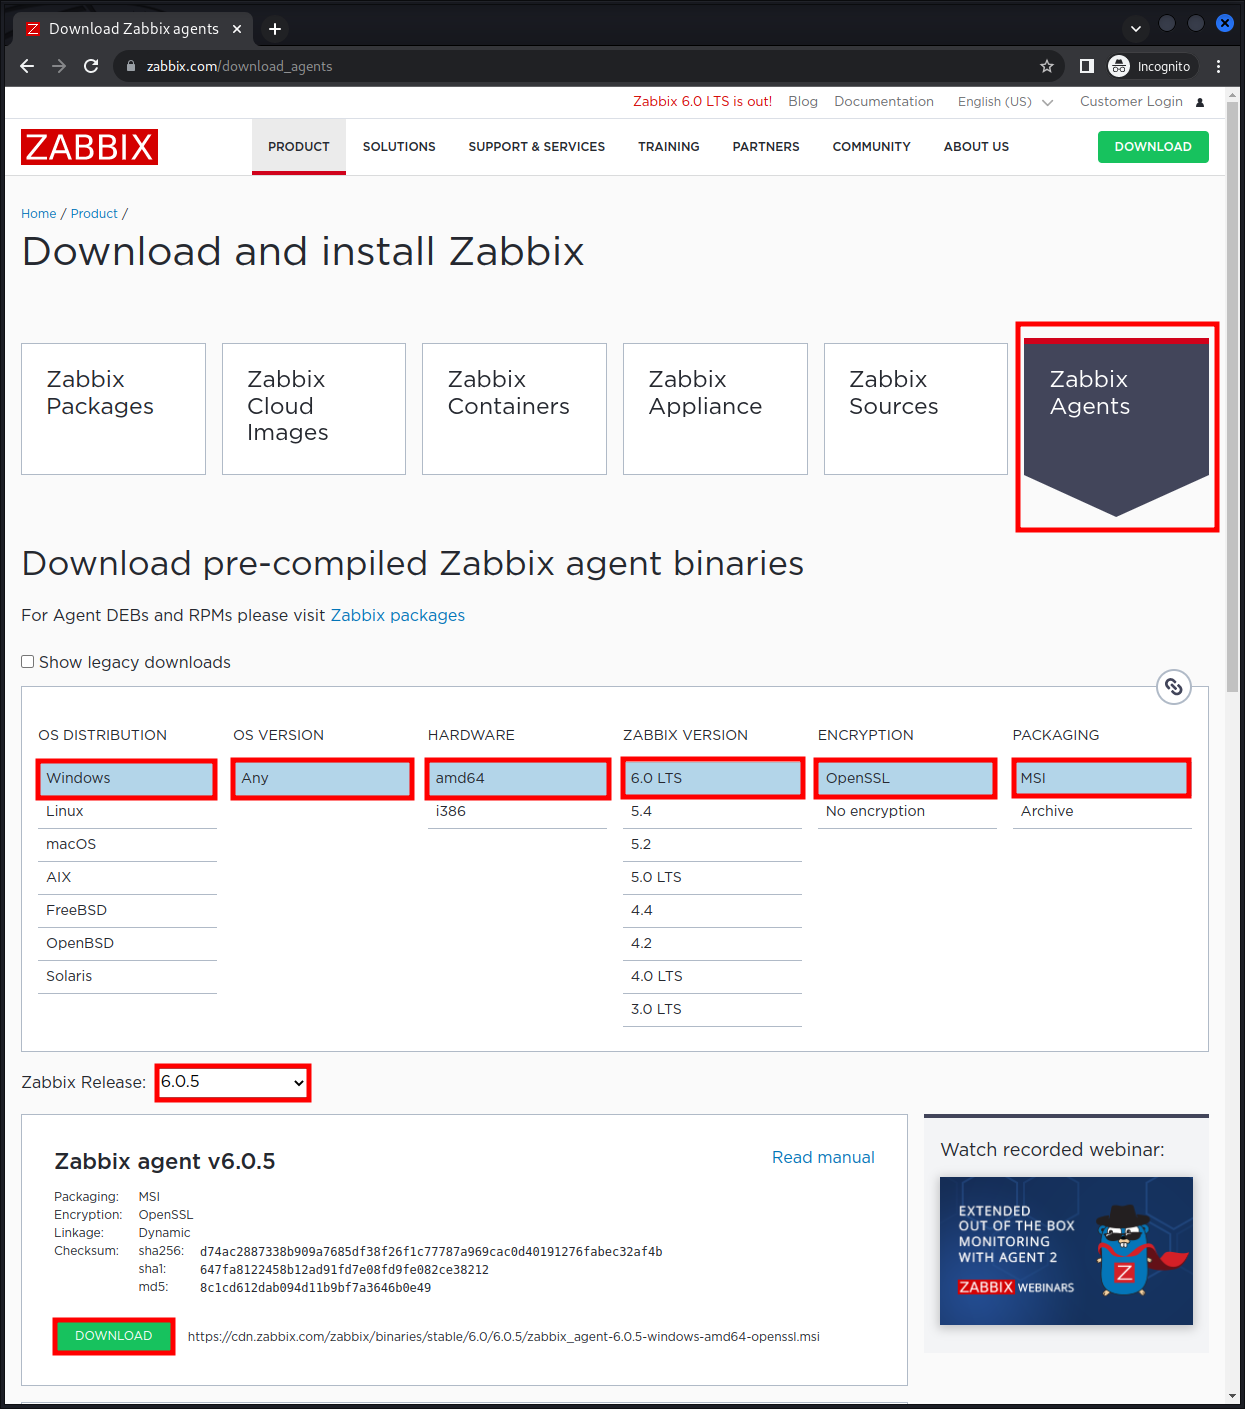
- Downloading the agent for Windows:
- Installing the agent on Windows:
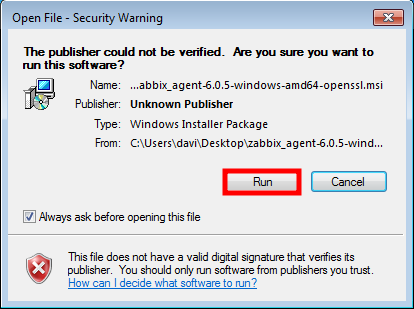
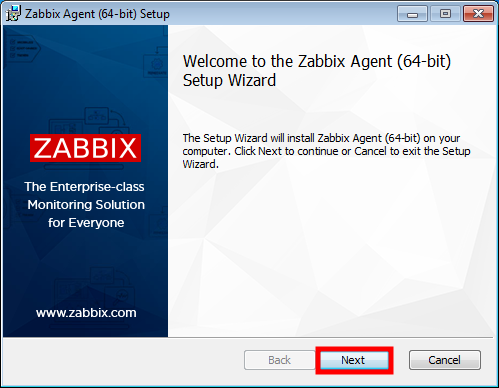
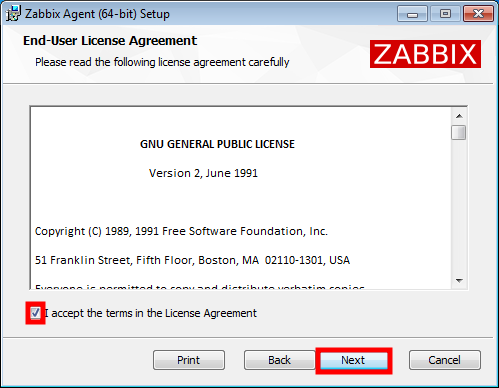
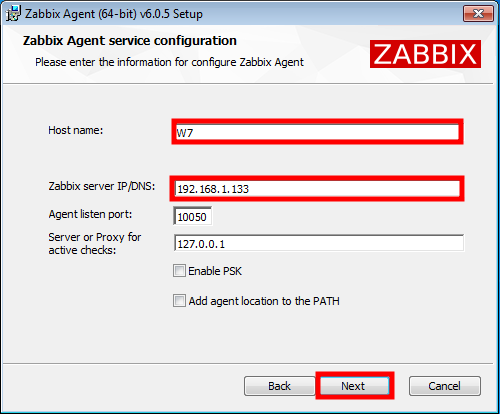
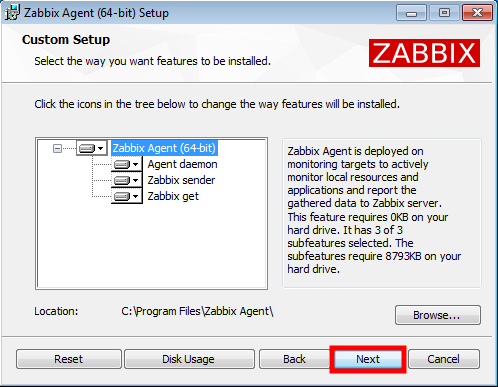
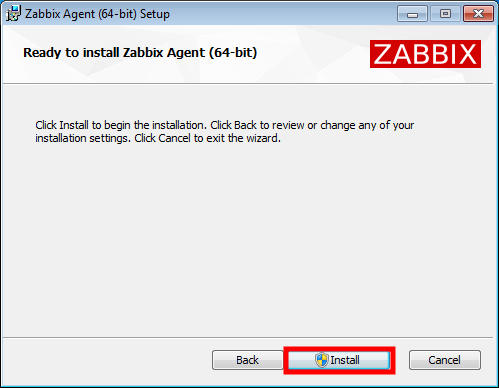
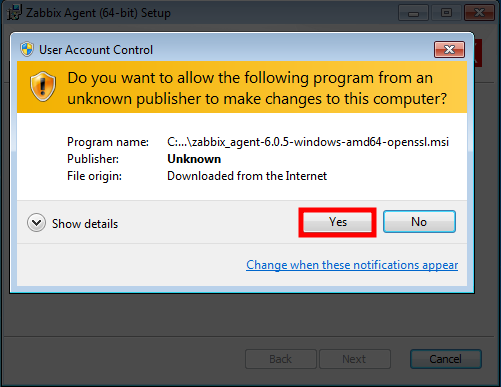
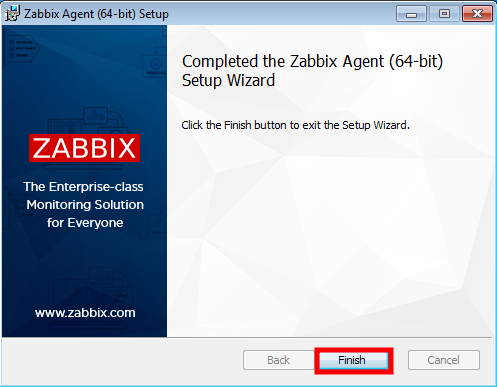
- Installing the agent on Linux:
- CentOS 7
-
sudo yum update -y
sudo rpm -Uvh https://repo.zabbix.com/zabbix/4.2/rhel/7/x86_64/zabbix-agent-4.2.8-1.el7.x86_64.rpm
sudo yum clean all
sudo yum install zabbix-agent nano -y
sudo nano /etc/zabbix/zabbix_agentd.conf
-
...
Server=192.168.1.133
ServerActive=192.168.1.133
Hostname=CentOS7
...
-
sudo firewall-cmd --permanent --zone=public --add-rich-rule='rule family="ipv4" source address="192.168.1.133/32" port protocol="tcp" port="10050" accept'
sudo firewall-cmd --reload
sudo systemctl start zabbix-agent
sudo systemctl enable zabbix-agent
-
- Ubuntu 20.04
-
sudo apt update && sudo apt upgrade -y
wget https://repo.zabbix.com/zabbix/5.0/ubuntu/pool/main/z/zabbix-release/zabbix-release_5.0-1+focal_all.deb
sudo dpkg -i zabbix-release_5.0-1+focal_all.deb
sudo apt update && sudo apt install zabbix-agent nano -y
sudo nano /etc/zabbix/zabbix_agentd.conf
-
...
Server=192.168.1.133
ServerActive=192.168.1.133
Hostname=Ubuntu20
...
-
sudo ufw allow proto tcp from 192.168.1.133 to any 10050/tcp
sudo systemctl restart zabbix-agent
sudo systemctl enable zabbix-agent
-
- Ubuntu 22.04
-
sudo apt update && sudo apt upgrade -y
wget https://repo.zabbix.com/zabbix/5.0/ubuntu/pool/main/z/zabbix-release/zabbix-release_5.0-2+ubuntu22.04_all.deb
sudo dpkg -i zabbix-release_5.0-2+ubuntu22.04_all.deb
sudo apt update && sudo apt install zabbix-agent nano -y
sudo nano /etc/zabbix/zabbix_agentd.conf
-
...
Server=192.168.1.133
ServerActive=192.168.1.133
Hostname=Ubuntu22
...
-
sudo ufw allow proto tcp from 192.168.1.133 to any 10050/tcp
sudo systemctl restart zabbix-agent
sudo systemctl enable zabbix-agent
-
- CentOS 7
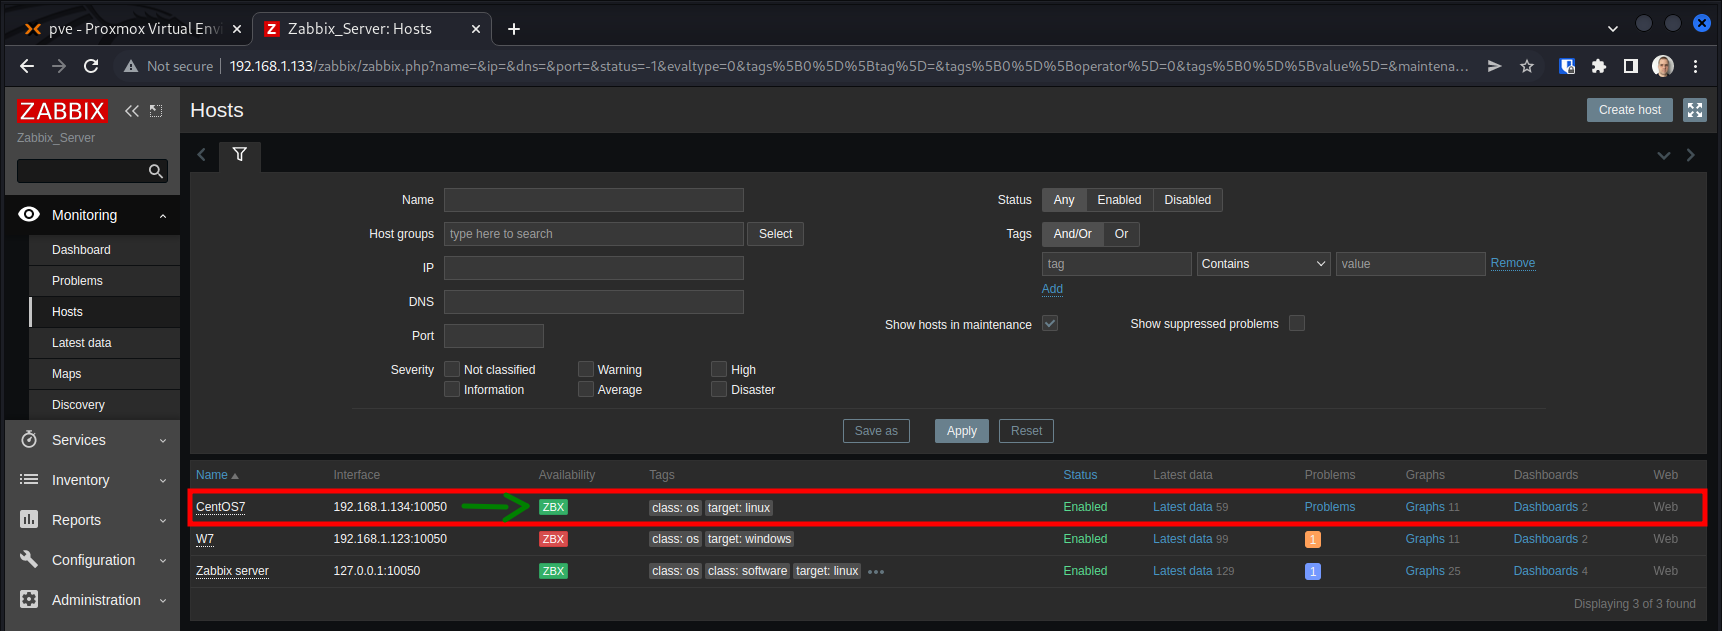
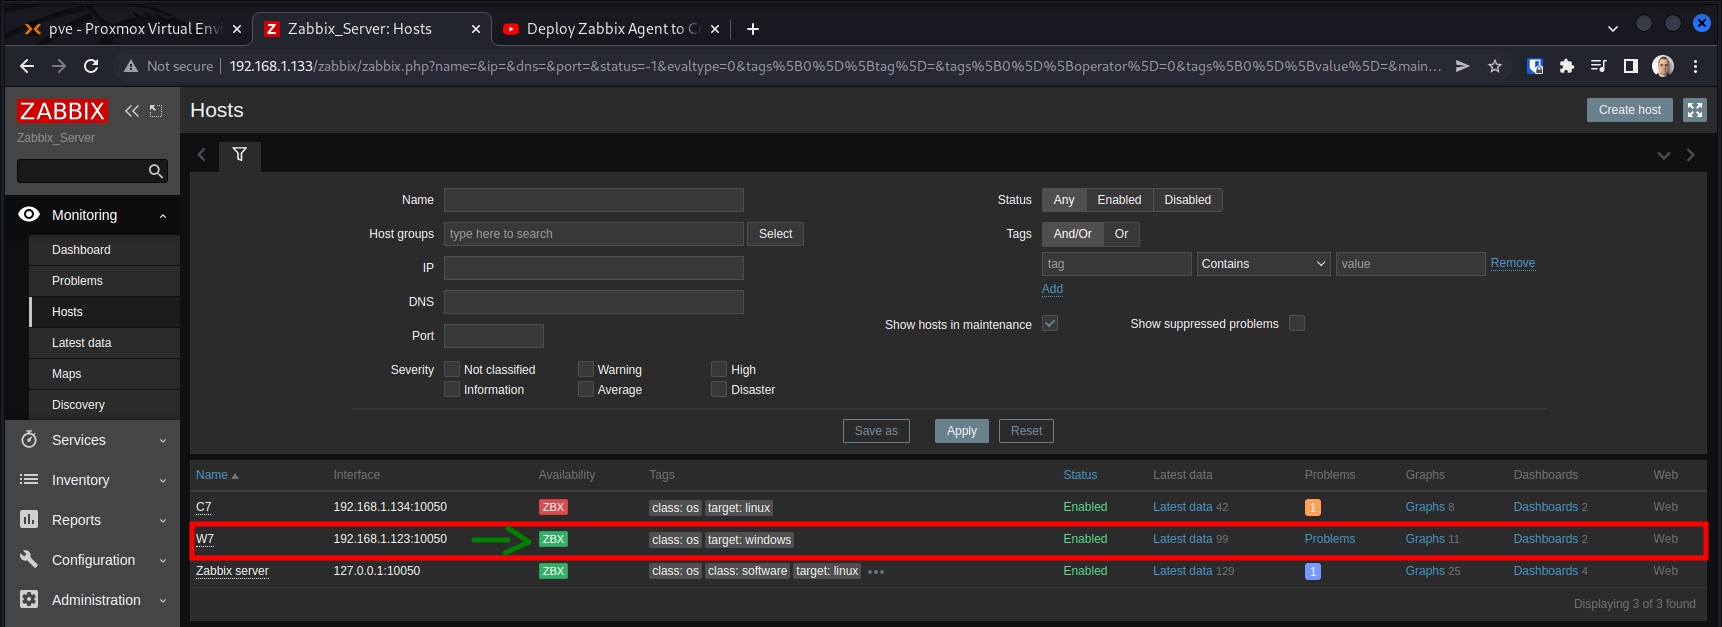
Within a few minutes, the host should appear as active: