While Linux is not a direct descendant of Unix, it was inspired by Unix and designed to be similar to it in many ways.
Unix is a family of multi-user, multitasking operating systems known for its portability, scalability, and stability. It is also the foundation of macOS.
BSD stands for Berkeley Software Distribution, a Unix operating system. This acronym carries over to name popular distributions like FreeBSD and OpenBSD, both of which are introduced in this post.
FreeBSD [Link] and OpenBSD [Link] are well-known for performance, stability, and security. The main ideological difference is licensing: FreeBSD allows forks to be proprietary, while OpenBSD requires all derivatives to remain open under the same original license.
Minimum requirements:
- FreeBSD
- CPU: 1 core
- RAM: 1 GB
- Storage: 2 GB
- OpenBSD
- CPU: 1 core
- RAM: 64 MB
- Storage: 1 GB
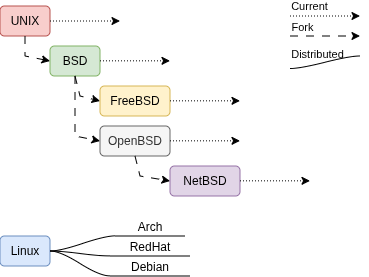
The main difference between UNIX and Linux:
- Linux is just the kernel that gets packaged/distrubuted is multiple flavours.
- Linux is UNIX-like or UNIX-inspired and does not share any common source.
- UNIX got forked multiple times, and each fork is totally independent of the others.
- UNIX flavours work in synergy to improve themselves and interoperability wherever possible.
Note: TrueNAS (FreeNAS), pfSense, and OPNsense are all based on FreeBSD.
INSTALLATION
For Linux users, the CLI installation of both distributions should be straightforward. The right approach depends on the environment and intended use.
The ISO image offers the most flexible installation source because it includes a wider variety of hardware drivers. However, if the system will run on specific hardware such as a SBC (like Raspberry Pi) or as a VM, tailored images are also available.
- FreeBSD
The installation is straightforward and should not pose much of a challenge to a Linux user.
- OpenBSD
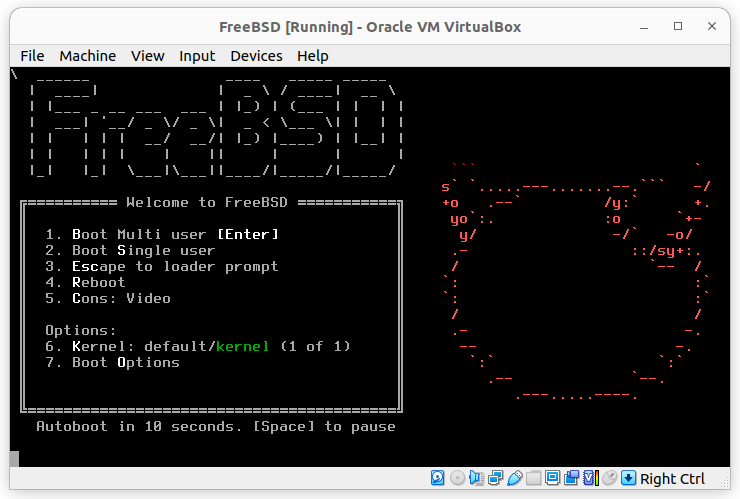
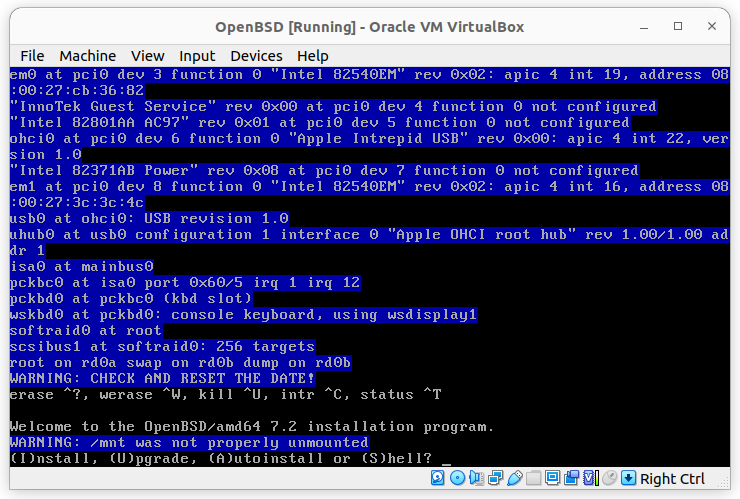
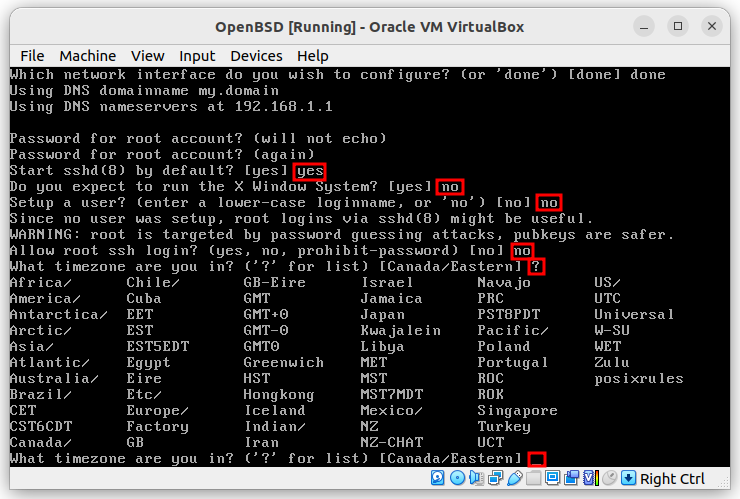
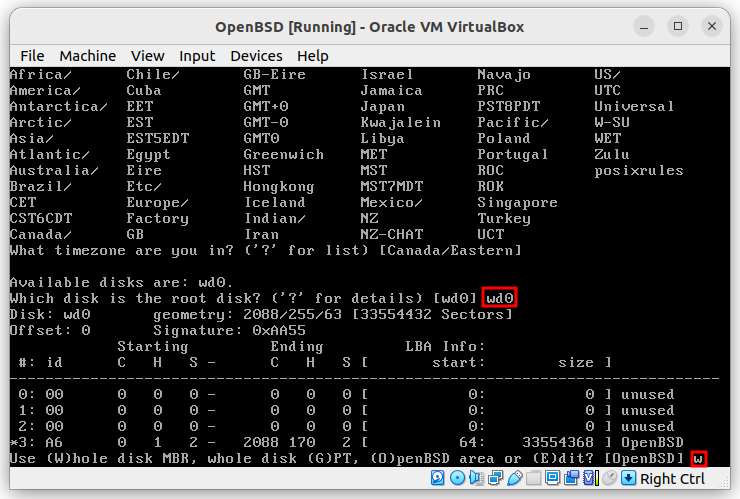
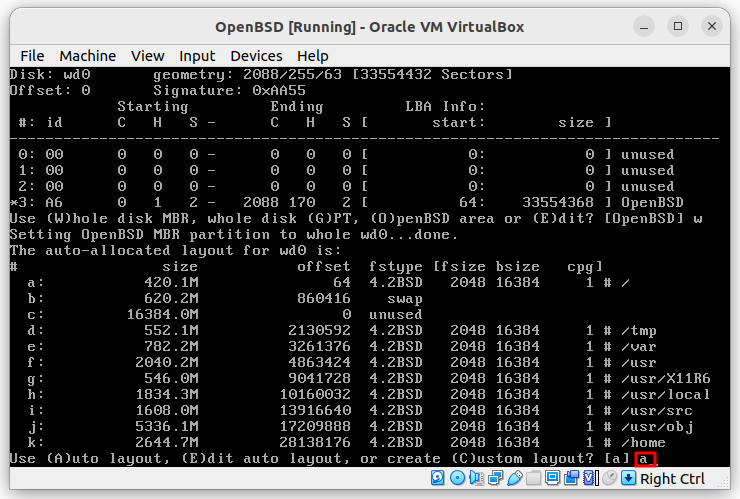
Do not expect anything fancy with OpenBSD. It is not pretty or particularly user-friendly.
When you see the following screen, do not panic. That is simply how it looks.
Follow the steps:
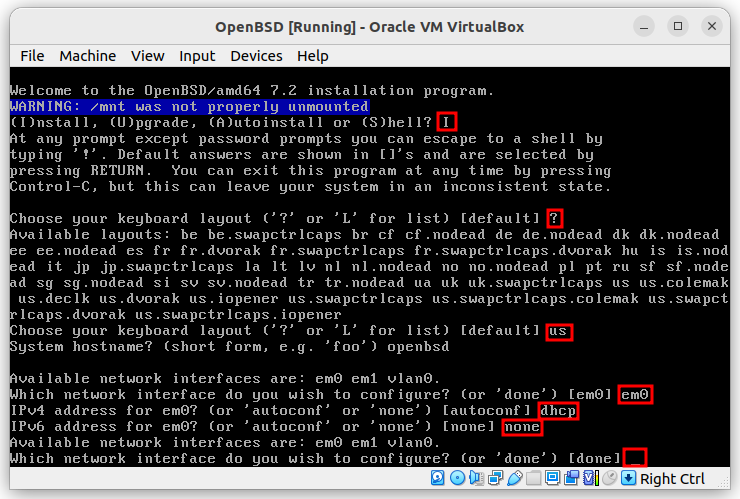
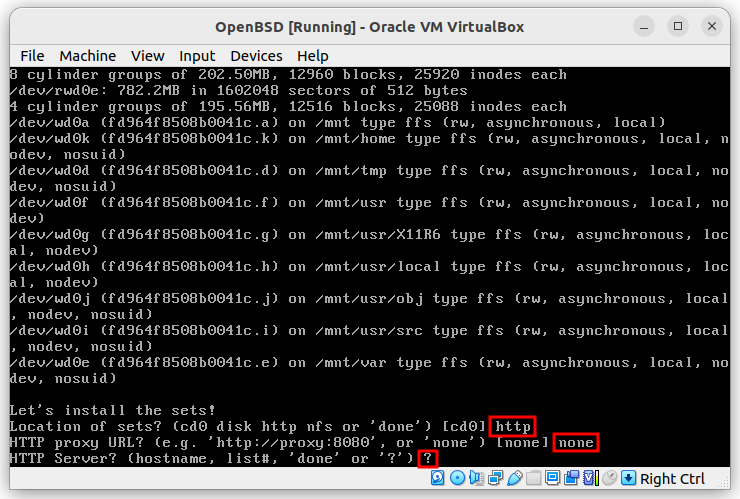
Mirrors are sorted by latency after a ping test. It is recommended to use the first one.

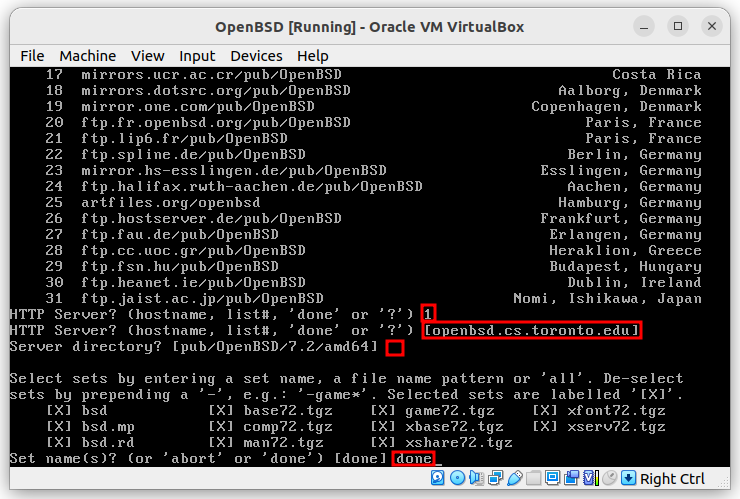
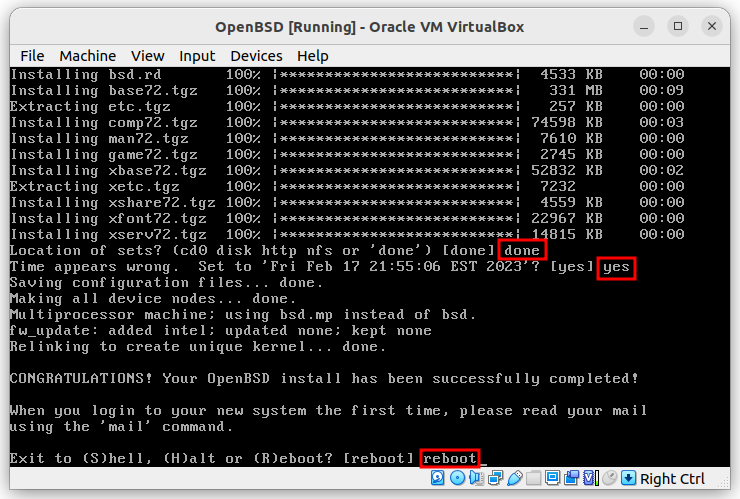
Remember to remove the installation media, otherwise it will keep prompting to start the installation on boot.
FIRST ACCESS
Log in with the root credentials set during installation.
To reboot and shut down:
reboot
shutdown -p now
Without the -p flag, the system will not power off after shutdown, similar to issuing just the halt command.
List processes:
ps aux
top
UPDATING, UPGRADING, AND INSTALLING PACKAGES
Update and upgrade all packages using the package manager.
For FreeBSD:
pkg update && pkg upgrade -y
For OpenBSD:
pkg_add -Uu
Audit vulnerable installed packages (FreeBSD only):
pkg audit -F && pkg audit
Fetch and install system updates (FreeBSD only):
freebsd-version
freebsd-update fetch install
Before installing updates, the vi editor will open with output for review and approval. This may be unexpected for Linux users, so take time to read it carefully before proceeding in a production environment. A reboot is always recommended afterward.
There is no nano by default, but it can be installed. vi gets the job done for those comfortable with it.
For FreeBSD:
pkg install nano
For OpenBSD:
pkg_add nano
It may first prompt you to install the package manager, then ask for confirmation to install the desired package. If there is no Internet access because the network interfaces need configuration, follow the next steps first.
NETWORK CONFIGURATION
Most likely, two network interfaces will be needed. For this demo, the first interface is treated as WAN (has Internet access) and the second as LAN (internal network access only).
ifconfig
Three network interfaces may appear: em0 (WAN), em1 (LAN), and lo0 (loopback). If any were not properly configured during installation, follow the steps below.
For FreeBSD:
nano /etc/rc.conf
...
# WAN (em0)
ifconfig_em0="DHCP"
# LAN (em1)
ifconfig_em1="inet 10.0.0.10 netmask 255.255.255.0"
...
Optionally, if DHCP does not provide a default gateway, one can be added to the same configuration file:
...
defaultrouter="10.1.1.1"
...
Out of the box, FreeBSD and OpenBSD can route traffic between all configured interfaces, but this requires enabling a single flag:
gateway_enable="YES"
Apply the configuration by restarting the network service:
service netif restart
Check networks and routes:
netstat -r
netstat -nr
Setting a static route:
route add -net 192.168.0.0/16 10.2.2.1
To make it persist across reboots:
nano /etc/rc.conf
...
static_routes="net2"
route_net2="-net 192.168.0.0/16 10.2.2.1"
...
For more than one static route:
...
static_routes="net2 net3"
route_net2="-net 192.168.0.0/16 10.2.2.1"
route_net3="-net 172.16.0.0/24 10.2.2.1"
...
When configured to use DHCP, /etc/resolv.conf will be populated automatically. As with Linux, it can always be managed manually, and auto-population can be suppressed as follows:
/etc/dhclient-enter-hooks
...
add_new_resolv_conf() {
        # Do not overwrite /etc/resolv.conf with the DHCP configuration.
        return 0
}
...
For OpenBSD:
nano /etc/hostname.em0
For DHCP:
inet autoconf
For a static IP:
inet 10.1.1.2 255.255.255.0 10.1.1.1
Apply:
sh /etc/netstart
MANAGING USERS
Create a new user:
adduser userName
Delete a user:
rmuser userName
Change the current user’s password or another user’s password:
passwd
passwd userName
To grant administrator privileges, add the user to the wheel group.
For FreeBSD:
pw groupmod -n wheel -m userName
To remove a user from the group, replace -m with -d. To list members of the wheel group:
pw groupshow -n wheel
For OpenBSD:
usermod -G wheel userName
List the groups a user belongs to:
id userName
Since the root user cannot SSH by default (as with most Linux systems), use the newly created user to connect remotely, then switch to root with su.
The SSHd service may need to be restarted to allow the new user to connect.
For FreeBSD:
service sshd restart
service sshd status
For OpenBSD:
rcctl restart sshd
rcctl check sshd
FILE SYSTEM
Originally, UFS (Unix File System) was the default file system, but ZFS (Zettabyte File System) is now the default due to its support for advanced features like snapshots, compression, and RAID.
Besides UFS and ZFS, there is also a native file system called HAMMER (Highly Available, Multi-Master, Elastic Replicated Object Store), developed by DragonFly BSD. It provides high availability and fault tolerance, and is worth exploring if those features are relevant to your use case.
FAT, NTFS, EXT2 through EXT4, APFS, and ISO 9660 are also supported, along with the network file systems NFS (Linux) and CIFS (Windows). Note that XFS is NOT officially supported.
Linux users will find the directory structure and file/permission management largely familiar.
FIREWALL ON FREEBSD
Enable the firewall:
nano /etc/rc.conf
...
firewall_enable="YES"
...
Create the ruleset:
nano /etc/ipfw.rules
ipfw add allow tcp from any to any 80 in
ipfw add allow ip from any to any 21 out
ipfw add allow tcp from 10.20.30.0/24 to 10.1.1.1 22 in
ipfw add deny udp from any to any 53
ipfw add deny all from 192.168.0.10 to any in
ipfw add deny tcp from any to any 22 in via em0
ipfw add deny tcp from any to any 10000-20000 fwd em0
- in / out
- Applied only to traffic to and from the local system.
- in via / out via
- Applied to traffic on the specified interface, including forwarded packets.
- fwd
- Applied only to packets being forwarded to the specified interface.
Load the rules into the kernel:
/sbin/ipfw /etc/ipfw.rules
To make the firewall rules persist across reboots, add the same line to the following file:
nano /etc/rc.local
...
/sbin/ipfw /etc/ipfw.rules
...
FIREWALL
PF (Packet Filter) is the default firewall in FreeBSD, GhostBSD, and others in the family.
nano /etc/pf.conf
- Example for routing between WAN and LAN.
wan="em0"
lan="em1"

set skip on lo0
set block-policy drop

block drop all

block in all
block out all

pass quick in all keep state
pass in on $wan proto tcp from any to any port 80
pass in on $lan proto { tcp udp } from $lan:network to port { 139 445 }
pass out inet proto icmp icmp-type { echoreq }
pass in on $lan proto icmp all icmp-type { echoreq, echorep }
Optionally, replace keep state with modulate state for additional security. This randomizes the initial sequence number of TCP packets to help prevent TCP session hijacking.
- Example for blocking all ports except SSH.
ext_if = "vtnet0"
tcp_services = "{ 22 }"

set skip on lo0
set block-policy drop

scrub in all
block all

pass out on $ext_if keep state
pass in on $ext_if proto tcp to port $tcp_services keep state
pass in on $ext_if inet proto icmp icmp-type echoreq
Test and temporarily apply (auto-revert safety net):
pfctl -nf /etc/pf.conf && pfctl -f /etc/pf.conf && sleep 60 && pfctl -d
If the response is it pfctl: Failed to open netlink: No such file or directory means the kernel module is not loaded yet.
kldstat
kldload pf
kldload pflog
Test if the allowed inbound connection works, then apply it permanently.
pfctl -e
service pf start
Enable the firewall on boot:
sysrc pf_enable=YES
sysrc pflog_enable=YES
Check the firewall status:
pfctl -si
Check the applied rules:
pfctl -sr
TROUBLESHOOTING
- System Logs
Watch logs in real time:
tail -f /var/log/messages
Filter for a specific entry type:
tail -f /var/log/messages | grep error
grep ssh /var/log/messages
- Diagnostic Tools
ping 8.8.8.8
traceroute 1.1.1.1
top
tcpdump -i em0
dmesg | less
- Configuration
hostname myNewHostname
sysrc hostname="myNewHostname"
- Enabling IPv6
sysrc ipv6_activate_all_interfaces="YES"
sysrc ifconfig_em0_ipv6="inet6 accept_rtadv"
sysrc rtsold_enable="YES"
sysrc dhcpcd_enable="YES"
pkg install -y dhcpcd
nano /etc/dhcpcd.conf
allowinterfaces em0
ipv6only
noipv6rs
Reboot then test.
reboot
ifconfig | grep inet6
ping 2606:4700:4700::1111
ping 1.1.1.1
Replace em0 with the interface name for your environment.
- Setting Timezone.
tzsetup