Passbolt CE (Community Edition) is an enterprise-grade, open-source [Link] multi-platform [Link] password manager.
It is a great alternative to BitWarden [Link], another open-source password manager that is quite complicated to install from source code. There is also VaultWarden [Link], an unofficial Bitwarden server implementation written in Rust that is fully compatible with all Bitwarden mobile apps and browser extensions.
Recommendations
- Minimise its exposure to the internet to the bare minimum, and only if needed,
- Prefer to allow access exclusively via local network or VPN,
- Always enable SSL/TLS (HTTPS),
- Don’t forget to set up the SMTP server for password recovery.
DOCKER INSTALLATION SCRIPT
sudo su
wget "https://download.passbolt.com/ce/docker/docker-compose-ce.yaml"
docker-compose -f docker-compose-ce.yaml up -d
Creating the first Admin user:
docker-compose -f docker-compose-ce.yaml exec passbolt su -m -c "/usr/share/php/passbolt/bin/cake passbolt register_user -u [email protected] -f myFirstName -l myLastName -r admin" -s /bin/sh www-data
This will generate a link that must be copied into the browser to finalise the installation.
INSTALLATION SCRIPT FOR
UBUNTU / DEBIAN / RPI
wget "https://download.passbolt.com/ce/installer/passbolt-repo-setup.ce.sh"
sudo bash ./passbolt-repo-setup.ce.sh
sudo apt update && sudo apt upgrade -y
sudo apt install passbolt-ce-server -y
ROCKY / ALMA / ORACLE / FEDORA
wget "https://download.passbolt.com/ce/installer/passbolt-repo-setup.ce.sh"
sudo bash ./passbolt-repo-setup.ce.sh
sudo dnf install passbolt-ce-server
sudo /usr/local/bin/passbolt-configure
DOCKER
wget "https://download.passbolt.com/ce/docker/docker-compose-ce.yaml"
docker-compose -f docker-compose-ce.yaml up -d
CLI INSTALLATION STEPS

Provide the default credentials for the newly deployed MySQL server. Username: root, password: empty.
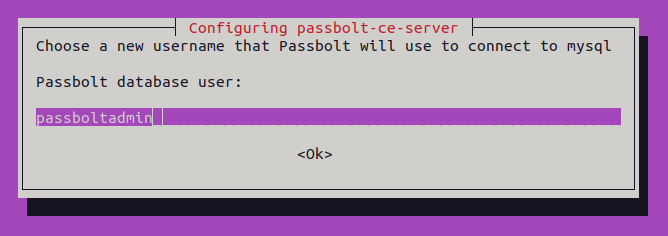
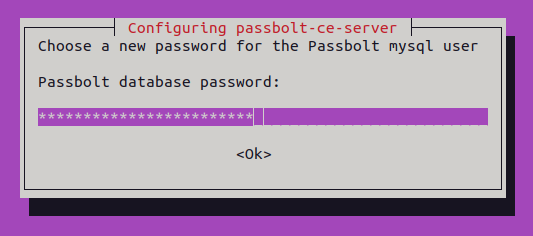
Accept or customise the suggested username that Passbolt will use, then provide a long and complex password (entered twice):
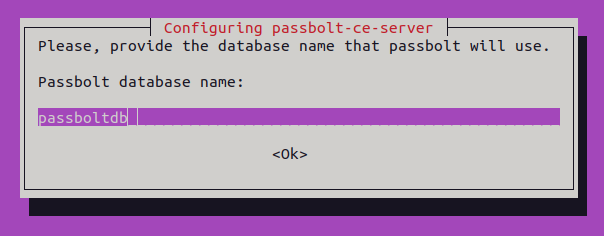
Accept or customise the database name (important if you have multiple instances of the app sharing the same database server):
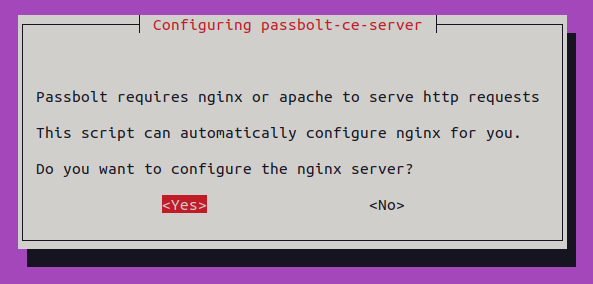
Passbolt does not face the internet or local network directly. It sits behind a web server such as Apache or NGINX, which handles TLS (HTTPS) termination and proxies the unencrypted requests to Passbolt internally.
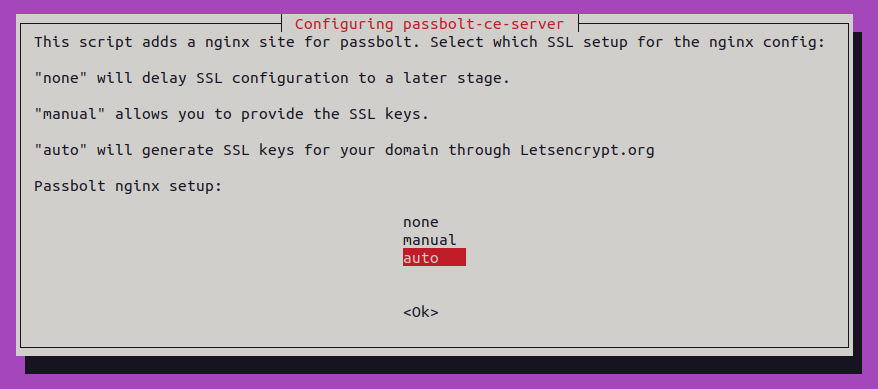
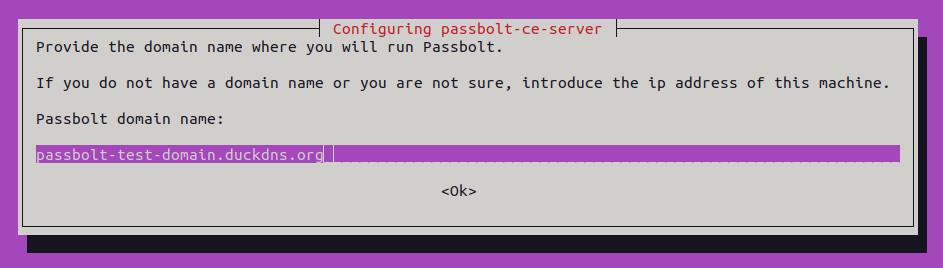
Note: a real public domain is required to automatically complete the challenge from the Certificate Authority Let’s Encrypt. It is free and highly recommended.
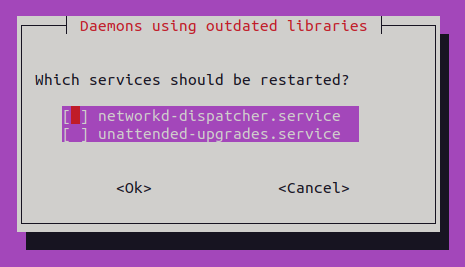
The installer will suggest restarting a few services. It is not strictly required, but restarting all of them does not hurt.
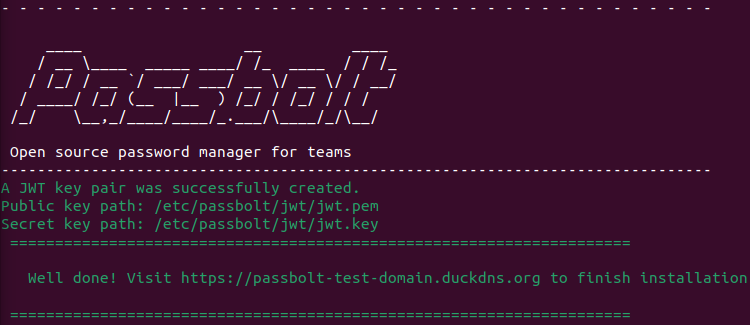
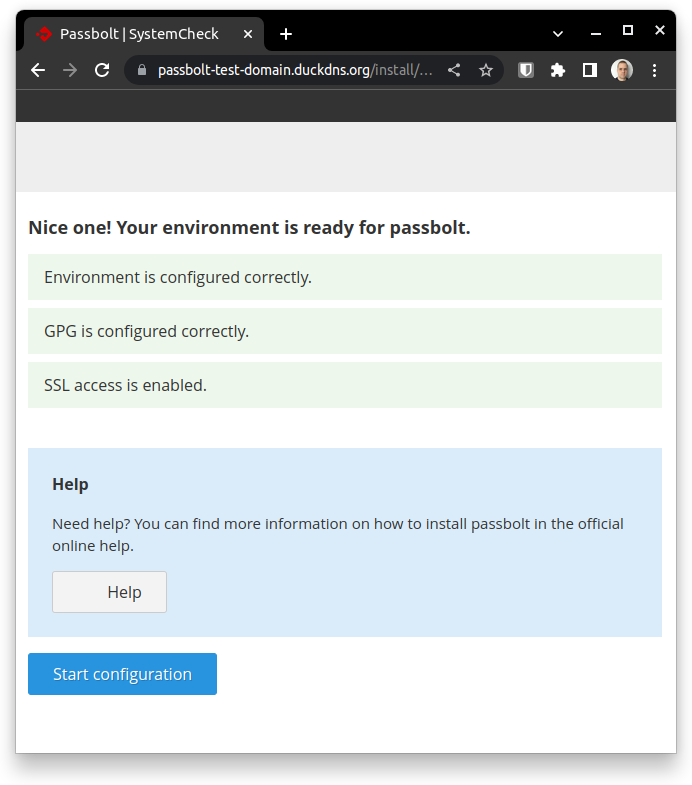
You should see the successful installation banner with the address to continue the setup in your browser:
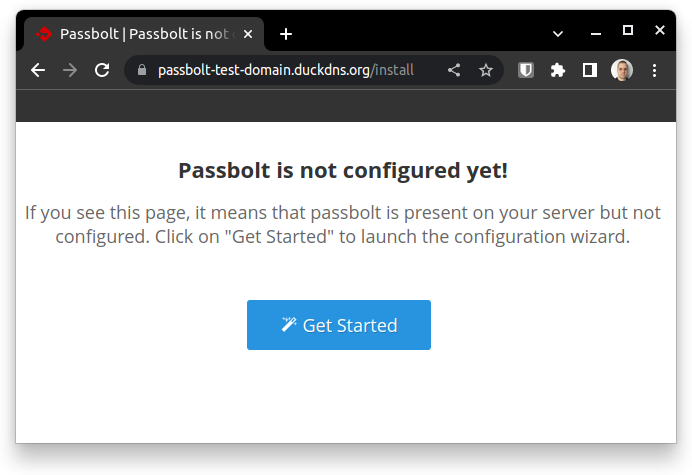
WEB INSTALLATION STEPS
Navigate to the domain pointing to your Passbolt server and confirm the connection is encrypted (HTTPS).
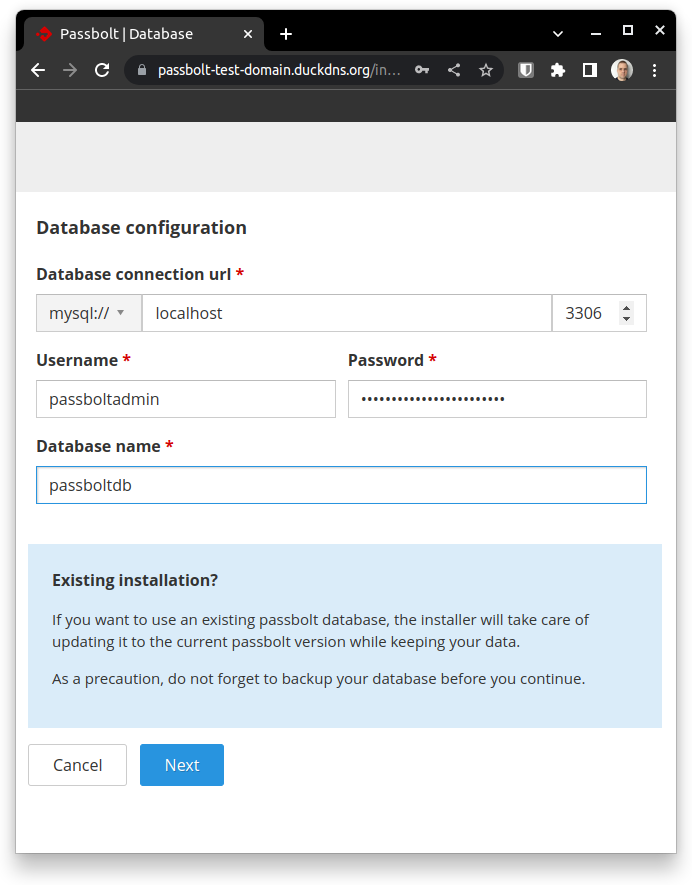
Follow the installation steps:
Enter the database connection details you configured during the terminal installation:
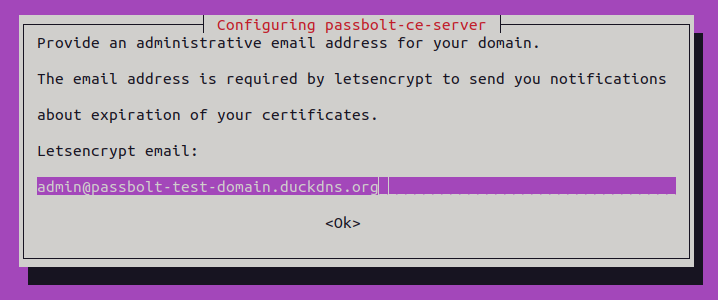
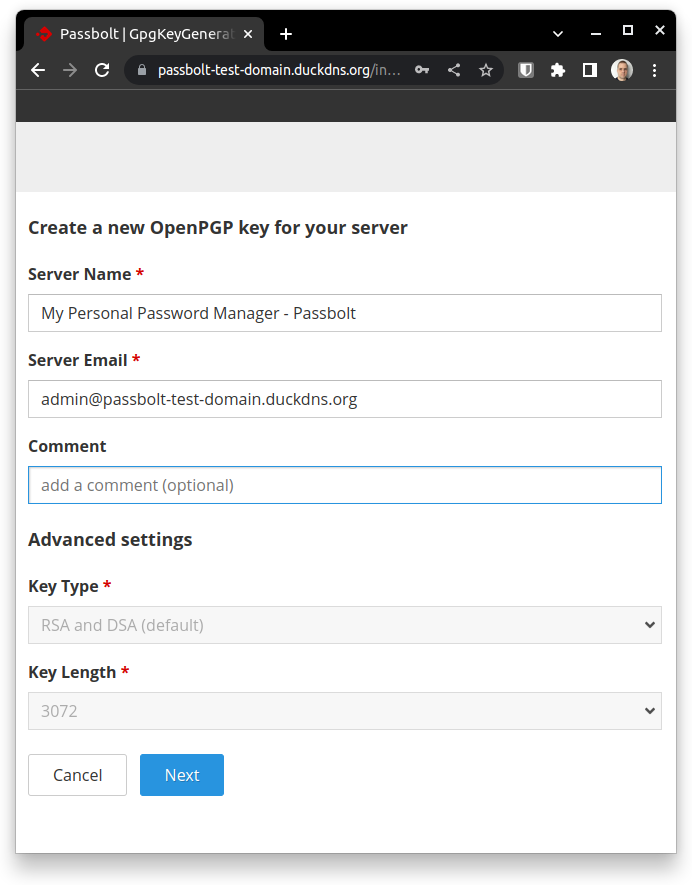
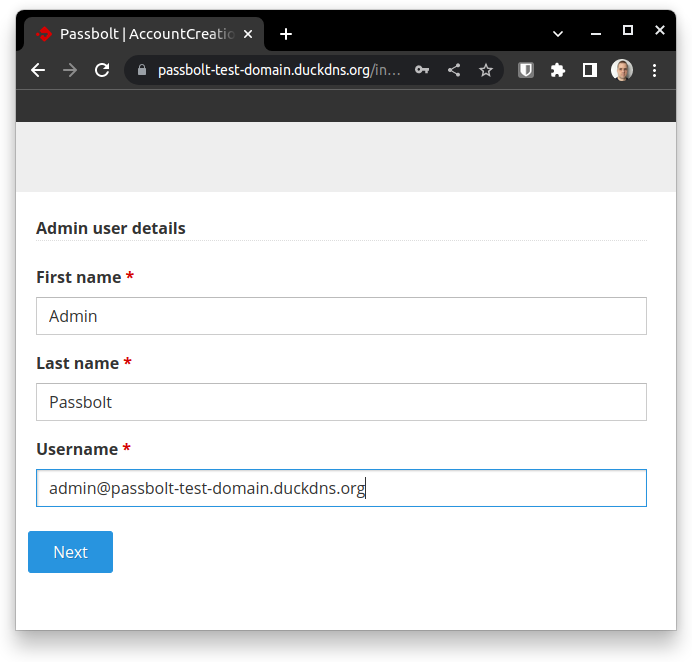
Give the server a name and provide the administrator’s contact information:
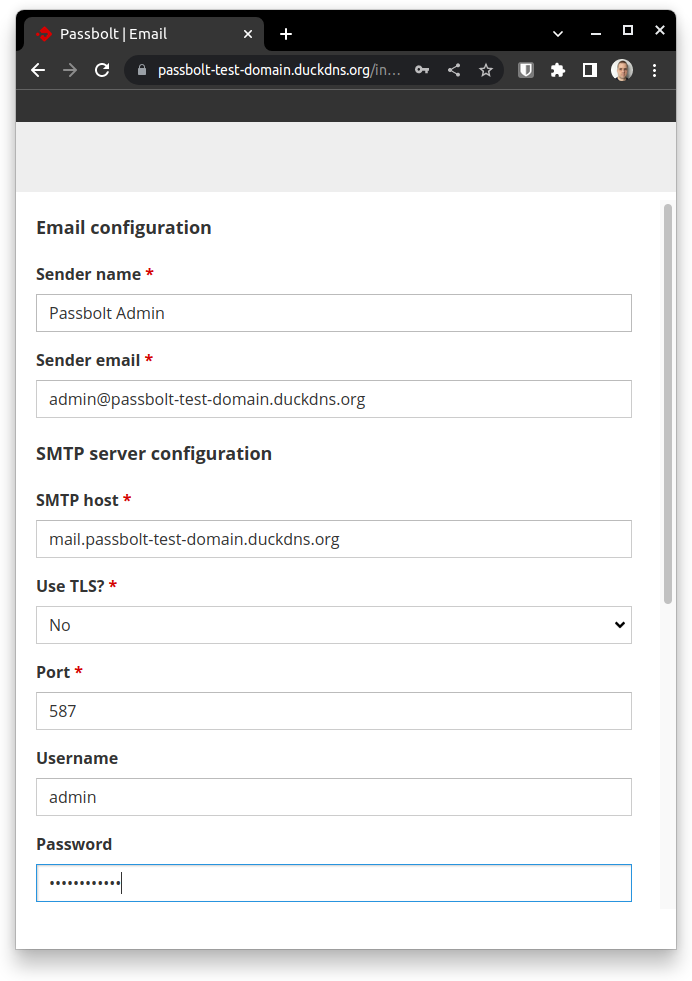
This is a critical step that must not be skipped. Passbolt requires an SMTP server to send invitations to user accounts, including the admin account. Without it configured correctly, you will be locked out of the server.
Important: only use an SMTP server you fully trust. A malicious SMTP provider could pose a serious threat to your server and its data.
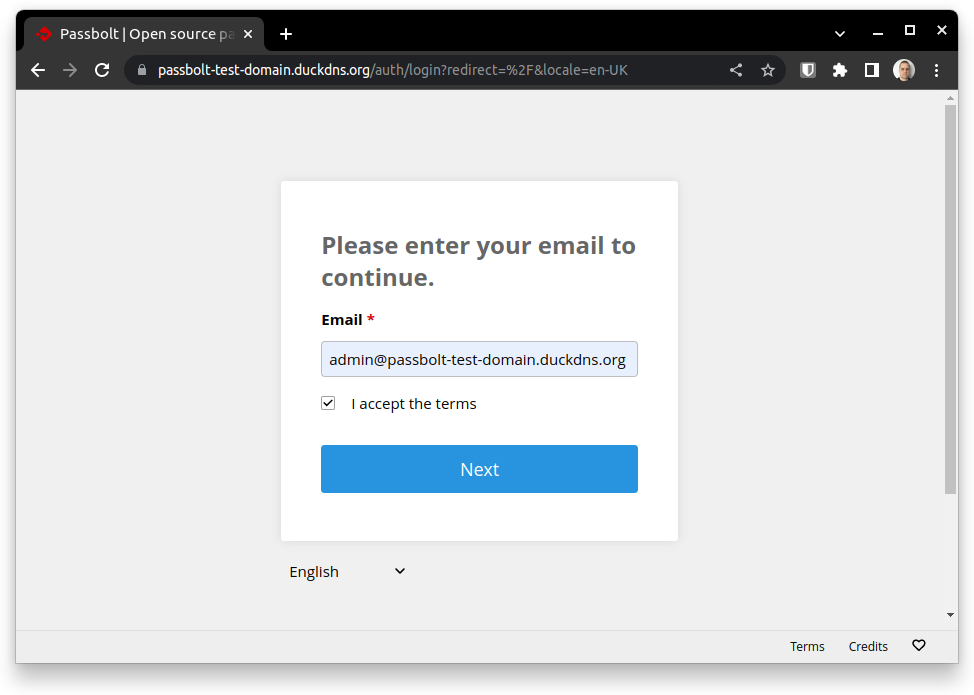
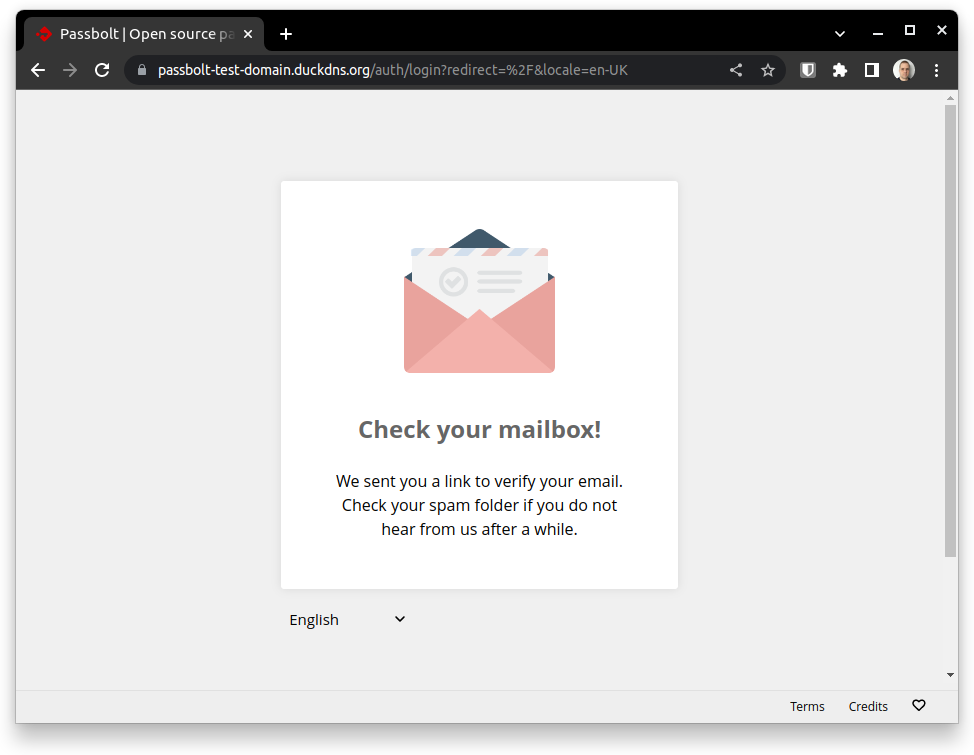
The master admin account requires an email to be sent to complete its creation and set a password:
You can now install the browser extension to get the most out of your new password manager.

Don’t forget to click the link sent in the activation email.
CONFIGURING SSL/TLS (HTTPS) MANUALLY / ADVANCED MODE
Passbolt itself does not handle SSL/TLS. It is provided by placing a web server such as Apache, NGINX, or Varnish in front of the application to terminate encrypted connections.
Pro tips:
- Free option:
- Use Let’s Encrypt for free, auto-renewing 90-day certificates,
- Requires direct exposure to the public internet for domain ownership validation via HTTP challenge.
- It is recommended to configure multiple virtual hosts to serve different content depending on the client’s origin:
- If the client is coming from the LAN or VPN, serve Passbolt via reverse proxy,
- Otherwise, serve a blank page or redirect.
- It is recommended to configure multiple virtual hosts to serve different content depending on the client’s origin:
- Paid option:
- Purchase a public certificate from any vendor for your desired validity period (1, 2, 5 years…),
- The server can be fully isolated from the public internet since domain ownership can be validated via DNS, email, etc.
- Certificates do not auto-renew and must be renewed manually before expiration.
BONUS
VaultWarden probably deserves its own blog post, but given how simple it is to install, it is worth covering here.
- Why is VaultWarden relevant among self-hosted open-source password managers?
- It offers 100% of the features that 99% of users need daily, with less complexity and leaner code,
- It is lightweight, written in Rust, and requires significantly fewer resources,
- There is no visual difference between VaultWarden and BitWarden since they share the same mobile apps, browser extensions, and web interface,
- Because it is not as mature as BitWarden, it is recommended to keep it on a private network (on-premises, VPC, or via VPN).
Installation
sudo apt install argon2 -y
sudo mkdir -p /vaultwarden-data/
sudo chmod o-rwx /vaultwarden-data/
TOKEN=`echo -n "ChangeSecretPassword" | argon2 "$(openssl rand -base64 32)" -e -id -k 65540 -t 3 -p 4`
history -d -2
sudo docker run -d --name vaultwarden -v /vaultwarden-data/:/data --restart unless-stopped -p 127.0.0.1:80:80 -e ADMIN_TOKEN="$TOKEN" vaultwarden/server:latest
TOKEN=''

Note: the script hashes a string (your password) for the admin token, immediately removes that line from bash history, and then clears the token variable. It also binds only to localhost on port 80. Using a reverse proxy with HTTPS is strongly recommended to make it accessible outside localhost.
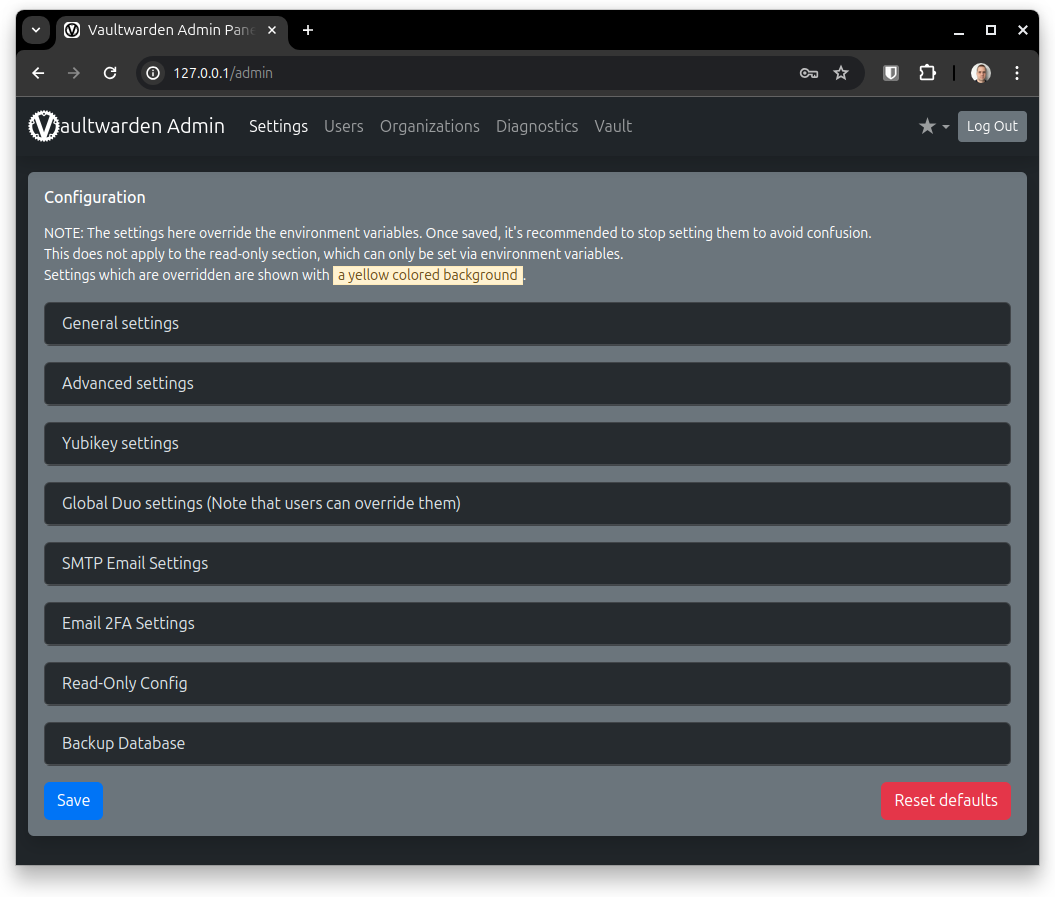
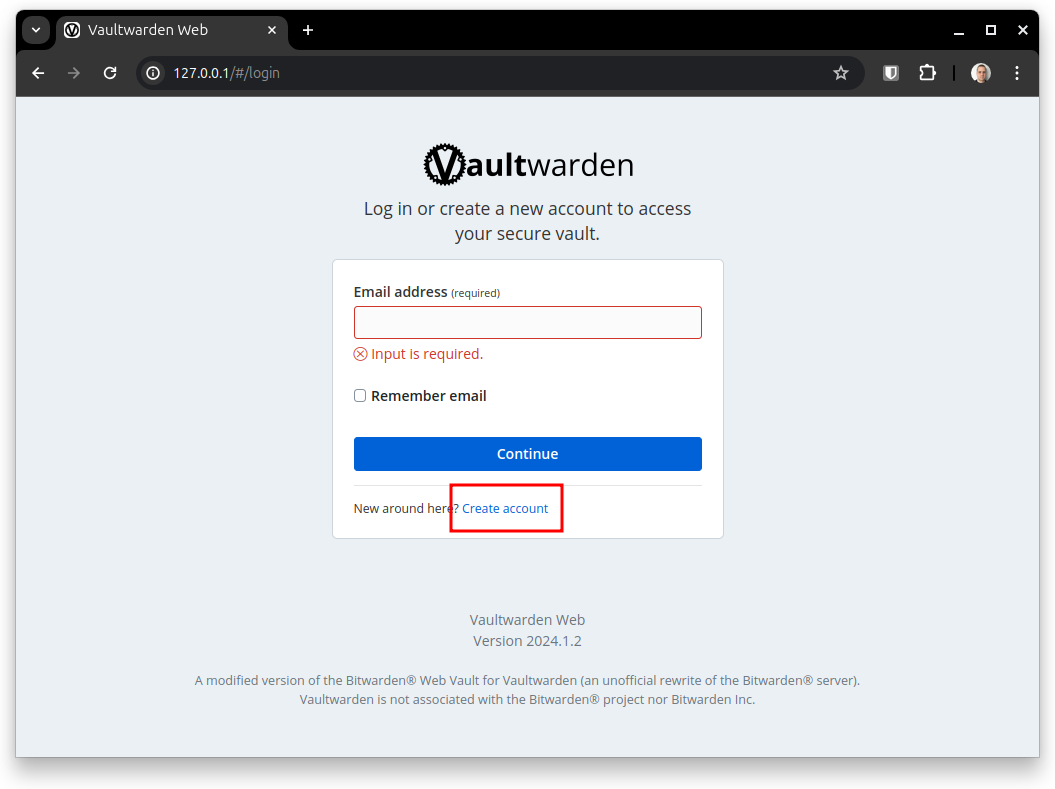
Navigate to http://localhost. At this point, any visitor can create an account, which is not suitable for public exposure. You can configure allowed users and domains from the Admin dashboard.
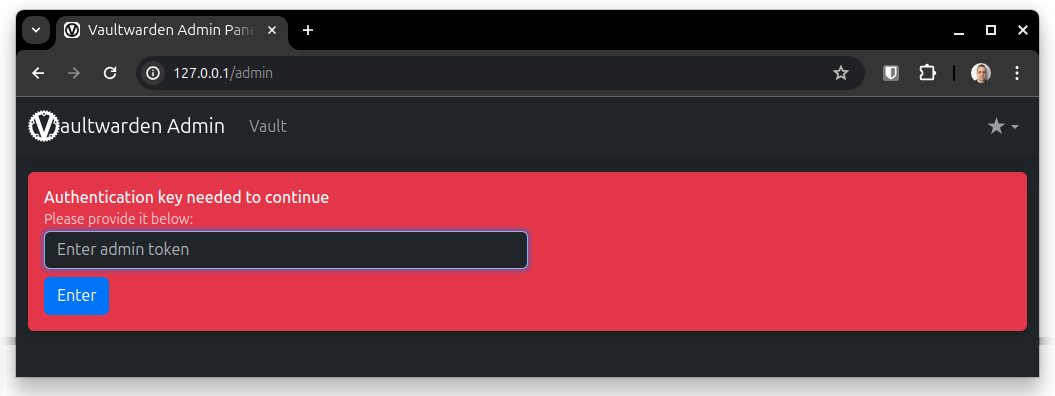
Navigate to the Admin Dashboard at http://localhost/admin.