NGINX Proxy Manager [Link] is an open-source tool that allows you to easily manage and configure NGINX servers for:
- A single entry-point to the DMZ (not necessarily a single point of failure, HA is also possible),
- Reverse proxy, forward, or stream based on domain name, path, and/or port,
- Quick and easy free SSL certification issuing and renewing,
- Access control list based on authentication or source.
Running NGINX Proxy Manager as an LXC container in Proxmox [Link] has several additional advantages, including:
- Isolation from the host and other guests systems,
- Share the kernel with the host for an optimal use of resources,
- It can be easily backup, migrated, and cloned,
- and much more.
Learn more about Proxmox with the cheat-sheet at [Link].
INSTALLATION
On the Proxmox server, via SSH or the Web-Shell, issue the following command:
curl -sL https://raw.githubusercontent.com/ej52/proxmox/main/lxc/nginx-proxy-manager/create.sh | bash -s
Note: it is not from the official repository and it is not maintained by the NGINX Proxy Manager team but it is referred by their official documentation. It is absolutely recommended thoroughly inspect the code of the script by everyone prior to execute it.
It will deploy create a new CT based on an Alpine LXC Template with the following default parameters:
- ID
- Next available ID number
- Bridge
- vmbr0
- Cores
- 1
- RAM
- 2 GB
- SWAP
- 0 GB
- Storage
- local-lvm
These default parameters can all be customized. Read more at [Link].
At the end of the script execution it will print the address to access the web interface of NGINX Proxy Manager.
OVERVIEW OF THE WEB-UI AND FEATURES
Navigate to its IP address on port 81. The default email is [email protected] and password is “changeme“.
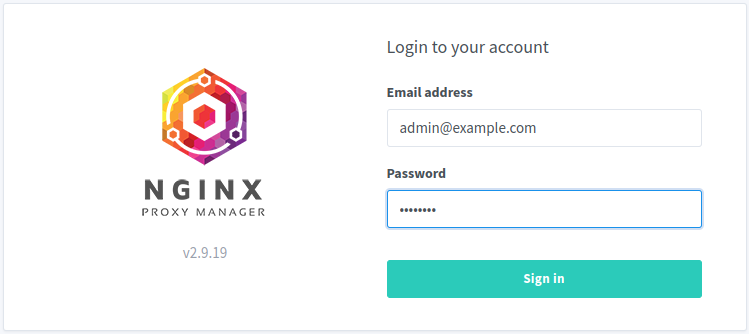
It will prompt to change them on the first log in.
Main dashboard:

This server has to have ports TCP 80 and 443 directly exposed to the internet (or being redirected to it). This way it can issue and manage free SSL certificates from Let’s Encrypt.
First, create an A record on the desired domain pointing to this server’s IP.
Then, go to SSL Certificates > Add SSL Certificate. Provide the domain or sub-domain address and a real email (@example.com is not accepted):
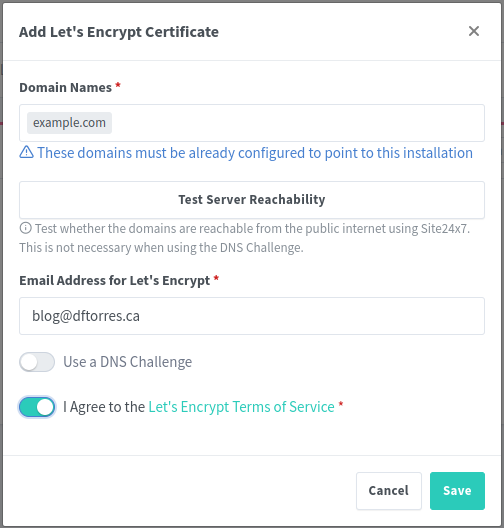
After having the SSL certificates, they can be linked to the Hosts, Redirects, and/or Streams.
- Proxy Host
- It will shield the web host where the application is running and it will terminate the SSL connection on the edge. Internally it can use a non encrypted HTTP connection or a self-signed HTTPS connection. Eaither case the web application will know what domain or sub-domain it needs to serve for each request.
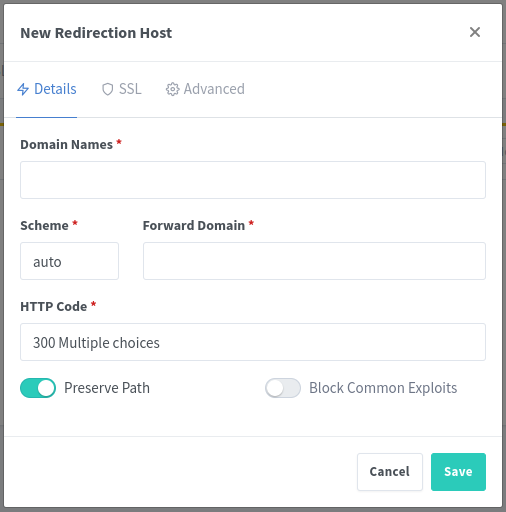
- Redirect Host
- It will translate a request from one domain to another domain. E.g. from www.example.com to example.com.
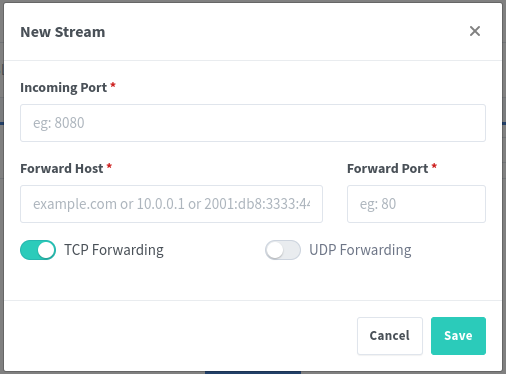
- Stream Host
- Stream is a TCP/UDP level of redirecting traffic. Like a router would do.
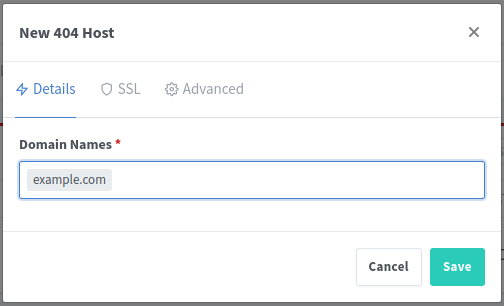
- 404 Host
- Defines the behavior when there is no match for the request. It redirects to a default address or serves a customized page.
Go to Host > Proxy Hosts > Add Proxy Host:
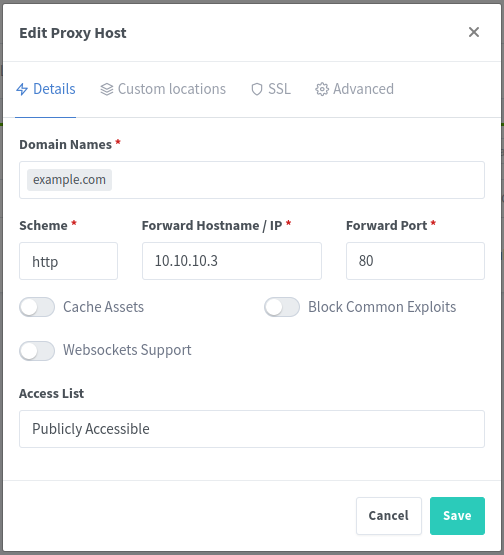
Set the parameters for the internal call the NGINX will make to the web server in the private network:
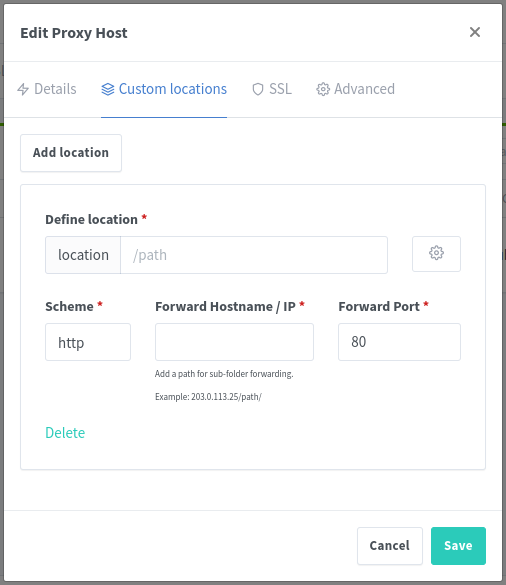
And select the issued SSL certificate accordingly:
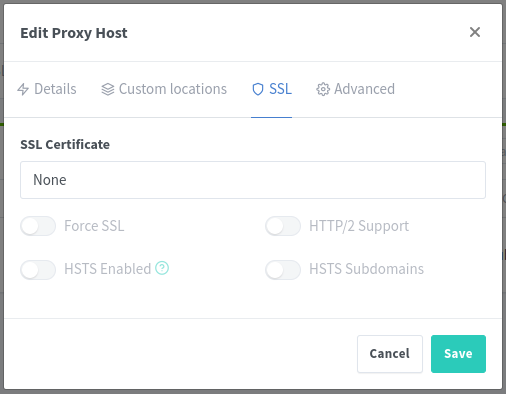
A list of all proxy hosts (virtual hosts) will show with their statuses:

Similarly, add Redirection Hosts:
Add Stream Hosts:
Or even, add 404 Hosts:
CONCLUSION
NGINX Proxy Manager was designed initially to be ran as a Docker container but its usability can go way beyond that.
When well orchestrated, a series of Kubernetes Pods can manage the life cycle of multiple instances of this versatile application.
With a friendly and easy to use interface it can be used at the same time to shield and access control a series of applications, off-load servers from the encryption/decryption overhead for all public traffic, centralize and manage all SSL certificates, distribute the load of the sites in multiple servers that will operate like one…