FreeBSD [Link] traditionally relies heavily on the command line (CLI), but web-based administration tools can significantly improve the experience.
Bhyve (pronounced “beehive”) [Link] is a lean and efficient hypervisor that relies on kernel modules. While KVM dominates the Linux world, bhyve generally achieves lower CPU and memory overhead on FreeBSD.
Sylve [Link] is a modern web interface for unified management of Bhyve VMs, Jails, ZFS storage, networking, and system monitoring.
Webmin [Link] is a mature web-based administration tool for Unix-like systems.
INSTALLATION
Webmin
pkg install webmin
/usr/local/lib/webmin/setup.sh
sysrc webmin_enable="YES"
service webmin start
Navigate to https://<SERVER_IP>:10000
Sylve
pkg install vm-bhyve bhyve-firmware sylve
sysrc sylve_enable="YES"
service sylve start
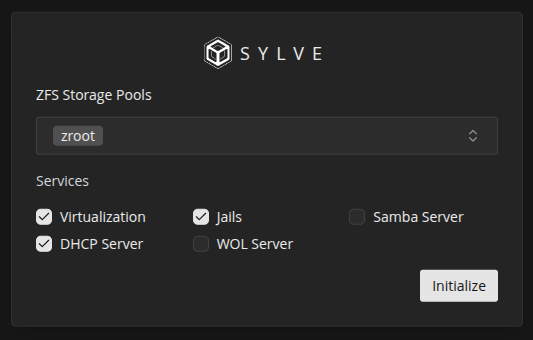
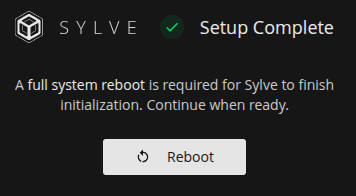
Navigate to https://<SERVER_IP>:8181 to finish setup.
WEB-UI PREVIEW
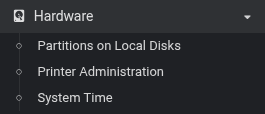
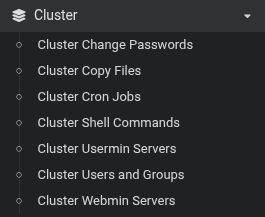
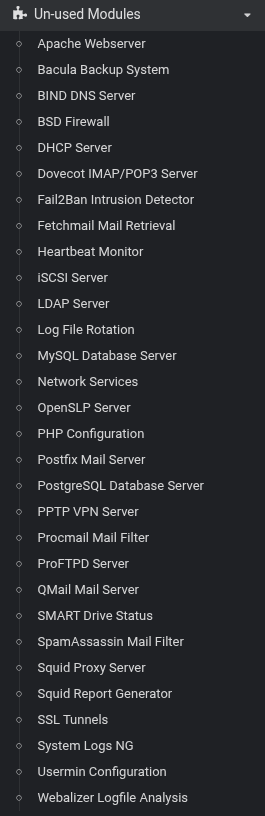
- Webmin
- Purpose: server management.
- Operating System,
- Kernel,
- Networking,
- Hardware.
- Purpose: server management.
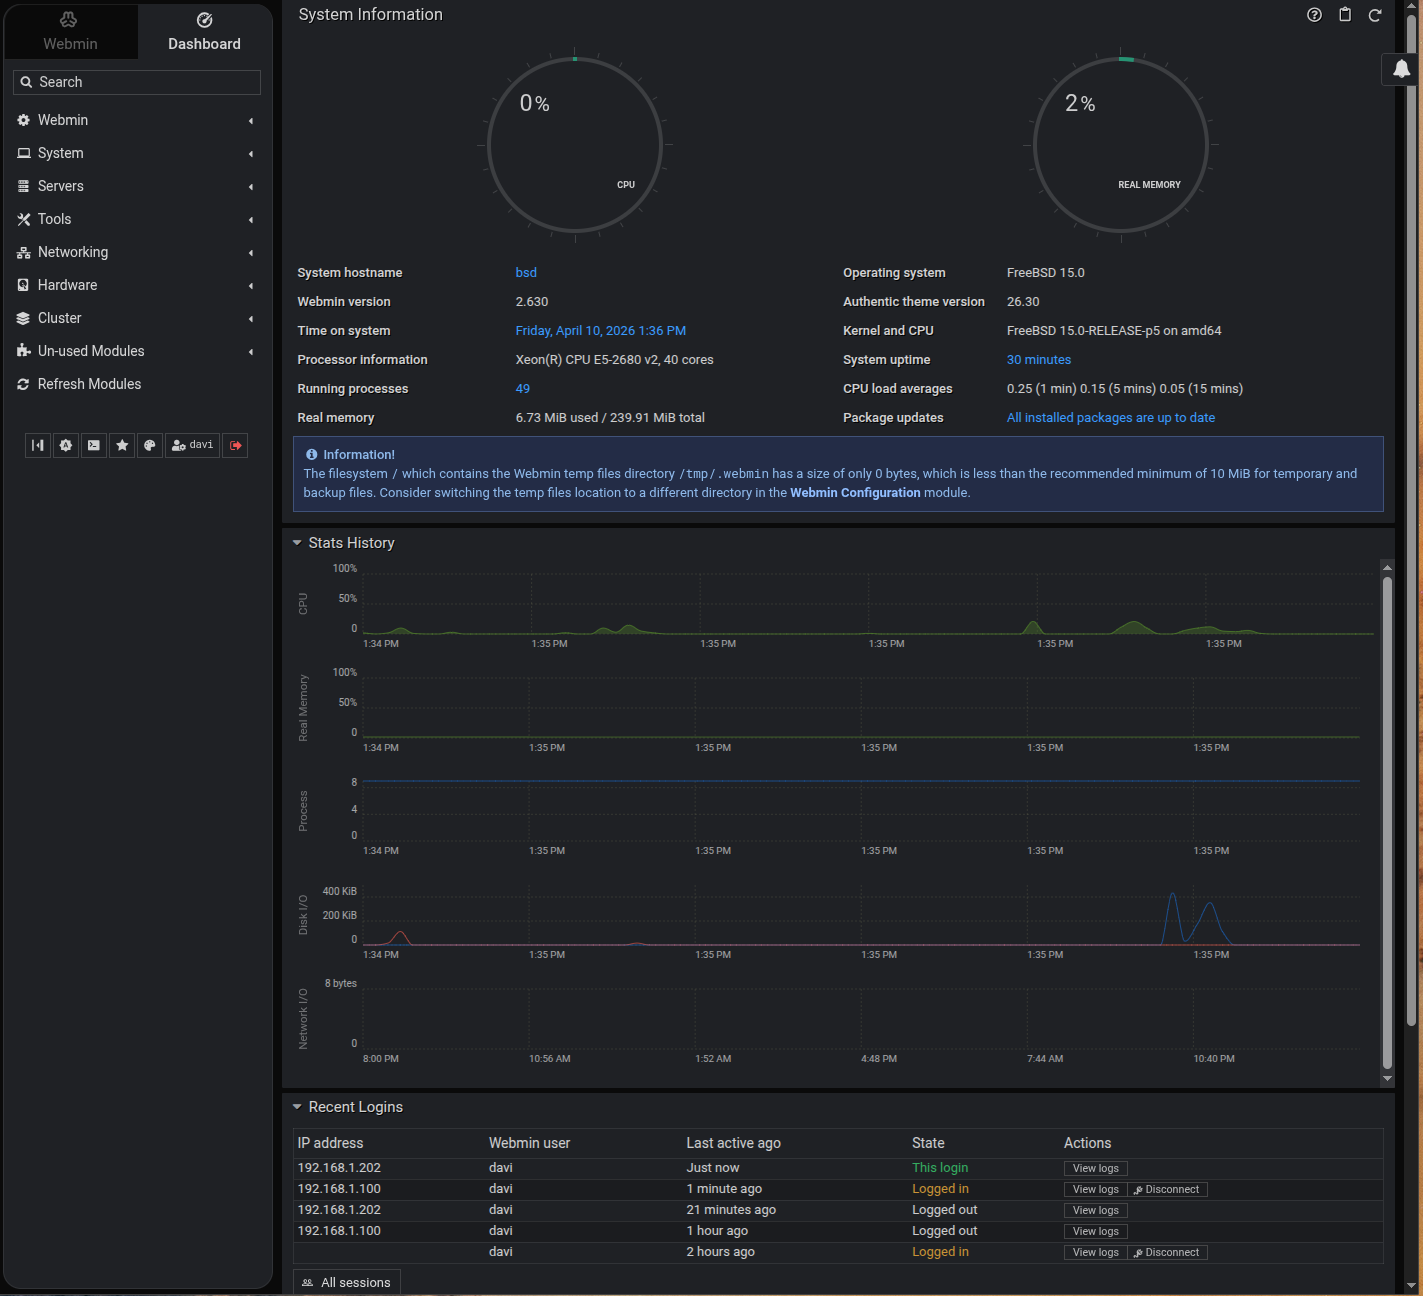
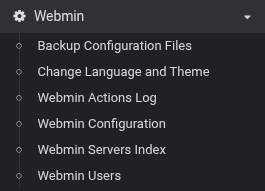
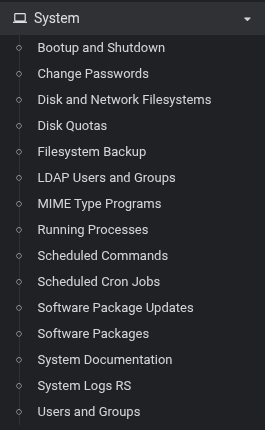
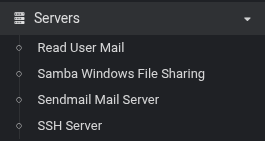
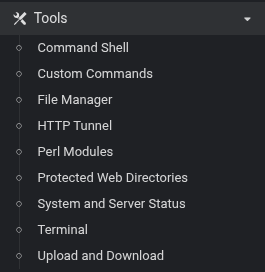
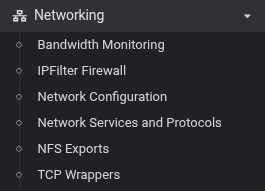
Quick preview of the main menu.
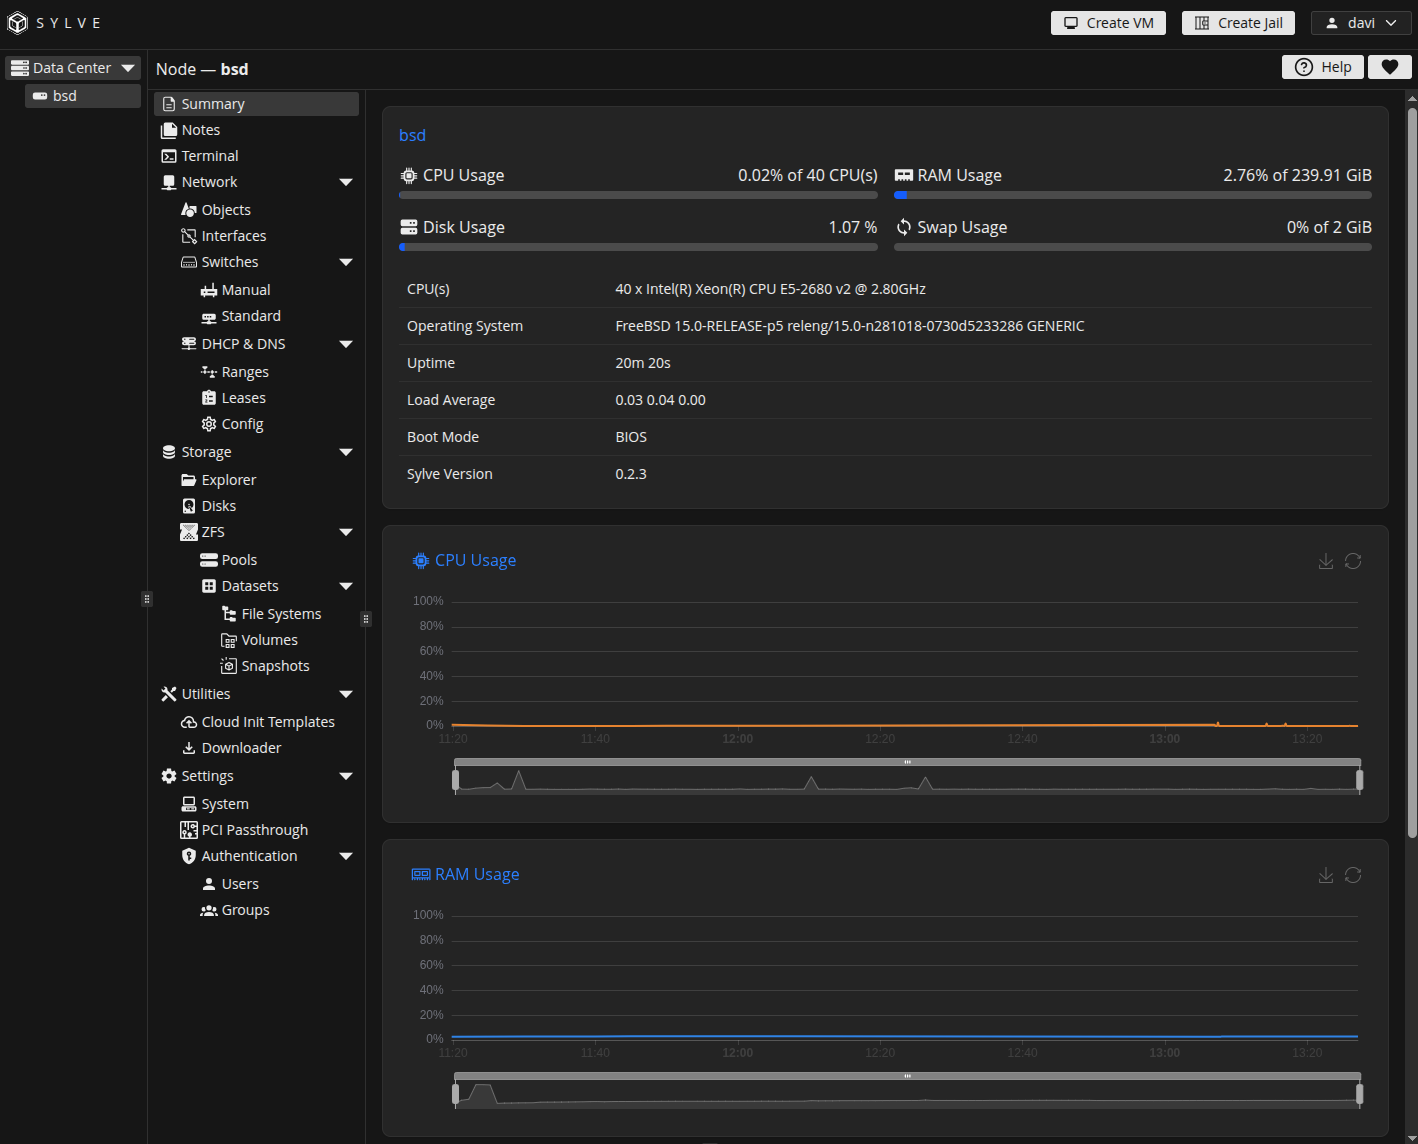
- Sylve
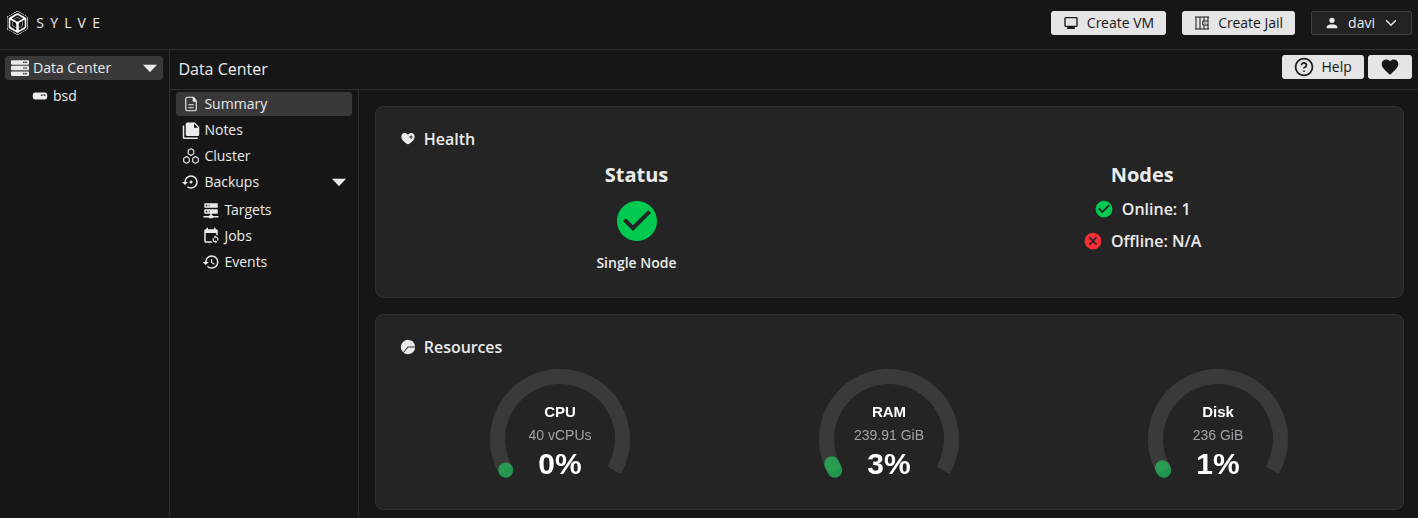
- Purpose: workloads and services.
- Virtual Machines,
- Containers,
- Microservices Orchestration,
- Clusters.
- Purpose: workloads and services.
TIPS AND TRICKS
FreeBSD
- Power off completely.
shutdown -p now
- Install Nano.
pkg install nano
Webmin
- If using a reverse proxy or WAF, change the default port from 10000 to 443 to avoid redirects at logon.
nano /usr/local/etc/webmin/miniserv.conf
Replace the port number on port= and listen=, then apply.
service webmin restart
sockstat -l | grep :443
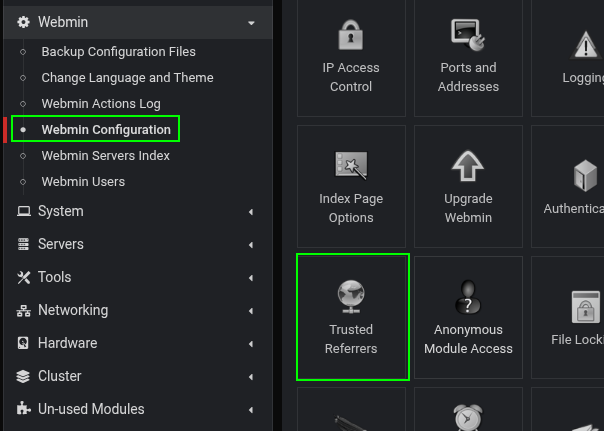
Also, add the FQDN under Trusted Referrers. E.g., webmin.domain.com
- Fix the warning that
temp files directoryhas a size of only 0 bytes.
mkdir -p /var/webmin-tmp
chmod 700 /var/webmin-tmp
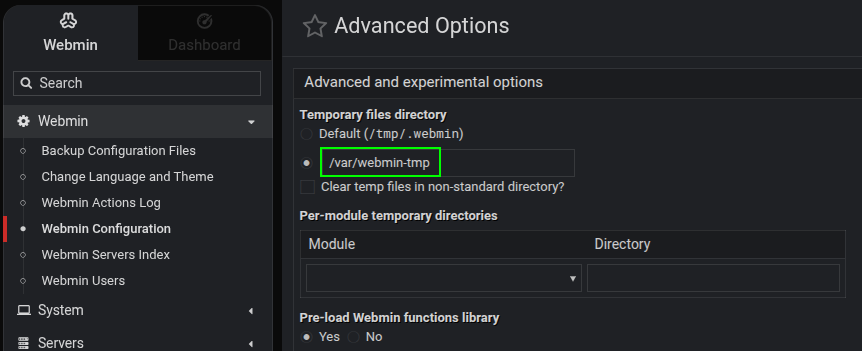
service webmin restart
Sylve
- Disable the admin account after creating a new admin account.
nano /usr/local/etc/sylve/config.json
{
    "environment": "development",
    "proxyToVite": false,
    "auth": {
        "enablePAM": true
    },
    "admin": {
        "email": "disabled@sylve.local",
        "password": "675sdf67gb5d8976b76gdds"
    },
    "logLevel": 0,
    "port": 8181,
    "httpPort": 8182,
    "raft": {
        "reset": false
    },
    "btt": {
        "rpc": {
            "enabled": false,
            "host": "127.0.0.1",
            "port": 6890
        },
        "dht": {
            "enabled": false,
            "port": 7246
        }
    }
}
Note: this does not truly disable the account, it sets an unguessable password. Apply with:
service sylve restart
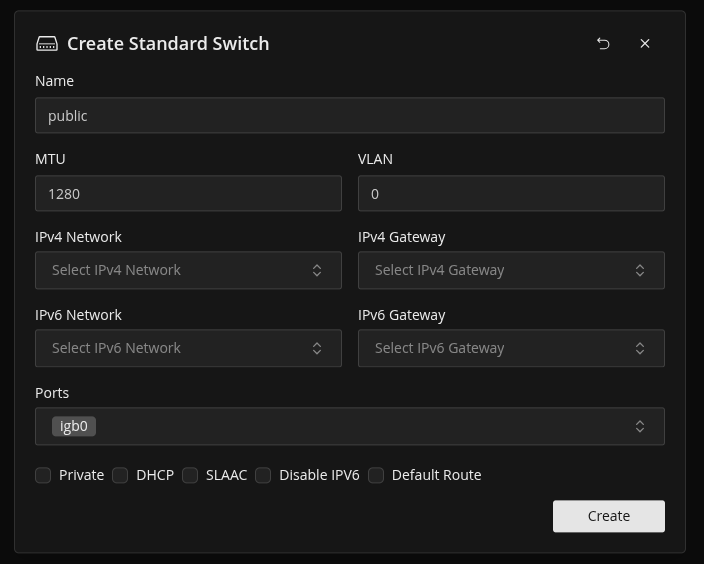
- Create a network Bridge.
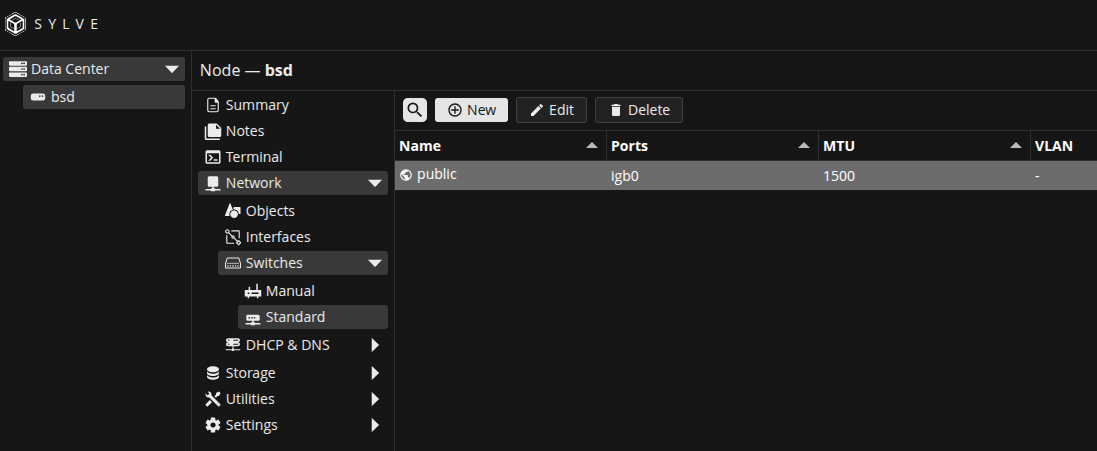
- Download ISOs.
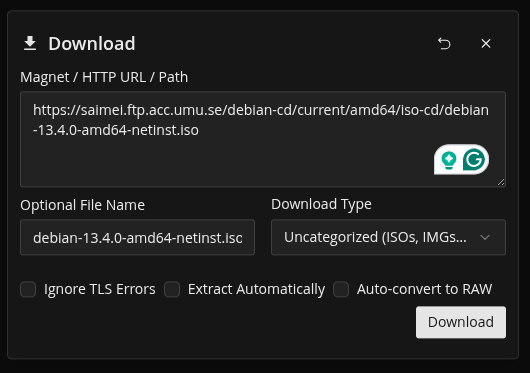
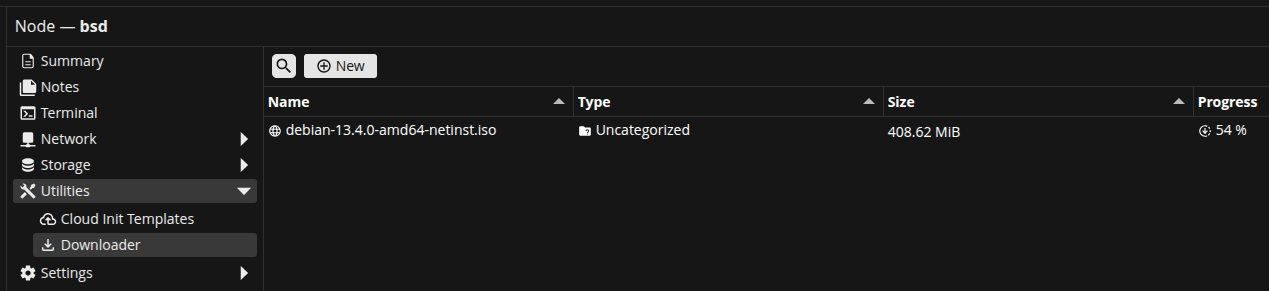
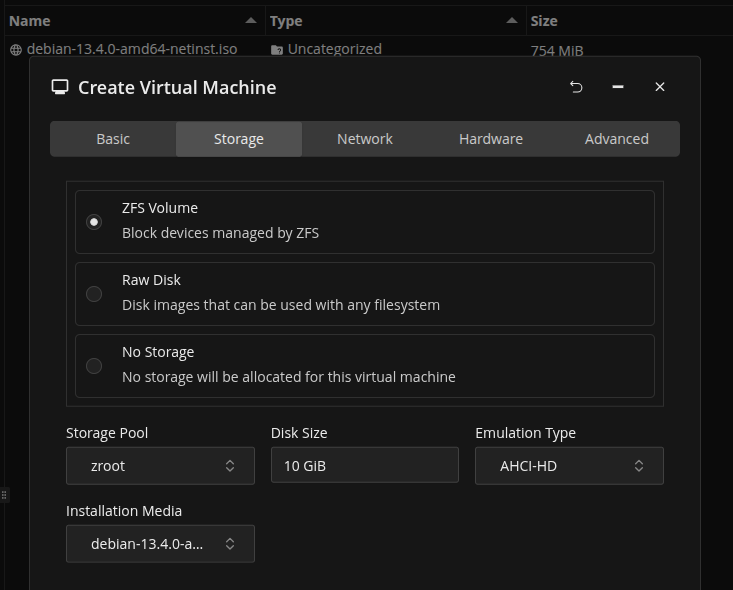
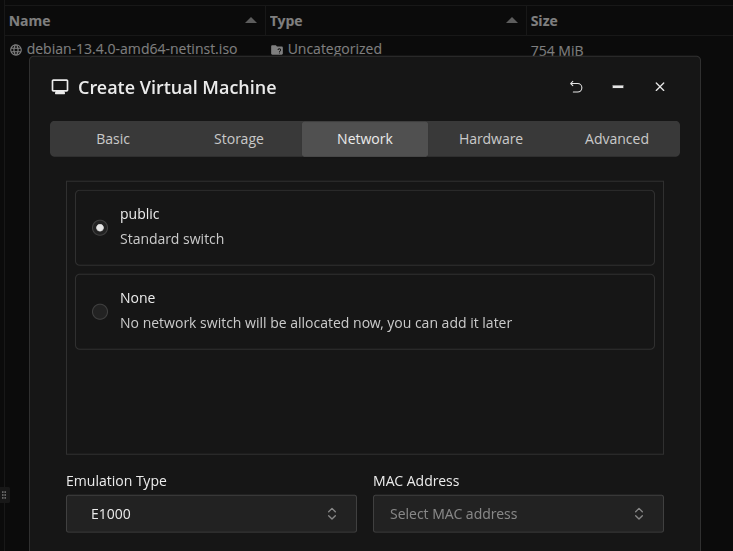
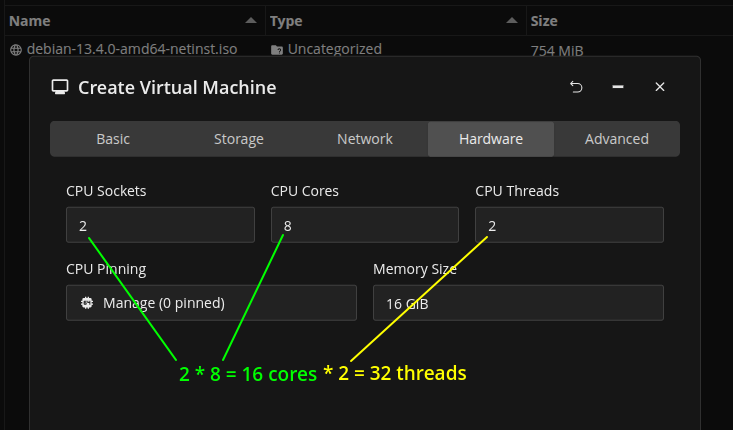
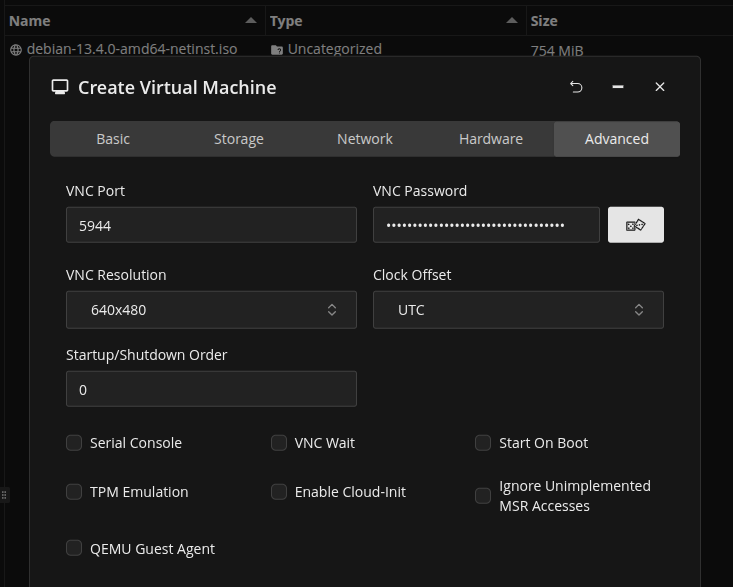
- Create a VM.
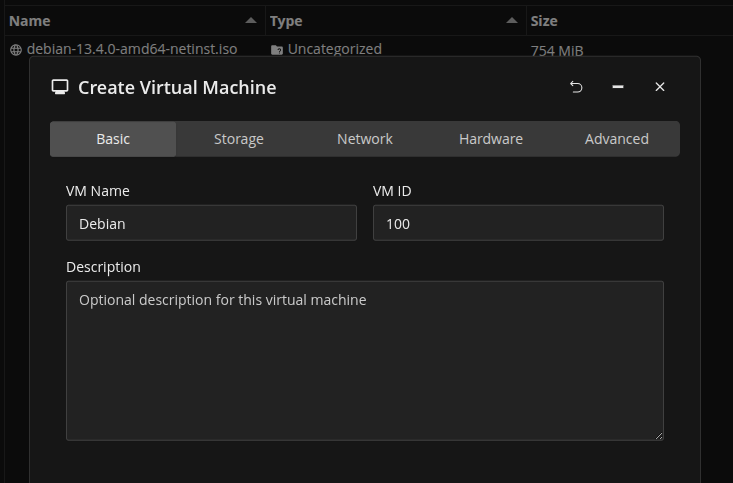
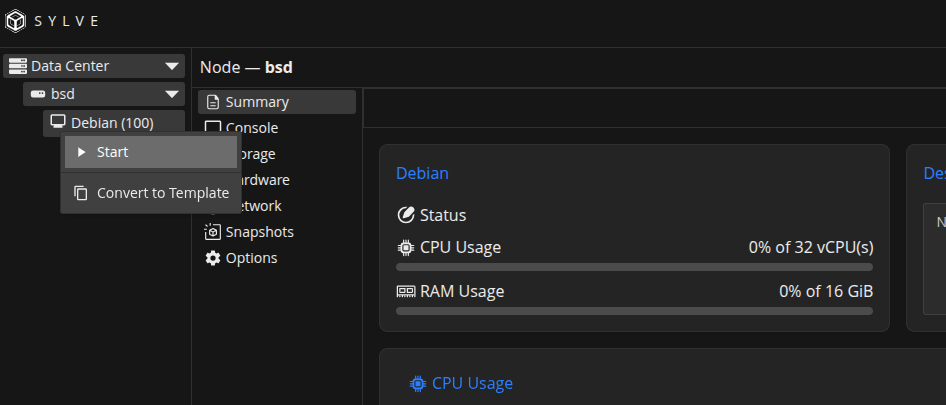
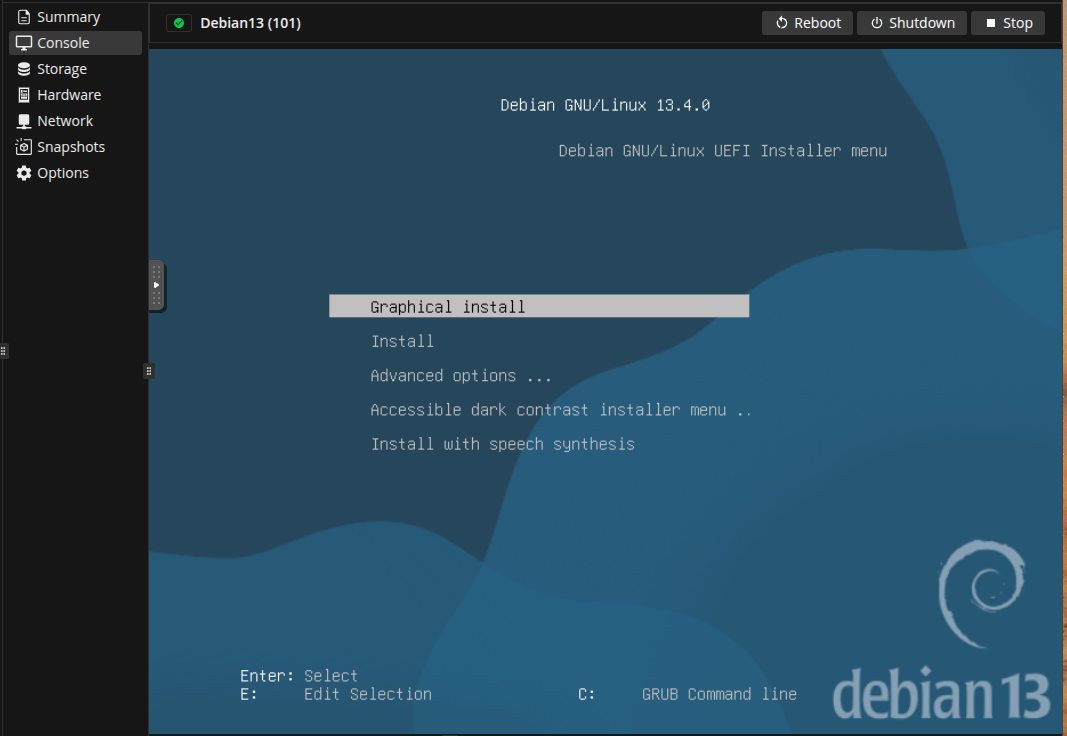
- Start a VM.
UNDER THE HOOD
Bhyve can be managed in two ways:
vm-bhyve- Command:
vm - Driver: N/A (direct call)
- Use: shell-based API, primarily for CLI use.
- Command:
libvirt- Command:
virsh - Driver:
libvirt-driver-bhyve - Use: a translation layer for CLI and Sylve.
- Command:
For comparison, here is how KVM works on Linux:
libvirt- Command:
virsh - Driver:
libvirt-driver-qemu - Use: a translation layer for CLI and Virt-Manager.
- Command:
When running Sylve, avoid using vm or virsh commands to manage instances that are already visible on the Sylve dashboard. See this post for commands [Link].
Note: bhyve is a younger and more minimalist hypervisor than KVM, so some advanced virsh flags may not yet be available on FreeBSD. Also, bhyve works with Raw (not recommended) or ZFS volumes (zvols), not QCOW2 like KVM.
BONUS
If running bhyve without Sylve’s GUI, here are basic commands for setting up and managing the hypervisor directly.
- Load and verify the virtualization kernel module.
kldload vmm
kldstat
echo 'vmm_load="YES"' >> /boot/loader.conf
- Install
bhyvepackages.
pkg install vm-bhyve bhyve-firmware
mkdir /vms
sysrc vm_enable="YES"
sysrc vm_dir="/vms"
cat /etc/rc.conf
- Initialize the guest management system.
vm init
ls -l /vms
- Copy the template examples.
cp /usr/local/share/examples/vm-bhyve/* /vms/.templates
- Add Linux guest support.
pkg install grub2-bhyve
- Create a public network bridge.
vm switch create public
vm switch add public <NIC>
vm switch info public
- Basic commands for managing guest instances and ISOs.
vm list
vm iso <URL>
vm create <VM_NAME>
vm create -d <DATASTORE> -t <TEMPLATE> -s <STORAGE_SIZE> -m <RAM_SIZE> -c <vCPU_COUNT> <VM_NAME>
vm remove <VM_NAME>
vm install <VM_NAME> /vms/.iso/<ISO_FILE_NAME>
vm console <VM_NAME>
vm stop <VM_NAME>
vm configure <VM_NAME>
vm start <VM_NAME>